22
Getting to know your P910i
This is the Internet version of the user’s guide. © Print only for private use.
Memory Stick
Memory Sticks provide a convenient way of increasing the
storage space in your P910i. You can use both Memory Stick
Duo
™
and Memory Stick PRO Duo
™
. You can save pictures,
video clips, music, and voice recordings as well as computer
data and applications on a Memory Stick and use it to store or
transfer the contents for many different purposes. These include:
•
Storing backup copies of important files.
•
Storing media for personalizing your P910i.
•
Storing media for use when composing MMS messages.
•
Storing installation files for new applications.
•
Transferring data between the P910i and a PC or Mac.
•
Providing storage for third-party applications.
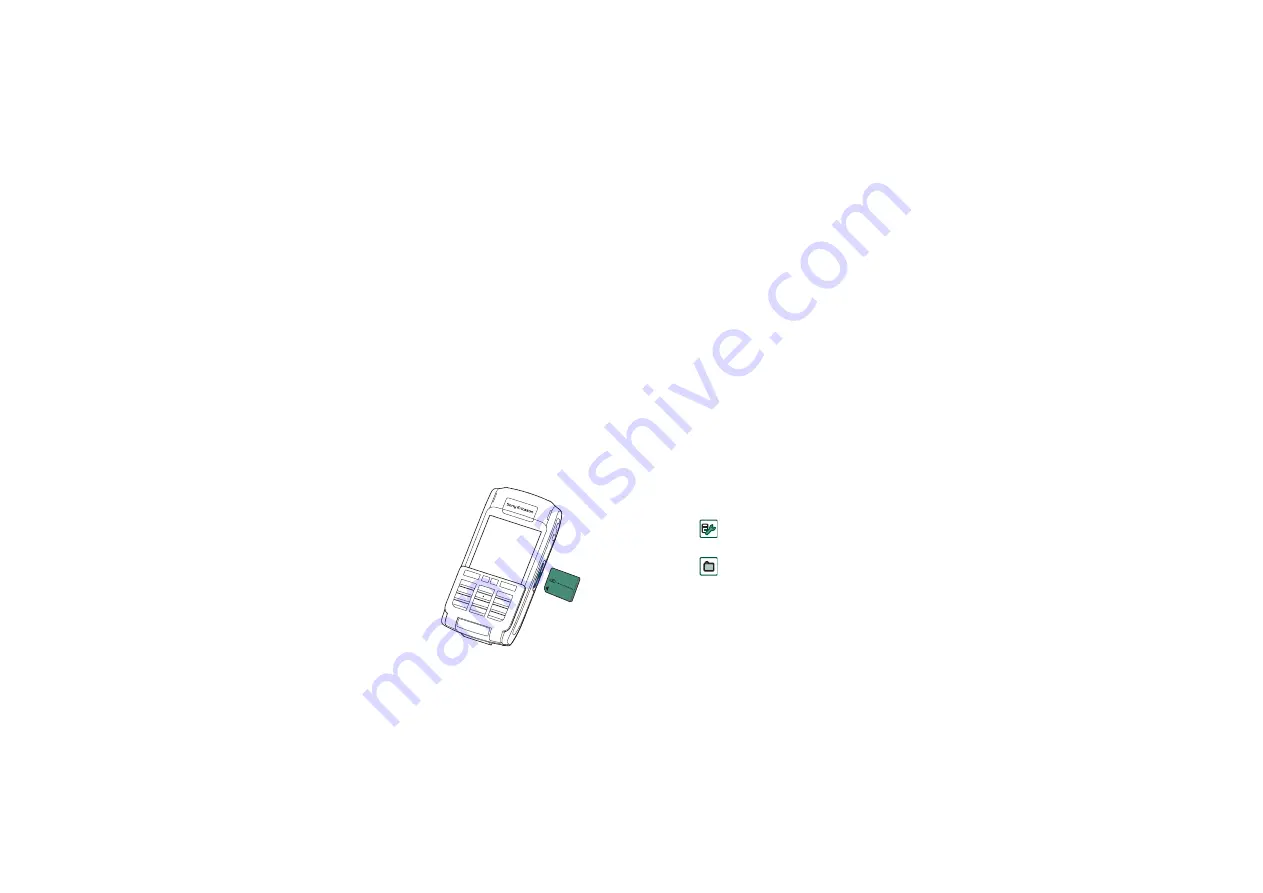
To insert the Memory Stick
1. Open the cover for the Memory
Stick slot.
2. Insert the Memory Stick in the
slot, with the connector side
towards the back (see picture).
Make sure it is securely
inserted. A click should be
heard.
Note
Insert the Memory Stick correctly to avoid damage to your
P910i or the Memory Stick.
The Memory Stick supplied with the P910i may or may not be a
version that contains the lock function. Remember, you can
overwrite existing files without the lock function.
To remove the Memory Stick
Press the edge of the Memory Stick using your fingernail or the
stylus to release it. You hear a click as it jumps out of the slot.
Note
Be careful not to drop the Memory Stick when removing it.
Renaming a Memory Stick
You can rename a Memory Stick to give it a name that is
meaningful to you. The name you set will be shown in the
divider between internal and external storage in the folder menu.
See
on page 28. There are two ways to rename a
Memory Stick:
•
Select
Control Panel > Other > Format disk
and tap
Rename
.
See
•
Select
File manager > File > Format disk
and tap
Rename
.
Renaming will not erase any data.
Copying and moving data
For information on how to copy and move data to and from the
Memory Stick, refer to


