Appendix A – BNC Connector Installation Steps
6.
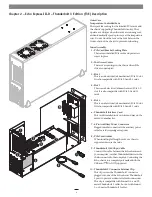
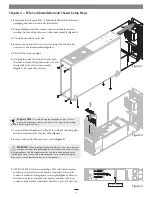
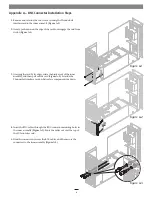
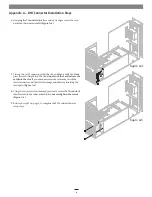
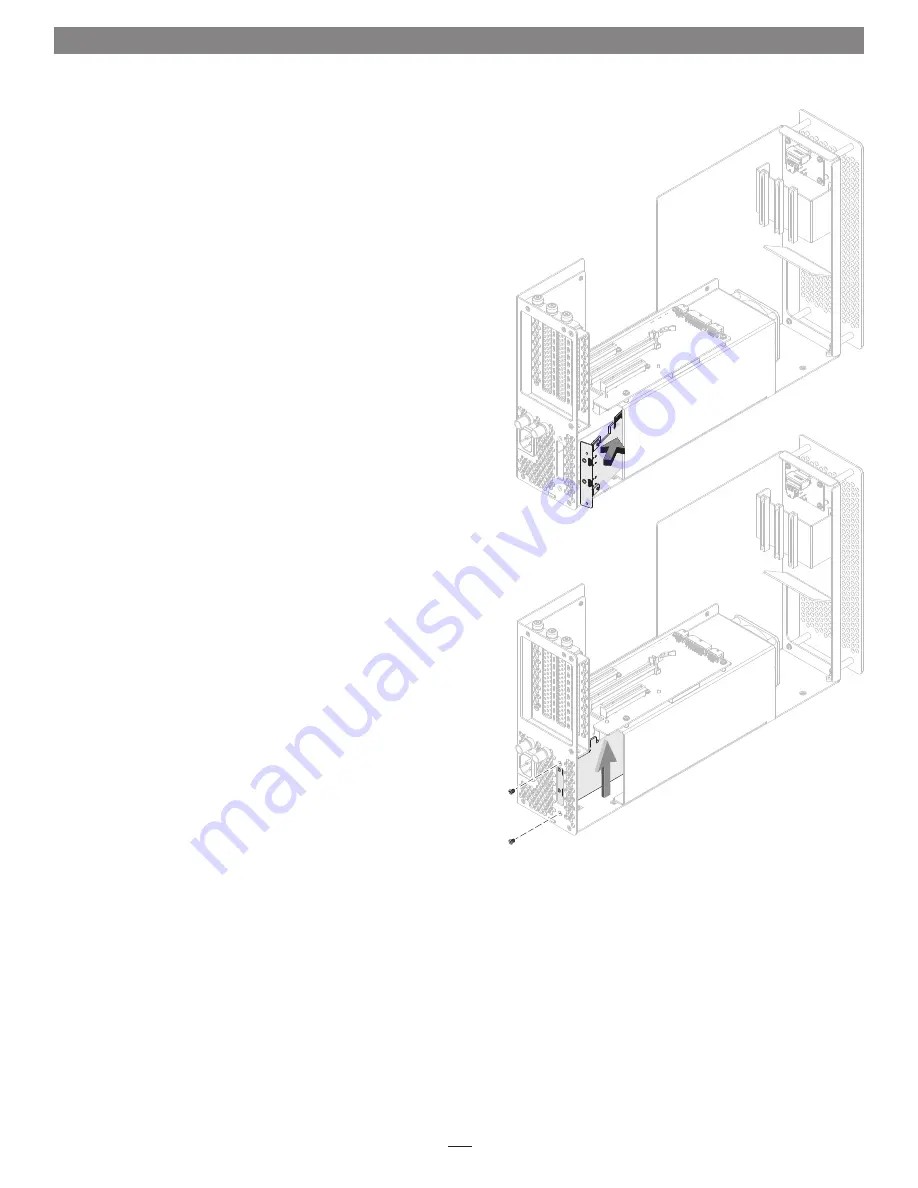
Grasping the Thunderbolt interface card by its edges, insert the card
back into the inner assembly
(Figure A-4)
.
7.
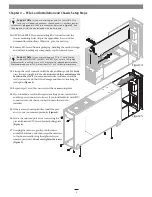
Line up the card’s connector with the slot, and then gently but firmly
press the card straight into the slot;
do not rock the card or force the
card into the slot
. If you encounter excessive resistance, check the
card’s connector and the slot for damage, and then try inserting the
card again
(Figure A-5)
.
8.
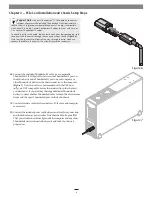
Using the two screws you removed previously, secure the Thunderbolt
interface card to the inner assembly;
do not overtighten the screws
(Figure A-5)
.
9.
Return to step 11 on page 5 to complete the PCIe card and chassis
setup steps.
Figure A-4
Figure A-5
B

