3
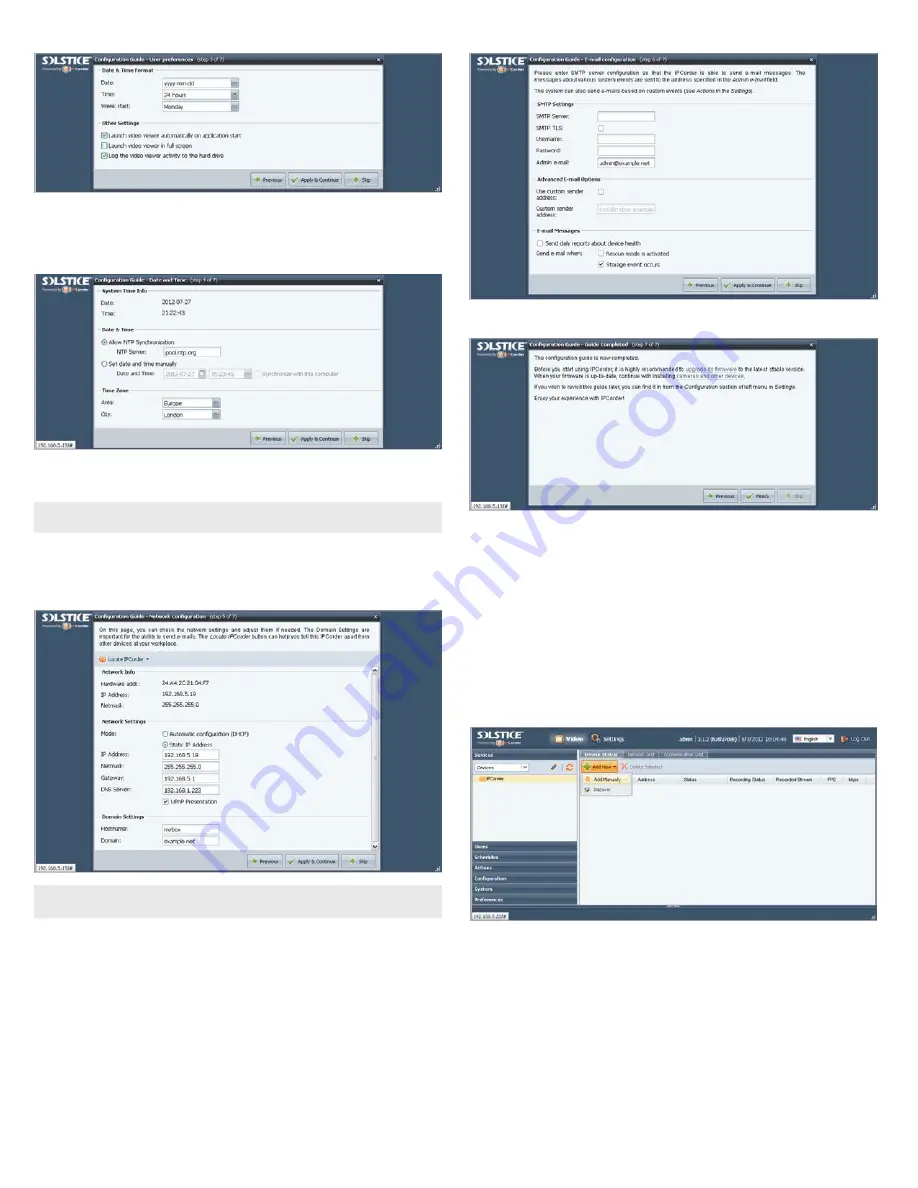
5. In the Configuration Guide - Date and Time window, select the options appropriate for location,
including the
Time Zone
Area
and
City
, then click
Apply and Continue
. Note that an option is
provided to synchronize the NVR with your computer.
Note that an option is provided to synchronize the NVR with your computer. If you change the clock
time, the NVR will restart, then open the next configuration screen.
NOTE
Synchronize the camera clocks the same way the NVR is synchronized. The NVR and camera clocks
must indicate the same time to ensure compatibility.
6. In the Configuration Guide - Network configuration window, enter the network and domain options
you prefer. In the Domain Settings section, you can specify a Hostname for your NVR. Click
Apply
and Continue
.
NOTE
If you change the network settings of the NVR, the Configuration Guide may lead you to
repeat some steps completed previously.
7. In the Configuration Guide - E-mail configuration window, enter the SMTP settings and other e-mail
options to automatically send e-mail when events occur. Click
Apply and Continue
.
8. In the Configuration Guide - Guide Complete window, click
Finish
.
Step 4. Associating cameras with the NVR
Cameras can be added to (monitored by) the NVR in two ways:
•
Add Manually
method: A method for adding cameras that are on the same subnet as the NVR or a
subnet different.
•
Discover
method: An automated method for adding cameras that are on the same subnet as the NVR.
Add Manually method
1. After logging into the NVR as an administrator, click the Settings option in the header of the screen.
2. In the right pane, click the
Add New
button to open the drop down list, then click
Add Manually
.
3. In the menu that opens in the right pane, enter the following:
a.
Address
. Enter the IP address of the device you want to add.


