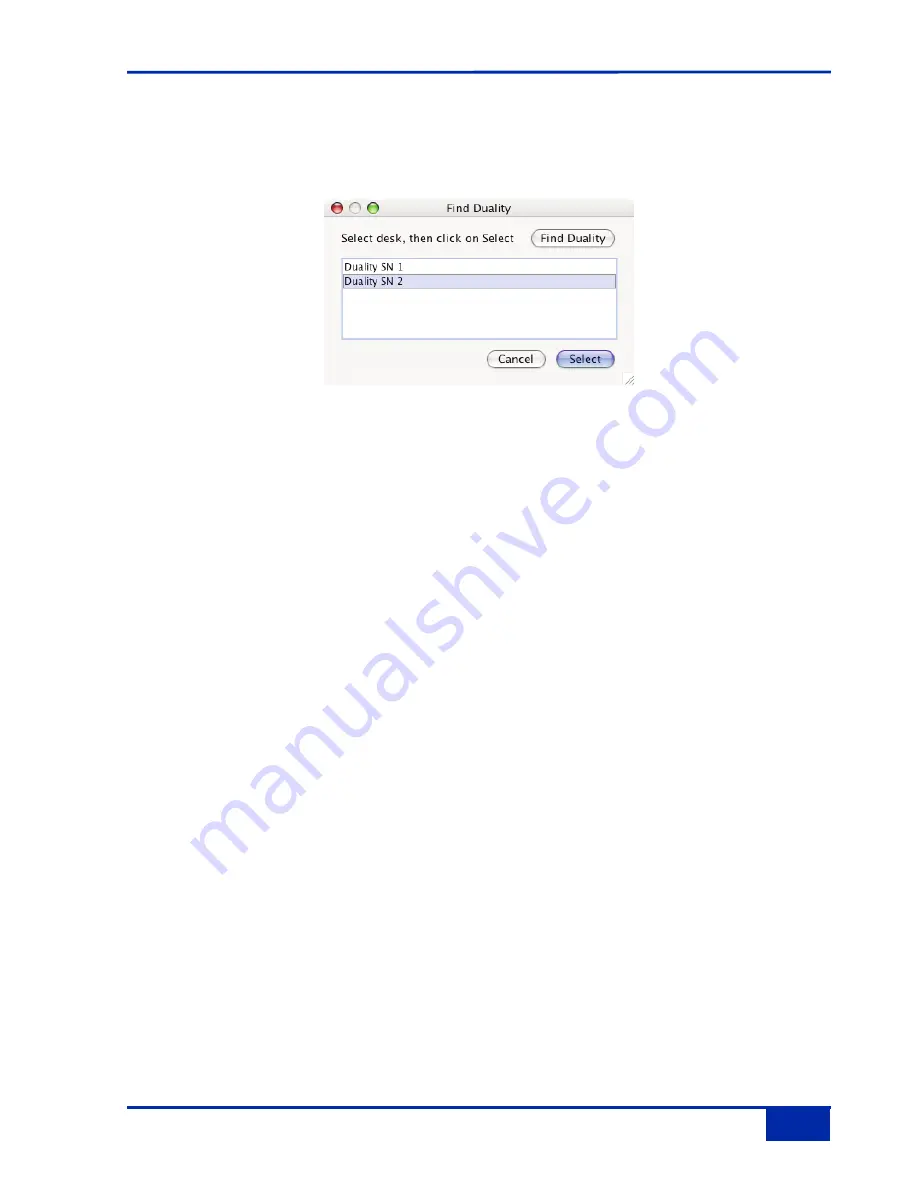
Connecting to Duality
When you launch Duality Remote you will be presented with a rather dull looking grey form. Click on the
Find
box in the top right of the form and select your console from the popup list of consoles (which will normally only
contain one entry) - see below. Then click
Select
. The popup will close and the Project page will be populated.
Any existing data stored on your console should now be visible in the browser. The currently selected Project
and Title will be displayed in the top left hand corner along with the consoles serial number.
The following tabs will be visible:
PROJECTS:
This shows a traditional “tree” file structure and architecture listing Projects stored on the console.
NOTES:
Here you can enter Project and Title information and also session notes.
MIXES:
A list of Mixes associated with the currently selected Title.
TOTAL RECALL:
A list of Total Recall data stored for the currently selected Title.
CHANS 1-24, 25-48 etc.:
These fields allow you to enter names for the TFT Channel displays on the console and also assign Eyconix
images.
EXTS NAMES:
Allows you to rename the Ext A and B sources. These will appear on your consoles monitor selection.
MISC:
This contains some additional information and functions.
The
SYNC
button will refresh your Browser with any recently stored local data (i.e. on the flash SD card) from
the Duality console.
To rename an item, simply right click (PC) or use ‘<Ctrl> click’ (Mac
Duality Operator’s Manual
6-3


