background image

 7 


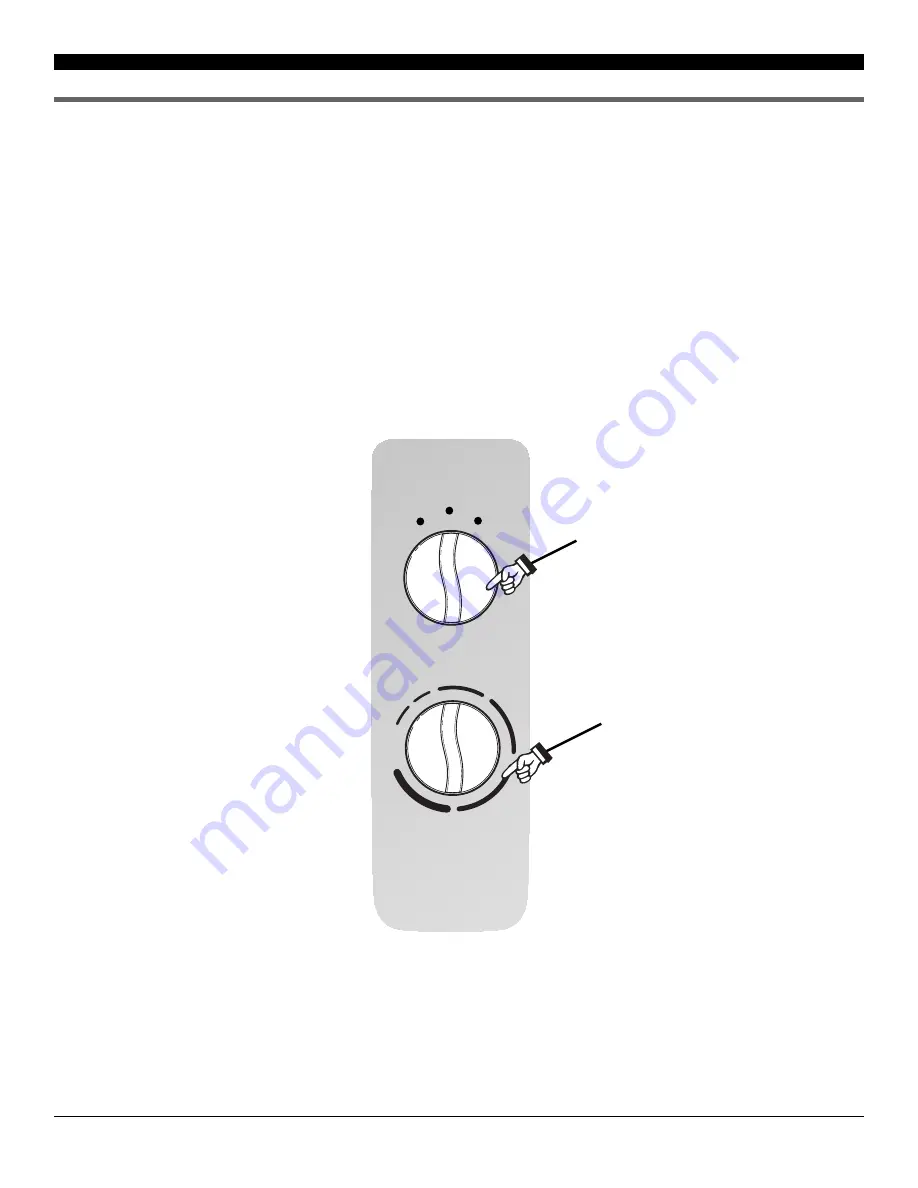
1. Place the heater on a firm, level surface and plug into a grounded 120V/60Hz power outlet. The power indi-
cator will light up once the power cord is plugged in. Only operate the heater in upright position with caster 
wheels attached. 
 
2. Turn the Power  Knob clockwise to “Low” for low heat, turn the

 Power

 knob clockwise one more time to 

3. When the unit is on “Low” or “High”, adjust the Thermostat Knob clockwise to increase the temperature or 
adjust the Knob counterclockwise to lower the temperature.   
 
4. Unplug the unit when not i

n

 use. 

OPERATING INSTRUCTIONS


 “High” for high heat. Turn the 

Power k

nob counterclockwise to “Off” to turn off the unit.

Summary of Contents for HM5-15-30

Page 1: ......

Page 2: ...ter 4 Keep combustible materials such as furniture pillows bedding paper clothes and curtains at least 3 ft from the front of the heater and keep them away from the sides and rear DO NOT place towels...

Page 3: ...d plug the unit directly into a 120 V AC electrical outlet 15 To disconnect heater turn controls to OFF then remove plug from outlet Pull firmly on the plug DO NOT unplug by pulling on the cord 16 Alw...

Page 4: ...with a overheat safety feature When the heaters internal components reach a certain temperature that could cause overheat and possible fire the heater will automatically shut off The heater will autom...

Page 5: ...PRODUCT DIAGRAM 5 CONTROL KNOBS CASTER LEG...

Page 6: ...Wall Mount Instructions ASSEMBLY INSTALLATION Legs Assembly Instructions 2 lower brackets are optional to reinforce the mounted heater on the wall you may need to find similar accessories and repeat...

Page 7: ...wheels attached 2 Turn the Power Knob clockwise to Low for low heat turn the Power knob clockwise one more time to 3 When the unit is on Low or High adjust the Thermostat Knob clockwise to increase t...

Page 8: ...turn save money in the winter place the heater in a room or area that needs extra heat instead of raising the thermostat on your central heating system This heater will function very well as an addit...

Page 9: ...the heater to prevent dust from collecting on and inside the heater If the heater will not operate please check the following before seeking repair of service 1 Check if the power cord is plugged int...

Page 10: ...rts caused by wear Damage caused by repairs or alterations of the unit by anyone other than those authorized by Soleus Home Comfort Freight and Insurance cost for the warranty service ALL WARRANTIES I...

Reviews: