Installation and Commissioning Guide DIRIS DigiBOX A
Ref: dcg_A402019us.rev1 Page 10/15
SOCOMEC PM
Installation and Commissioning Guide DIRIS DigiBOX A
6. Connect the current sensor to the load and plug the current sensor into the RJ12 cable connected to the
DIRIS A-40.
Figure 12: The boxed area is where the RJ12 cables are inserted on the DIRIS A-40.
7. Put fuses provided in the black bag into the fuse holders.
8. Close the metal plate and screw it back down. The DIRIS A-40 should now be on.
5. Configuring the DIRIS A-40
5.1. Configuration using Wizard
The DIRIS A-
40 can be configured using the display configuration setup “Wizard”. When using Wizard the
DIRIS A-40 provides step by step setup on screen. Follow the on screen instructions.
5.2. Configuration using EasyConfig
EasyConfig is free software available to download on the Socomec website. If you would like to configure the
DIRIS A-40 by EasyConfig please refer to the DIRIS A-40 instruction manual:
content/uploads/2019/03/DIRIS-A-40_INSTRUCTION-MANUAL_2018-01_545802_EN-I.pdf
6. Webview (
only available with DIRIS DigiBOX A Ethernet version USDBPA40ET
)
Webview offers real-time monitoring of electrical installations and tracking of energy consumption level, embedded in
the DIRIS A-40 Ethernet version. It is intended for use by those who wish to have a complete tool to quickly analyze
malfunctions within their electrical installation and to guarantee energy-related performance. Once the configuration is
done in EasyConfig, the configuration has to be recognized in Webview.
1. Open the internet browser and type in the IP address of the DIRIS A-40.
The default IP address for the DIRIS A-40 is the following:
192.168.0.4
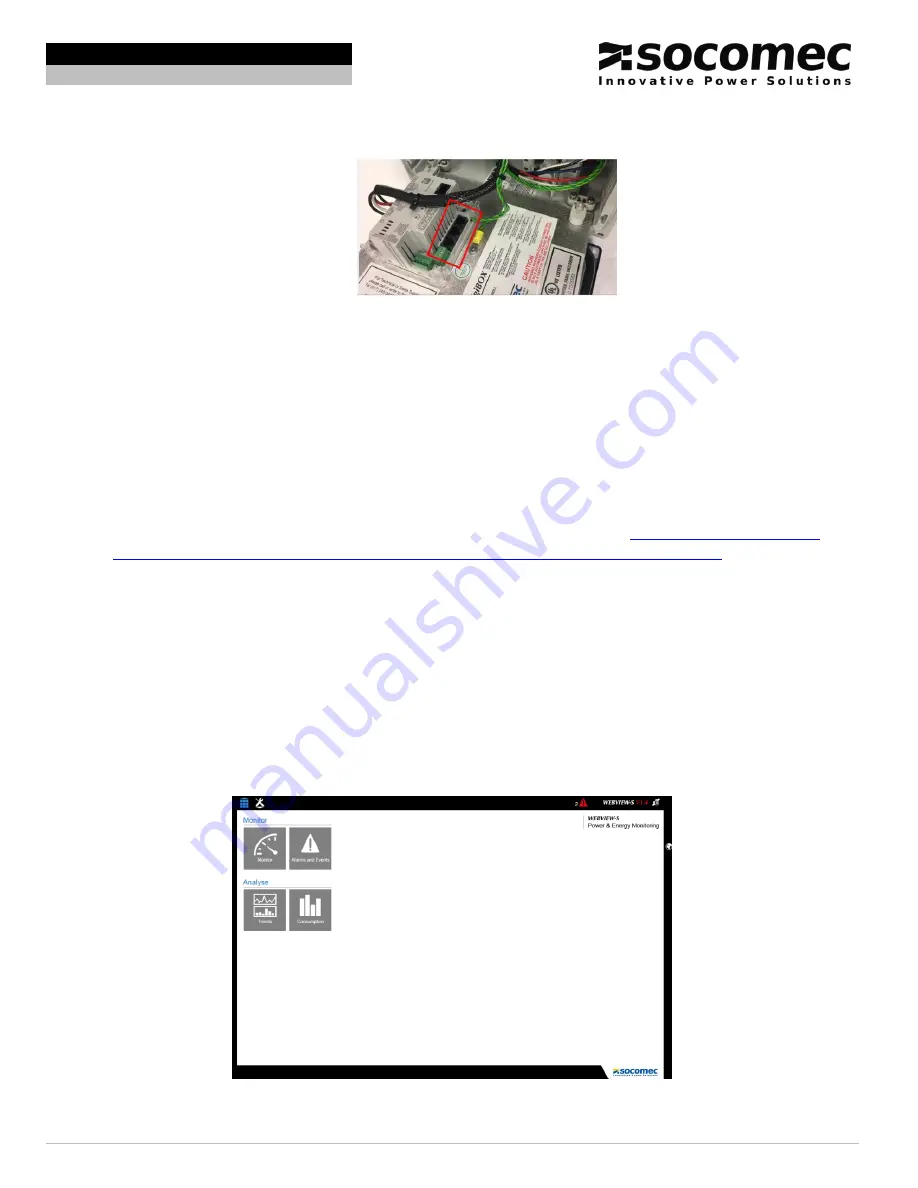
Figure 13: The home screen of Webview once the IP address of the DIRIS A-40 is entered into the web browser.


