QuickServer Start-Up Guide
Page 12 of 45
5
CONNECT THE PC TO THE QUICKSERVER
5.1 Connecting to the Gateway via Ethernet
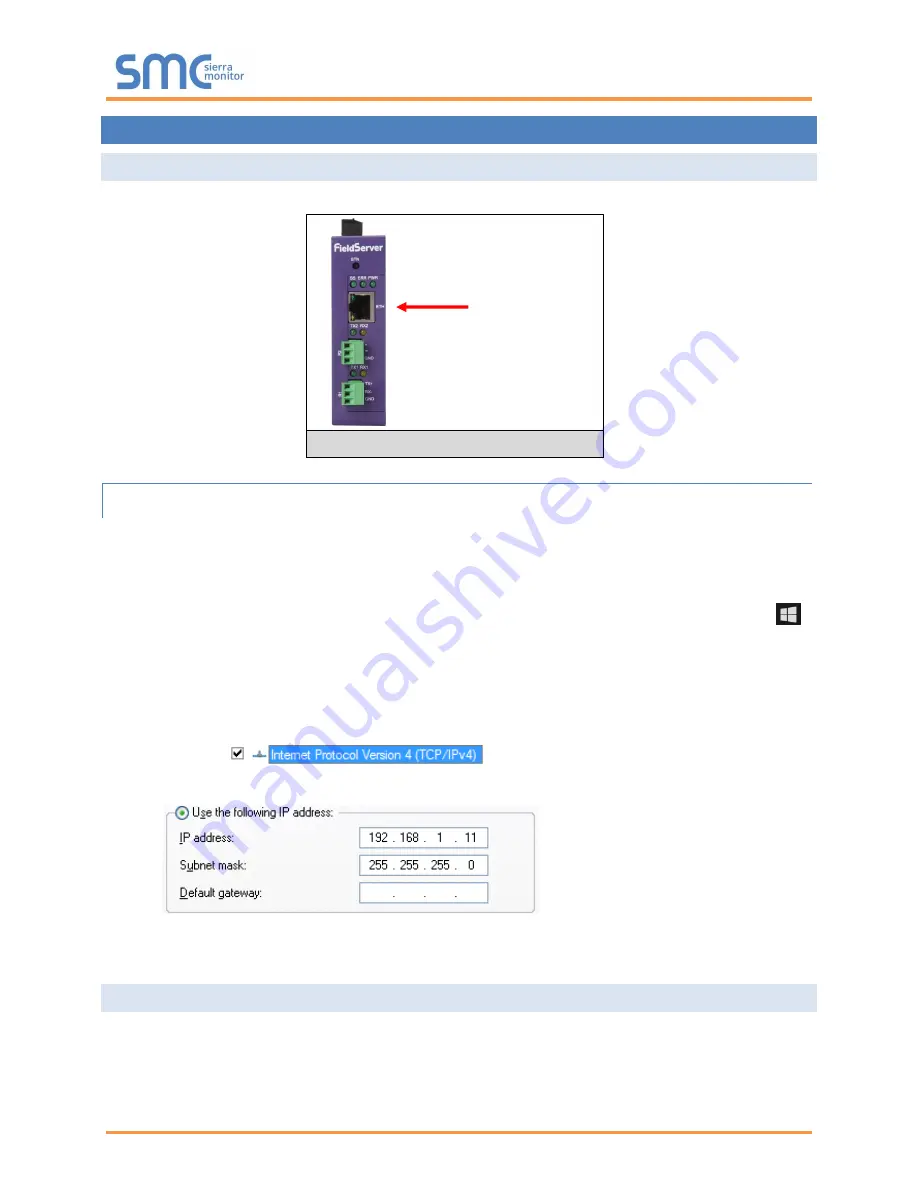
Connect a Cat-5 Ethernet cable (straight through or cross-over) between the local PC and QuickServer.
5.1.1 Changing the Subnet of the Connected PC
The default IP Address for the QuickServer is
192.168.2.101
, Subnet Mask is
255.255.255.0
. If the PC
and QuickServer are on different IP networks, assign a static IP Address to the PC on the 192.168.1.xxx
network.
For Windows 10:
•
Find the search field in the local computer’s taskbar (usually to the right of the windows icon )
and type in “Control Panel”.
•
Click “Control Panel”, click “Network and Internet” and then click “Network and Sharing Center”.
•
Click “Change adapter settings” on the left side of the window.
•
Right-
click on “Local Area Connection” and select “Properties” from the dropdown menu.
•
Highlight
and then click the Properties button.
•
Select and enter a static IP Address on the same subnet. For example:
•
Click the Okay button to close the Internet Protocol window and the Close button to close the
Ethernet Properties window.
5.2 Navigate to the EZ Gateway Login Page
•
Open a web browser and connect to the QuickServer
’s default IP Address. The default IP
Address of the FieldServer is
192.168.2.101
, Subnet Mask is
255.255.255.0
.
•
If the PC and the QuickServer are on different IP networks, assign a static IP Address to the PC
on the 192.168.2.X network.
Ethernet Port
Figure 8: Ethernet Port Location


