


3-6
Installing the Switch
3
Connecting to a Power Source
To connect a device to a power source:
1.
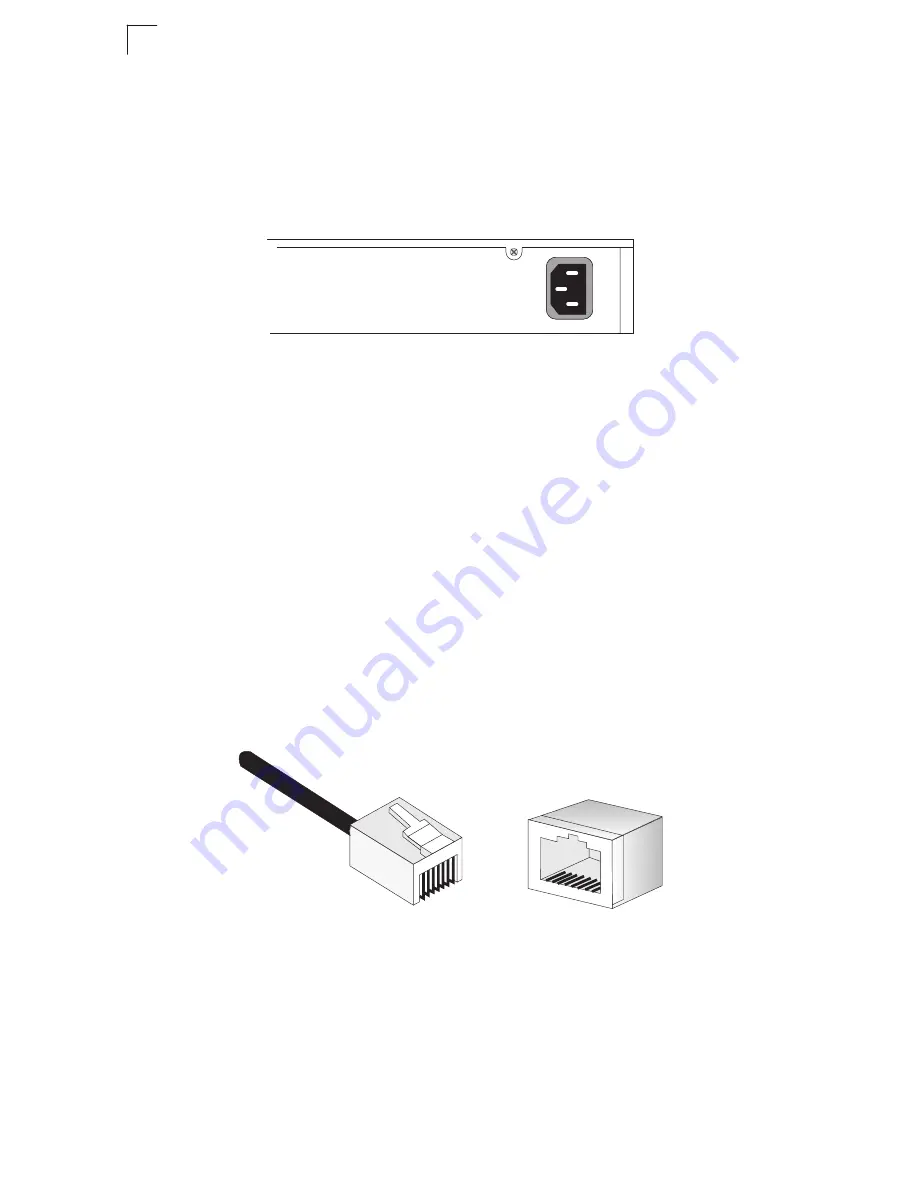
Insert the power cable plug directly into the socket located at the back of the
device.
Figure 3-6 Power Socket
2.
Plug the other end of the cable into a grounded, 3-pin, AC power source.
Note:
For international use, you may need to change the AC line cord. You must
use a line cord set that has been approved for the receptacle type in your
country.
3.
Check the front-panel LEDs as the device is powered on to be sure the Power
LED is on. If not, check that the power cable is correctly plugged in.
Connecting to the Console Port
The RJ-45 serial port on the switch’s front panel is used to connect to the switch for
out-of-band console configuration. The on-board configuration program can be
accessed from a terminal or a PC running a terminal emulation program. The pin
assignments used to connect to the serial port are provided in the following table.
Figure 3-7 Serial Port (RJ-45) Pin-Out
100 240V~50-60Hz 2.0A
-
8
1
1
8
Summary of Contents for 8150L2
Page 1: ...INSTALLATION GUIDE TigerSwitchTM 10 100 1000 50 Port Gigabit Managed Switch SMC8150L2 ta ...
Page 2: ......
Page 12: ...viii ...
Page 15: ...xi Contents Appendix D Ordering Information D 1 Glossary Index ...
Page 16: ...xii Contents ...
Page 38: ...3 8 Installing the Switch 3 ...
Page 54: ...C 4 Specifications C ...
Page 56: ...Ordering Information D 2 D ...
Page 63: ......


