www.smartwitness.com
6.
Final Steps
After installation of the CP2 into the vehicle, you can turn on vehicle ignition and the
camera will power on. There will be a sequence of RED/BLUE/GREEN LED lights
cycling during boot process.
Once boot up is complete. There will be a solid blue
light. This means proper operation and recording. The Green light should
become steady shortly after. If blue and green LEDs are not both solid after 5
minutes, there is an error. Please refer to the LED reference table in section 9. If
you still cannot resolve the issue, contact your supplier or SmartWitness.
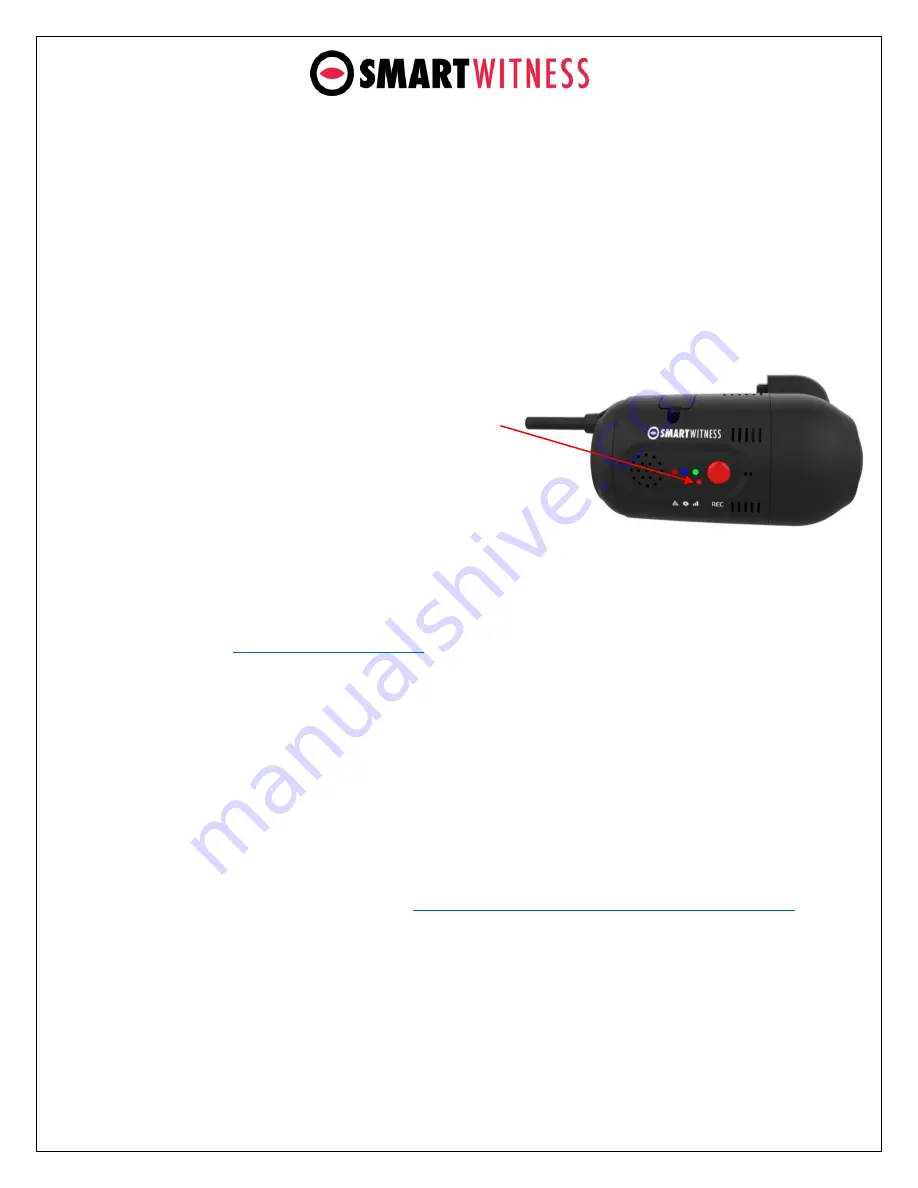
After the camera has been booted
completely, press the G-Sensor calibration
button once (small red button to the right
of the panic button).
The vehicle should be parked and on a flat
surface when pressing the G-Sensor
Calibrate button.
There will be a beep and the CP2 LED light will blink briefly to indicate the G-
Sensor calibration has registered.
and complete the installation wizard to validate
the installation and generate the installation report.
Give the provided torx screwdriver and any extra parts to the fleet
owner/administrator as well as a copy of the installation report.
NOTE
: To access install.smartwitness.com, you must first go through mandatory
training with SmartWitness. One you complete the training (about a 30-minute
webinar), you will be provided login credentials. To schedule training, please
complete the online form here:
https://www.smartwitness.com/become-installer


