- 13 -
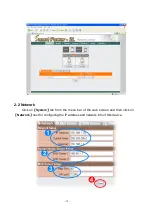
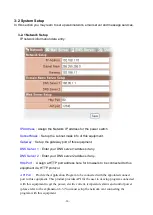
Network Setup
Please fill in the preferred IP address, sub network shade and the gateway info
of your local area network. If you d
on’t have relevant data on hand, please check
back with your network system administrator or ISP provider first.
Domain Name Server Setup
Please fill in the DNS server information here provided by the administrator or
your ISP service provider. If you do not know the DNS server information on your
network, you may find out yourself by inputting C
:
\>nslookup in DOS prompt.
Web Server Setup
When you log into this remote power control unit through a web
browser (e.g. Internet Explorer), you may change HTTP communication port to
be other value like 8080 if you do not want to use the default port number 443.
And then you may re-login again to the remote power manager by re-entering
the IP address of the remote IP power unit plus the new HTTP port number you
just assigned (e.g. http://192.168.1.10:8080 in this case) .
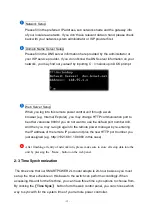
After finishing all entry of network info, please make sure to store all setup data into the
unit by pressing the
「
Save
」
button on the web panel.
2-3 Time Synchronization
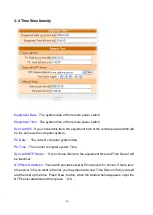
The time zone that our SMARTPOWER 2L model adopts is 24-hour basis so you must
set up the timer schedule on this basis to the switch can perform accordingly. When
accessing this unit for the first time, you can have three time sync options to choose from.
By clicking the
【
Time Sync
】
button form the web control panel, you can choose which
way to sync with for the system time of your remote power controller.


