VISIT WWW.SMART-POND.COM FOR PRODUCT INFORMATION AND TIPS.
EN
4
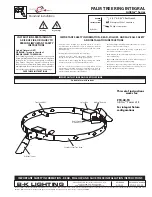
PREPARATION
Before beginning assembly or operation of product, make sure all
parts are present. Compare parts with package contents list and
diagram. If any part is missing or damaged, do not attempt to
assemble, install or operate the product. Contact Customer Care
for replacement parts.
• Estimated assembly time: 5 minutes.
• No tools required for assembly.
1
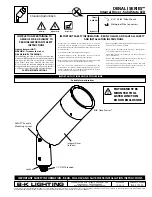
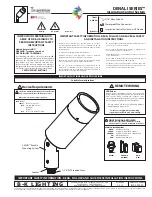
OPERATION INSTRUCTIONS
Step 1
. Connect the sensor to
the transformer and the sensor
to the lights by pushing the plug
into the sensor socket and hand
tighten the nut around the plug
and socket to secure.
Step 2
. Place the lights in or out
of the water. Make sure that the
transformer and sensor are not
submerged and the sensor is
facing up.
NOTE: At night, the lights will
automatically turn on. At sunrise,
they will automatically turn off.
Step 3
. Place the remote sensor
in a visible and open space
NOTE: the remote sensor cannot
be submerged or withstand
heavy rainfall.
2
3