background image

7

Display Settings and Tools

Additional settings will allow you to access the following: 

Display 

image size, Slideshow transitions, Slideshow Speed, 
Connect to PC, Power Saving, Factory Default.

Press            button until you see the ‘Select Card’ screen. Press and 
hold         button until the dislpay settings appear.
Use       or       buttons to highlight your selection. Press 
        to make changes. Press            button to exit a
selected option.

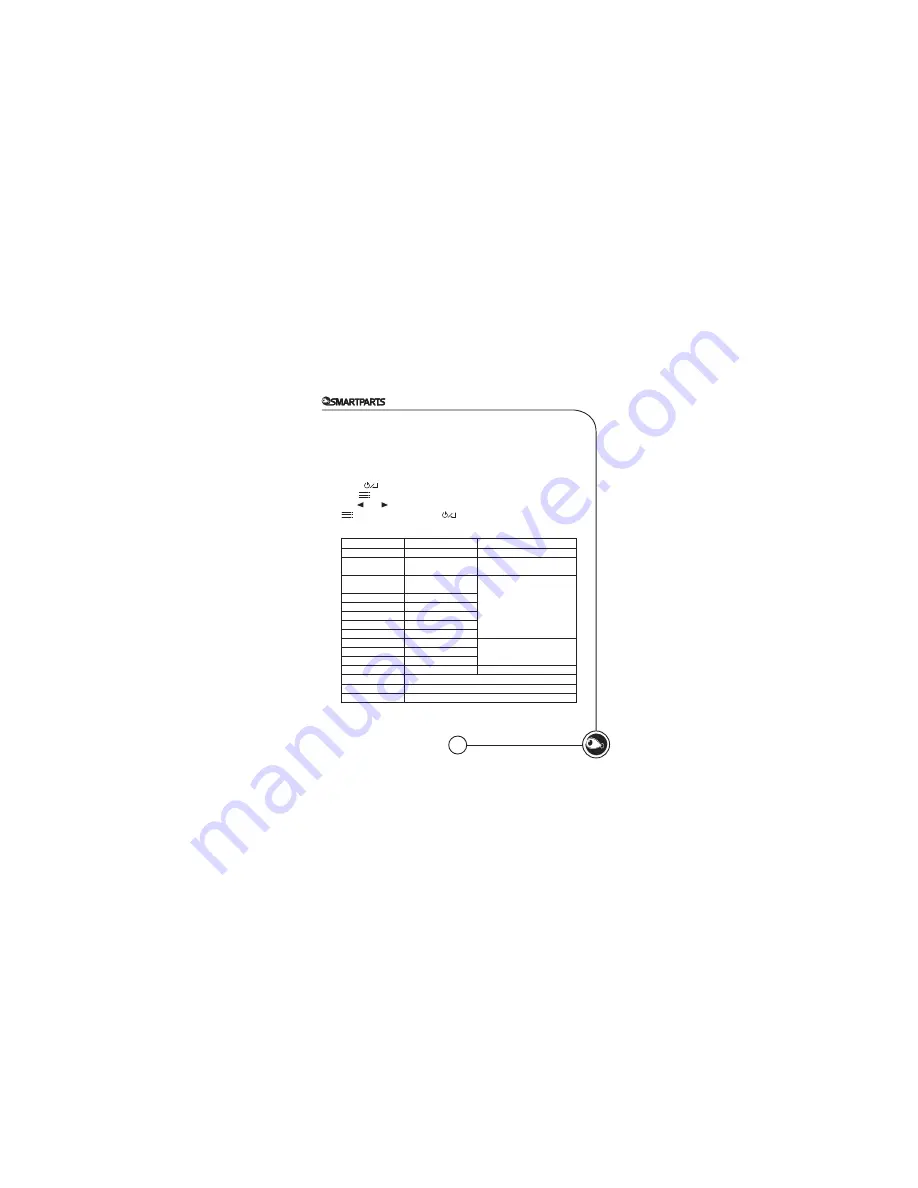
Menu Option

Sub- Menu Option

Description and function of operation

Display image size

Original 

Picture displays as is

Optimal

Picture will be adjusted to fit the 
display screen

Slideshow
Transitions

Normal

Select Transition  Effect

Random

Top Bottom

Curtain

Open Door

Cross Comb

Slideshow Speed

Fast

Select Transition  Effect

Medium

Slow

Language

English (only)

Visit www.smartpartsproducts.com for updates.

Connect PC… 

Refer to Optipix Desktop Software section for instructions

Power Saving

Select your power saving options

Factory Default

Resets the frame to factory settings

Summary of Contents for 3.5''

Page 1: ...PICTURE FRAME DIGITAL User s Manual...

Page 2: ...ease keep this user manual in a convenient location for future referencing Overview Your new digital picture frame lets you view photos without a computer An automatic continuous slide show lets you e...

Page 3: ...nput USB Port Menu Select Right Left Power Exit SD MMC Card Slot What s Included Included in the box Digital Picture Frame User Manual USB cable Use to charge Protective Micro fiber Carrying and Clean...

Page 4: ...go on the memory is facing you when inserting the card into the slot 3 A slide show will begin automatically To stop the slide show press button twice Internal Memory and Memory Card Slot Your digital...

Page 5: ...press button 3 Your selected picture will display on the screen 4 To start slideshow press button at any time 5 To pause the slide show at any time press button 5 To resume slide show press button 4...

Page 6: ...buttons highlight Rotate Photo Press to rotate the picture on screen To exit press button Zoom Photo Using the or buttons highlight Zoom Photo Press to zoom in and out of the picture displayed on scre...

Page 7: ...light Adjust LCD Color Press to adjust the display You will have the option to adjust brightness contrast tint and color Press and hold or buttons to change options from brightness to color the select...

Page 8: ...elected option Menu Option Sub Menu Option Description and function of operation Display image size Original Picture displays as is Optimal Picture will be adjusted to fit the display screen Slideshow...

Page 9: ...eb at www optipix com to get your copy Just enter your email address and your frame s serial number to download the software OptiPix PRO is designed to help you find optimize and transfer pictures to...

Page 10: ...ss and hold button until a sub menu appears on the bottom left hand corner Use the or buttons to select Copy Photo Press button to make the selection Select Copy Selected by pressing button OK will di...

Page 11: ...t Menu Select Left Up Right Down USB interface USB 2 0 full speed Internal Memory Saves up to 30 photos at low picture size File formats JPEG Display Colors 16 7M Colors Dimensions 95x77x13 mm Power l...

Page 12: ...direct sunlight or high temperatures This may result in damage Do not place it near heat sources such as radiators heat registers or other appliances that generate heat Orient the Digital Picture Fra...

Page 13: ...ITAL PICTURE FRAME IS TURNED OFF HINT The micro fiber carrying case works best to clean the screen How to clean the screen 1 Wipe the screen with a clean soft lint free cloth Use the micro fiber prote...

Page 14: ...or alcohol based cleaners NEVER SPAY OR POUR LIQUIDS DIRECTLY ONTO THE SCREEN OR PLASTIC CASING Technical Support Smartparts technical support is available via 1 Visit us online at www smartpartsprod...

Reviews: