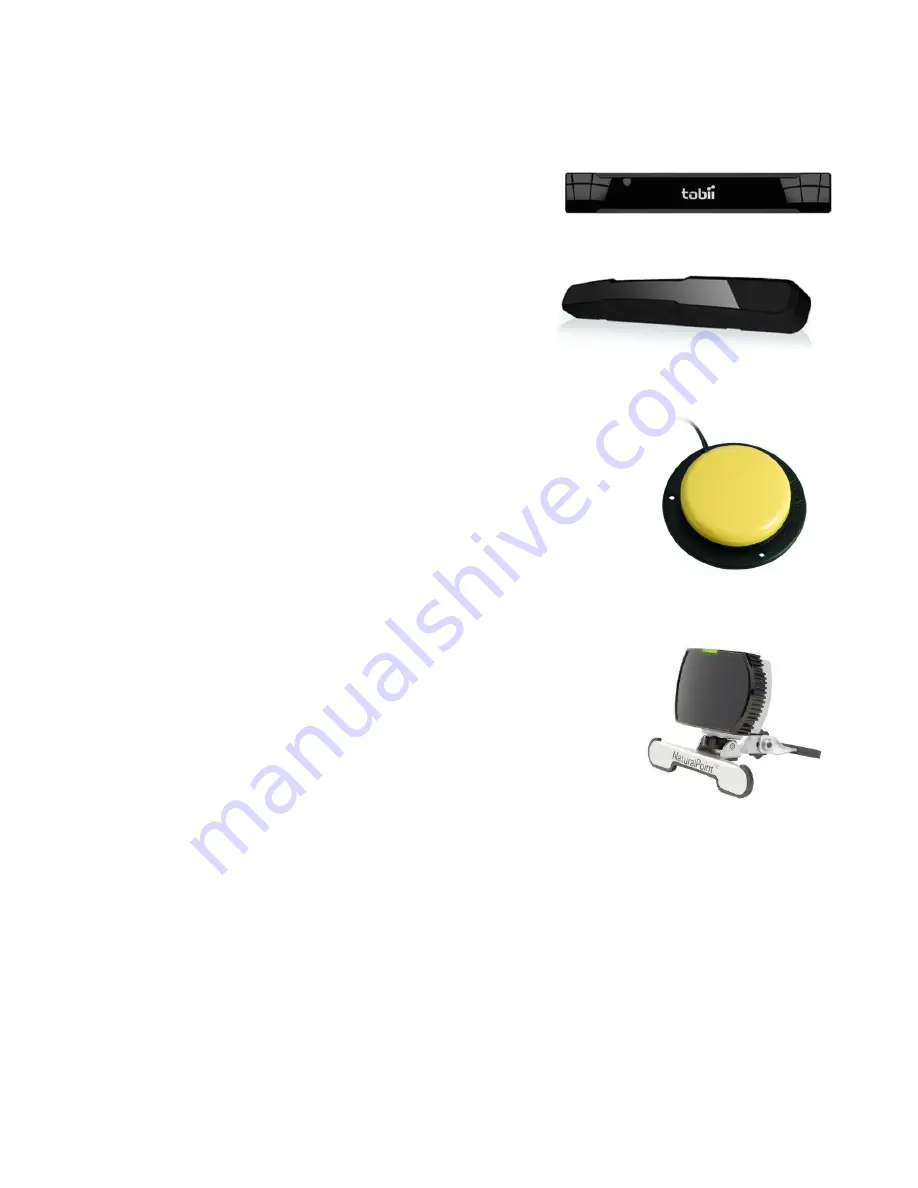
Connecting an Eye Tracker
It is likely that your SB18 Device has been supplied with an eye
tracker such as the Tobii PCEye Go or MyGaze.
To attach the eye tracker to the SB18 please place the camera
onto the magnetic mounting strip on the front on the SB18 and
then connect the USB cable to one of the spare USB Ports.
For help with setting up the eye tracker please refer to the
Smartbox Support Team or eye gaze camera
manufacturer’s handbook.
Switch input
There are 2 switch ports available on the SB18. Simply plug your switches
into the ports marked 1 and 2. The Grid 2 uses switch port 1 as the primary
switch input.
It is also possible to use a wireless switch transmitter with the SB18. If you
have purchased this from Smartbox it will already be paired with the device
and you simply plug in your switches to get started.
Other USB input
You can use any other USB input device with the SB18, including joysticks and
SmartNAV. Simply plug into one of the spare USB ports and install any drivers
provided by the manufacturer.
There are adjustable settings for all kinds of alternative input in The Grid 2.
Environment Control Overview
There are two types of environment controller included in the SB18.
Infrared
Infrared environment control can be trained to work with most household devices that have an
infrared remote control. This typically includes TVs and video systems, music centres and anything
else that comes supplied with an infrared remote controller.
Radio Control
The SB18 also contains a radio receiver that can be used to control a range of accessories supplied
by Smartbox. These include mains sockets and alarms.
Please refer to the Servus Manual for more details on setting up environment control.
Summary of Contents for SB18
Page 1: ...SB18 Quick start guide...


