Hardware Installation
Once all the cables are plugged in, please follow the instructions below to turn on the
System:
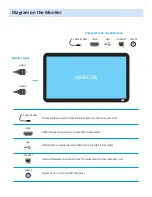
1. When connecting the HDMI from the Board’s Computer Unit Board’s Monitor, you will notice
that the Board’s Monitor will have two HDMI ports available on the left side of the Board.
Feel free to run the HDMI display cable to any of the available ports from the Board’s
Computer Unit.
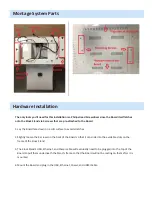
2. You will need to flip the Black Power Switch located right underneath the Kiosk Stands power
connection in order to allow power to be distributed throughout the entire Montage System
(Computer and Monitor Unit).
3. After flipping the Power Switch you will need to push the Round Silver Button right next to
the power connection situated on top of the Board’s Computer Unit – Note: the Silver Button
will light up blue if the Computer Unit is running.
4. The Board’s Monitor should boot on automatically but if it does not, you will need to hit the
power button on the remote control.
5. The Remote Control also controls the input options to switch back and forth between
different video options for the Monitor. If all you see after the Computer turns on is a
blue-screen with “No Display Detected” then you will need to use the Remote Control to
toggle between HDMI inputs (there should be a button labeled HDMI on the Remote Control
that allows you to switch from HDMI 1 to 2 – the correct option will vary depending on which
HDMI Port you connected the cable to from Step 1).


