Skytech: 7060TX SkyBridge
Rev. 9-15-20 Page 7
<
EVENTS
Event 1
Event 2
Event 3
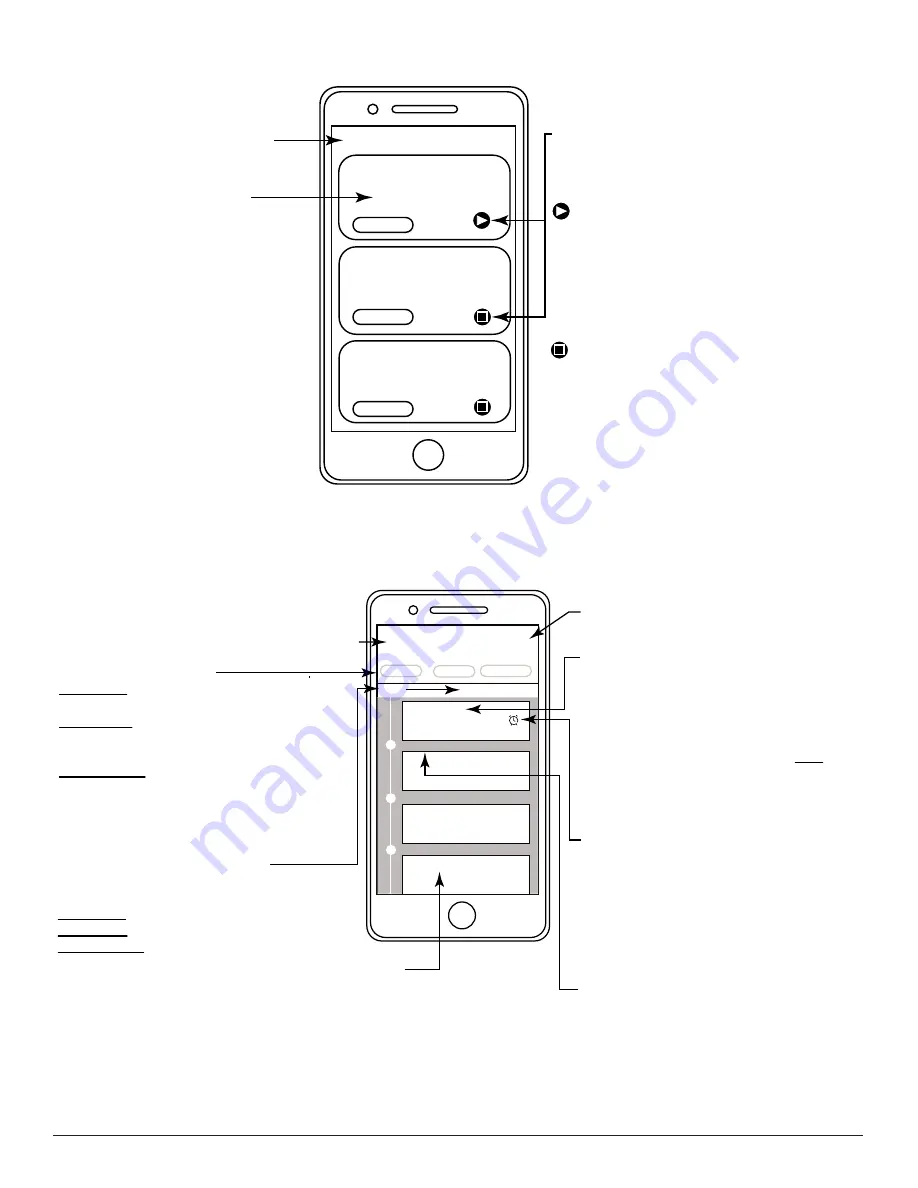
EVENT SELECTION SCREEN
Back Button:
Returns to the
Home Screen.
Event Selection Button:
Scroll down to see up to 8 different
events. Press to enter Event
Setup screen. See
EVENT
SETUP
section for more details.
If event is active, the icon will change to
a yellow “PLAY” icon.
The Event will
then execute from the SkyBridge
and will execute as programmed by
the user without the app being open
or anyone present.
STOP/PLAY BUTTONS:
Press to activate
(PLAY*) or deactivate (STOP**) an event.
If event is deactivated, the icon will
change to a grey “STOP” icon.
You must be within range and
connnected to the SkyBridge with
your Smartphone to stop Event
execution.
Fig. 15
Device Control Selection enables the ability to program an individual device to turn ON or OFF at
designated time frames.
Cancel Button:
Cancels any changes made to
an event and returns to Events Selection Screen.
Event 1
Cancel
Save
Immediate
Scheduled
Cycle/Repeat
+
+
+
Start
Hold to Delete
Hold to Delete
Hold to Delete
Device 1 ON
00:30:00
EVENT SETUP SCREEN
Event Start Day(s)/Time Button:
Displays start day and time as applicable.
Press to change start Day(s)/Time.
Immediate:
No selection is available
Scheduled:
Select one day and start time.
Cycle/Repeat:
Select 1 or up to 7 days and
start time.
Save Button:
Saves any changes made to
the event and returns to Event Screen.
Event Step:
Event step has a device already setup. Scroll
down to see up to 8 event steps. Press to
enter Event Device Control Screen, select
device state (ON or OFF); press SAVE to
change any device state changes and return
to Event Setup Screen. Press and Hold to
delete event step.
Delay Button:
Press the small clock to set a
delay time and follow the on-screen prompts.
Once all Event segments are complete, the
Event is set to turn OFF all devices that had
been turned ON previously in the Event.
Therefore, a delay is necessary to leave a
device ON for a period of time. It is also
possible to turn other devices ON or OFF at
different intervals during the Event.
Delay time is displayed in the “Event Tree”.
Event Step:
Event step has NOT been setup.
Scroll down to see up to 8 event
steps. Press to enter Event Device
Control Screen, select device state
(ON or OFF); press SAVE to save
device state and return to Event
Setup Screen.
Saturday 08:00
Event Type Buttons (3):
Immediate
- Will execute immediately after
touch “Play” button.
Scheduled
- Enables the user to schedule a
specific time for a device to turn ON/OFF up to a
week in advance.
Cycle/Repeat
- Allows event operation on
mutiple days of the week on a reoccurring basis.
Fig. 16
Event Setup Screen enables the ability to program start times, days of the week and how long to operate.


