Page 6
R. SYSTEM OPERATION WITHOUT HANDHELD REMOTE
This system is designed to operate with the hand held remote or a thermostat, but in the unlikely event that it is required to be operated without the
hand held remote or a thermostat, follow this simple procedure.
Slide
REMOTE /OFF
switch on main control module to
OFF
. The fireplace can now be lit and shut off by use of the ON/
OFF
rocker switch located
next to the module.
LEARN BUTTON
PILOT IGNITOR
CONNECTION
PILOT SENSOR
CONNECTION
REMOTE
ON/OFF SWITCH
CONTINUOUS
PILOT SWITCH
120 VAC
ADAPTER
CONNECTION
WIRE HARNESS CONNECTION
TO EXTENSION MODULE
WIRE HARNESS CONNECTION
TO VALVE STEPPER MOTOR
▲
▲
▲
▲
▲
▲
▲
▲
Switch
Remote
To OFF
Figure 17R
IMPORTANT NOTE
When operating fireplace in this capacity, the only function available is burner operation on HI.
17 - REMOTE RECEIVER INFORMATION
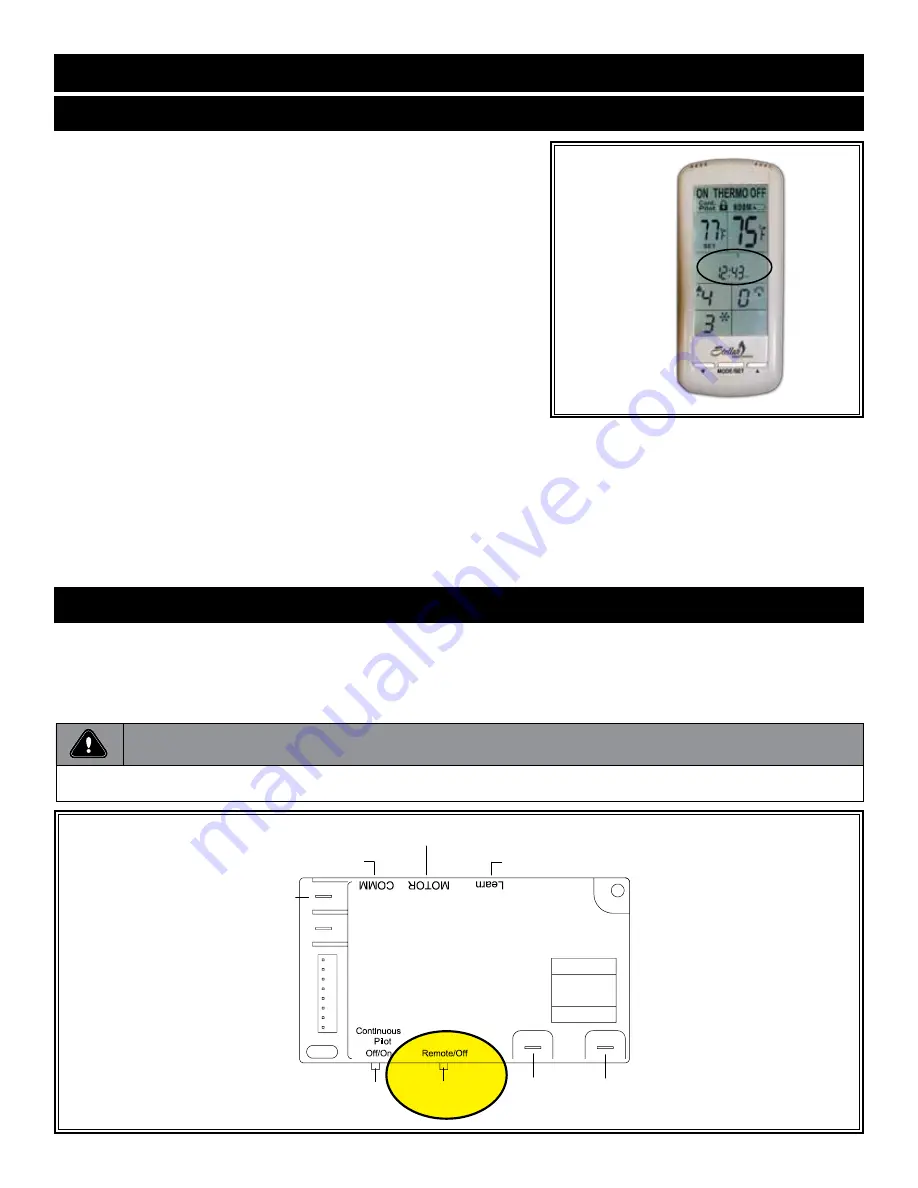
Q. SET THE DAY AND TIME DISPLAY
The current day of the week and time of day will be continuously displayed in the
TIME/PROG Zone (except during SET UP operations).
The day of the week will be displayed as one of the following: S, M, T, W, T, F, S.
The Time of day will be in 12-hour AM, 12-hour PM format with midnight being
displayed as 12:00am.
DAY - Press and hold the MODE Zone or the MODE/SET button for 5 seconds.
Press the UP or DOWN buttons to adjust to the desired day of the week.
Press the MODE/SET button to set or wait 15 seconds and the control will
automatically accept the day, then enter the hour of day adjustment.
HOUR: Press the UP or DOWN buttons to adjust the hour of the day. The
time will advance in 1-hour increments; AM and PM will change when the hour
advances to 12:00 midnight and 12:00 noon respectively. Once the desired time
of day is displayed, press the MODE/SET button to set or wait for 15 seconds
and the control will automatically accept the hour, then enter minute of hour
adjustment.
MINUTE(S): Press the UP or DOWN buttons to adjust the minute of the hour.
The time will advance in 1-minute increments. Press the MODE/SET button
once the desired minute is reached or wait 15 seconds and the control will
automatically accept the new time, and exit DAY/TIME Setup and return to
normal screen operation.
Figure 17Q


