background image


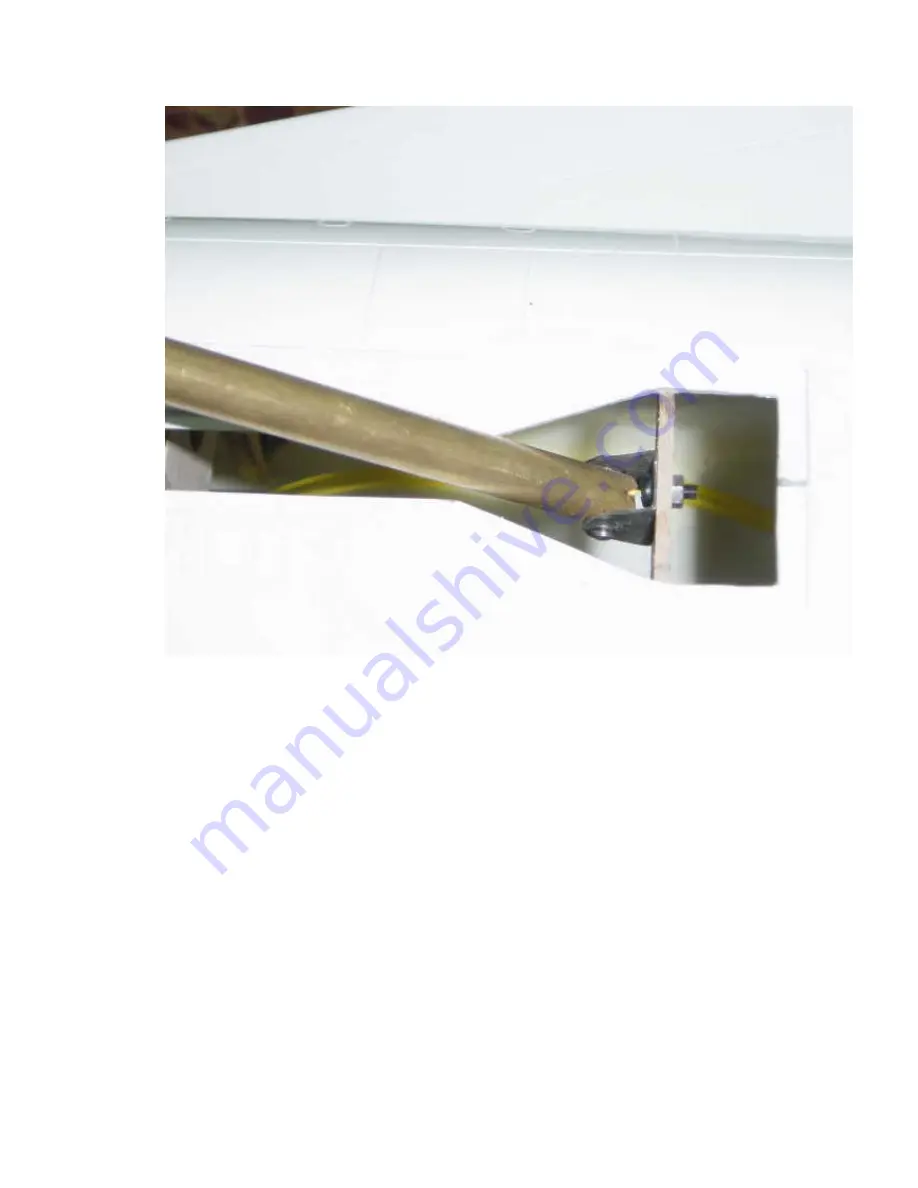
install nose gear with after connecter


Summary of Contents for ARF F-18

Page 1: ...Skymaster ARF F 18 Instructions Manual ...

Page 2: ...first Take out the front servos mount ...

Page 3: ......

Page 4: ...install front fuel tank before installing nose cone ...

Page 5: ...connect nose cone to fuselage by 6 screw ...

Page 6: ...install main gear with setup air pipes for air breaks for the main gear ...

Page 7: ......

Page 8: ...install nose gear with after connecter ...

Page 9: ......

Page 10: ......

Page 11: ...e please make sure you use thread lock or a spring washer to set the screw in tightly Also make sure you check the screw regularly to ensure that the rudder does not come loose Please keep in mind if the rudder is even slightly loose it could cause flutter and serious damage on the plane ...

Page 12: ...install two servos for the Elevator We suggest use of the Futaba 9204 9151 or JR 8425 8511 or 8611 servos for the elevator ...

Page 13: ......

Page 14: ...elevator shafts and servo arms must be installed first make sure that there is a minimal lateral movement and after which the servos mounts can be installed included in the kit ...

Page 15: ......

Page 16: ......

Page 17: ...connect both push pull rods for elevator servos control the F 18 kit includes 2 rods for Elevators ...

Page 18: ...set up elevator function for up down movement for each to between 40 mm 45 mm ...

Page 19: ...Glue the 6 Hinges for Ailerons with Flaps ...

Page 20: ......

Page 21: ... The servo mount base should have enough surface area to hold it If you only glue the servo mount directly to the wing surface without additional support may cause the whole thing to rip off in extreme conditions This will cause serious damage to your plane such as fluttering We suggest you use a thin plywood or layer of fiberglass to increase the base surface space before you glue the servo mount...

Page 22: ...connect both push pull rods for Aileron servos control the F 18 kit includes 2 rods for Ailerons ...

Page 23: ......

Page 24: ......

Page 25: ......

Page 26: ...install the aileron servos We suggest use of the JR 3421servos for the ailerons ...

Page 27: ......

Page 28: ...before install two servos for both Flaps must be set up your RC system for Flaps Function We suggest use of the Futaba 9204 9151 or JR 8425 8511 or 8611 servos for the Flaps ...

Page 29: ......

Page 30: ...The new designed Flaps system very simple for set up your wings and no any Rods on out side ...

Page 31: ...If you do not want to use the new Flaps system you will need to cut the holes for install the Flaps servos that Rods will be on out side ...

Page 32: ...first Take out the cross spar for install both Fuel Tanks ...

Page 33: ...setup fuel pipe with T fitting for connect to both fuel tanks with over follow ...

Page 34: ......

Page 35: ...make the by pass holes to fasten the dual wall tail pipe ...

Page 36: ......

Page 37: ... has two brackets Mark and drill holes in the brackets so they line up with the holes in the right left by pass holes make sure the engine is on the center line and adjust the engine position fore and aft as necessary ...

Page 38: ......

Page 39: ...setup the top cover for by pass and set up the cross spar ...

Page 40: ...setup the front servo and make two piano wires control to the nose gear ...

Page 41: ...install the retracts control servo with break control servo install two 2 valves for jet engine with the fuel pump ...

Page 42: ......

Page 43: ...If you want to make a cockpit detail for F 18 that do not install the full front servo mount you must be cutting to half mount for install servos to the after space ...

Page 44: ...install two batteries into nose cone for CG balance ...

Page 45: ...set up ailerons function for up down movement for each to between 12 mm 18 mm ...

Page 46: ...set up elevator function for up down movement for each to between 40 mm 45 mm ...

Page 47: ...set up Flaps function for down movement 20mm 25mm for Talk off ...

Page 48: ...set up Flaps function for down movement 60mm for Landing Home ...

Reviews: