Skylight Frame Quick Start Manual Download Page 5

7

Create your Frame’s email address

Download the app or visit 

ourskylight.com/finalstep

 to make 

an account and activate your Frame. Make sure you select 

“Frame” for device type.

Use your code

Once you have created your Frame’s email address,  

our system will give you a 6-digit code. Enter this code  

on your Frame using the on-screen keyboard.

Configure Settings

Access your Frame’s settings by tapping on the gear icon to find 

your device’s email address and configure  your device.

Activate

1.

2.

3.

Invite Others

Share your Frame’s unique email address with the whole family, or 

the more photos you’ll get!

Send Photos

subject and contents of an email don’t matter - Skylight just grabs 

attachments. 

Rotate

Your photos will automatically rotate to accommodate your Frame’s 

displayed orientation. You can also rotate photos by tapping the 

screen and selecting rotate from the menu bar.

Share

6

Plug the power adapter into an outlet

Plug the round end of the cord into the port on the back of your 

Frame marked ‘Power’. 

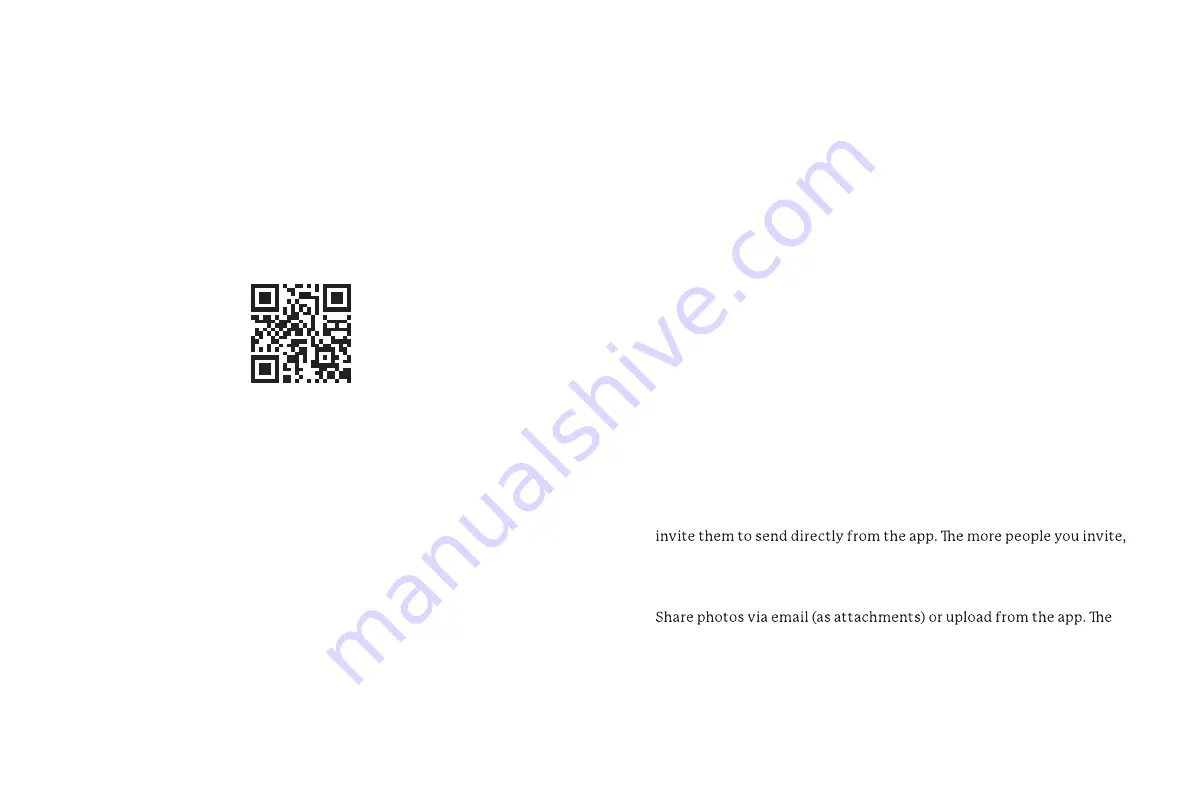
Download the Skylight app

Search “Skylight App” in your app store or scan the QR code 

below. With the app, you can view and send photos from your 

Frame, like and comment on photos, and more.  

Select your network

A list of available WiFi networks will appear on the right side 

of the screen. Tap to choose your network from the list. Swipe 

up if the list is long. If your network does not appear, wait for 30 

seconds and check once more.

Enter your password

If your WiFi requires a password, a prompt will appear. Type in 

your password using the onscreen keyboard.

Getting Started

Connect to WiFi

1.

1.

2.

2.

Scan to 

download

Summary of Contents for Frame

Page 1: ...Frame Quick Start Guide For more Skylight products visit www skylightframe com ...

Page 2: ...Fi Activate Share Settings Need Some Help Features At A Glance Send Photos Swipe Zoom Heart Button WiFi Skylight Plus Skylight Frame Base Mount Stand Screws a b Wall Mount Screws c Power Cable 4 4 5 6 6 7 7 8 9 2 2 2 2 2 2 3 Instructions Features Contents of the box ...

Page 3: ...n by going to Settings Advanced Features WiFi Skylight requires WiFi for initial setup and to receive new photos but you can still view new photos without a WiFi connection Features At A Glance 3 Skylight Plus If you have purchased the Skylight Plus plan you can manage all of the Frames under your account and gain access to these premium features Mobile App Additional access to view photo history ...

Page 4: ...holes to hand tighten screws b Display your Frame horizontally or vertically and photos will automatically rotate to fit the Frame s orientation For video instructions visit youtube com c SkylightFamily 1 2 A B b A a a b A a a A 5 Portrait Orientation Landscape Orientation Attach the mount to the wall using the provided anchors and matching screws c with the pleat facing towards you Align the plea...

Page 5: ...tos will automatically rotate to accommodate your Frame s displayed orientation You can also rotate photos by tapping the screen and selecting rotate from the menu bar Share 6 Plug the power adapter into an outlet Plug the round end of the cord into the port on the back of your Frame marked Power Download the Skylight app Search Skylight App in your app store or scan the QR code below With the app...

Page 6: ...Skylight email address check your WiFi status or reset your WiFi Sleep Mode Ensure your Skylight screen goes to sleep at the same time each night and wakes up at the same time each morning You can manually enter sleep mode or create an automated sleep schedule for your Frame Settings 9 If you have any questions about how to use or set up your Skylight Frame please visit our User Guide at skylightf...

Page 7: ...lation If this equipment does cause harmful interference to radio or television reception which can be determined by turning the equipment off and on the user is encouraged to try to correct the interference by one or more of the following measures Reorient or relocate the receiving antenna Increase the separation between the equipment and receiver Connect the equipment into an outlet on a circuit ...

Page 8: ...12 ...

Reviews: