background image

5

OPERATING YOUR TELESCOPE

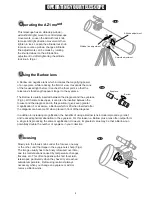
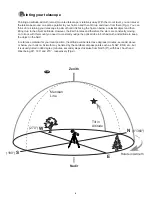
Fig.a

Fig.b

Barlow

Eyepiece

U

sing the Barlow lens

A Barlow is a negative lens which increases the magnifying power 
of an eyepiece, while reducing the field of view. It expands the cone 
of the focussed light before it reaches the focal point, so that the 
telescope's focal length appears longer to the eyepiece.

The Barlow is usually inserted between the diagonal and the eyepiece 
(Fig.b). With some telescopes, it can also be inserted between the 
focuser and the diagonal, and in this position it gives even greater 
magnification. For example, a Barlow which is 2X when inserted after 
the diagonal can become 3X when placed in front of the diagonal.

In addition to increasing magnification, the benefits of using a Barlow lens include improved eye relief, 
and reduced spherical aberration in the eyepiece. For this reason, a Barlow plus a lens often outperform 
a single lens producing the same magnification. However, its greatest value may be that a Barlow can 
potentially double the number of eyepiece in your collection.

F

ocusing

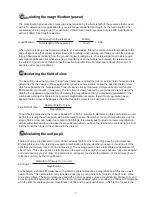
Fig.c

Slowly turn the focus knobs under the focuser, one way 
or the other, until the image in the eyepiece is sharp (Fig.c). 
The image usually has to be finely refocused over time, 
due to small variations caused by temperature changes, 
flexures, etc. This often happens with short focal ratio 
telescopes, particularly when they haven't yet reached 
outside temperature.  Refocusing is almost always 
necessary when you change an eyepiece or add or 
remove a Barlow lens.

O

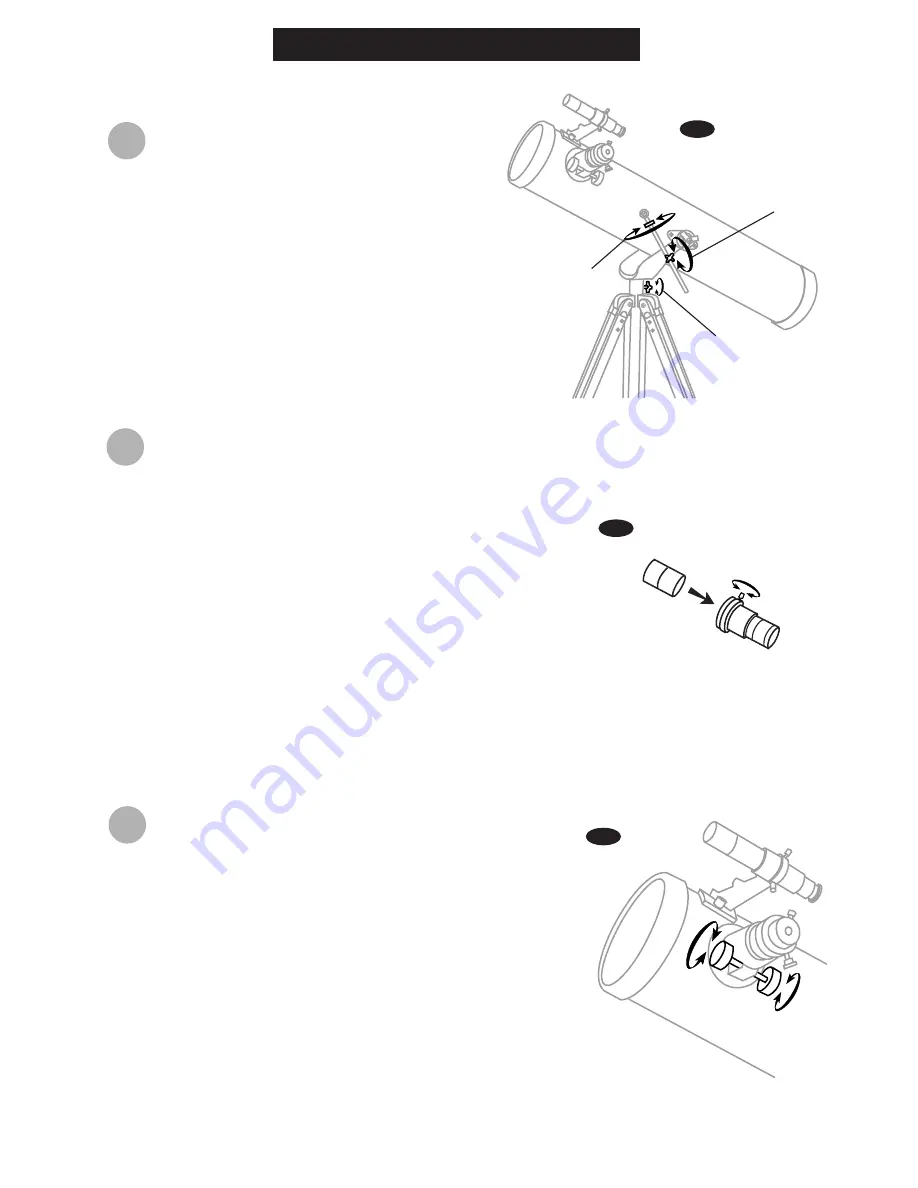
perating the AZ1 mount

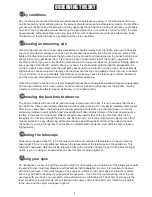
This telescope has an altitude(up-down)-
azimuth(left-right) mount to control telescope 
movements. Loosen the azimuth lock knob 
to make left-right direction movements then 
tighten to lock. Loosen the altitude lock knob 
to make course up-down changes. Altitude 
fine adjustments can be made by rotating 
the knurled wheel on the altitude fine 
adjustment rod after tightening the altitude 
lock knob. (Fig.e)


Azimuth adjustment

Altitude fine adjustment

Altitude adjustment

Summary of Contents for 767AZ1

Page 1: ...ocus Knob Finderscope Bracket Focuser Dust Cap Mask Secondary Mirror Position Altitude Fine Adjustment Control Yoke Mount Telescope Main Tube Yoke Locking Knob Altitude Lock Knob Primary Mirror Position Azimuth Lock Knob Accessory Tray Tripod Leg Height Adjustment Clamp Finderscope Allignment Screw ...

Page 2: ... 5 3 3 4 4 4 5 5 5 6 7 7 7 8 8 8 8 8 8 9 TABLE OF CONTENTS Read the entire instructions carefully before beginning Your telesope should be assembled during daylight hours Choose a large open area to work to allow room for all parts to be unpackaged Before you begin Never use your telescope to look directly at the sun Permanent eye damage will result Use a proper solar filter for viewing the sun Wh...

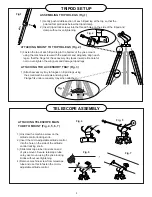
Page 3: ... each tripod leg to the bottom of the yoke mount using the machine screws with the washers and wingnuts Align each leg so that the hinge for the accessory tray faces inwards Be careful not to over tighten the wingnuts and damage tripod legs ATTACHING THE ACCESSORY TRAY Fig 3 1 Attach accessory tray to hinges on tripod legs using the small machine screws and wing nuts Flange fits under accessory tr...

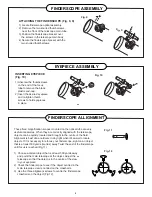
Page 4: ...day light when it s easier to locate objects If it is necessary to refocus your finderscope sight on an object that is at least 500 yards metres away Twist the end of the finderscope until focus is reached Fig 11 1 Choose a distant object that is at least 500 yards away and point the main telescope at the object Adjust the telescope so that the object is in the centre of the view in your eyepiece ...

Page 5: ...oducing the same magnification However its greatest value may be that a Barlow can potentially double the number of eyepiece in your collection Focusing Fig c Slowly turn the focus knobs under the focuser one way or the other until the image in the eyepiece is sharp Fig c The image usually has to be finely refocused over time due to small variations caused by temperature changes flexures etc This ...

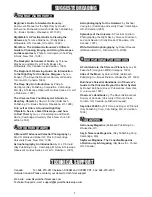
Page 6: ...d therefore the stars are constantly moving so to track with this mount you need to constantly nudge the optical tube in both azimuth and altitude to keep the object in the field In reference material for your local position the altitude will be listed as degrees minutes seconds above or below your horizon Azimuth may be listed by the cardinal compass points such as N SW ENE etc but it is usually ...

Page 7: ... bit from person to person is less until your eyes become fully dark adapted and decreases as you get older To determine an exit pupil you divide the diameter of the primary of your telescope in mm by the magnification For example a 200mm f 5 telescope with a 40mm eyepiece produces a magnification of 25x and an exit pupil of 8mm This combination can probably be used by a young person but would not...

Page 8: ... also affects images Astronomy is an outdoor activity The best conditions will have still air and obviously a clear view of the sky It is not necessary that the sky be cloud free Often broken cloud conditions provide excellent seeing Do not view immediately after sunset After the sun goes down the Earth is still cooling causing air turbulence As the night goes on not only will seeing improve but a...

Page 9: ...s New York 1984 Astrophotography An Introduction by H J P Arnold Sky Publishing Corp Cambridge MA Sky Telescope Observer s Guides Series ed Leif J Robinson 1995 Observational References Magazines Astrophotography for the Amateur by Michael Covington Cambridge University Press Cambridge UK 2nd edition 1999 Splendors of the Universe A Practical Guide to Photographing the Night Sky by Terence Dickins...

Reviews: