


With the slider on the left, you can set a zoom. The camera can also be
controlled during recording.
6. Record
Press the Record button to start a new recording.
7. Status indication
Shows in which mode (LIVE) the application is (LIVE, REC, REPLAY).
8. Battery status
Indication of the state of the battery of the iPad. Below 20 %, the status indicator
turns red. This indicates that the iPad needs to be charged or should be
connected to a power source.
9. Recordings
Saved recordings are stored in the archive. Swipe to the left in order to delete
or share the recording. If you want to share a recording, an mp4 file will be
created. This takes about a quarter of the time of the whole recording. A simple
tap loads the recording in the app.
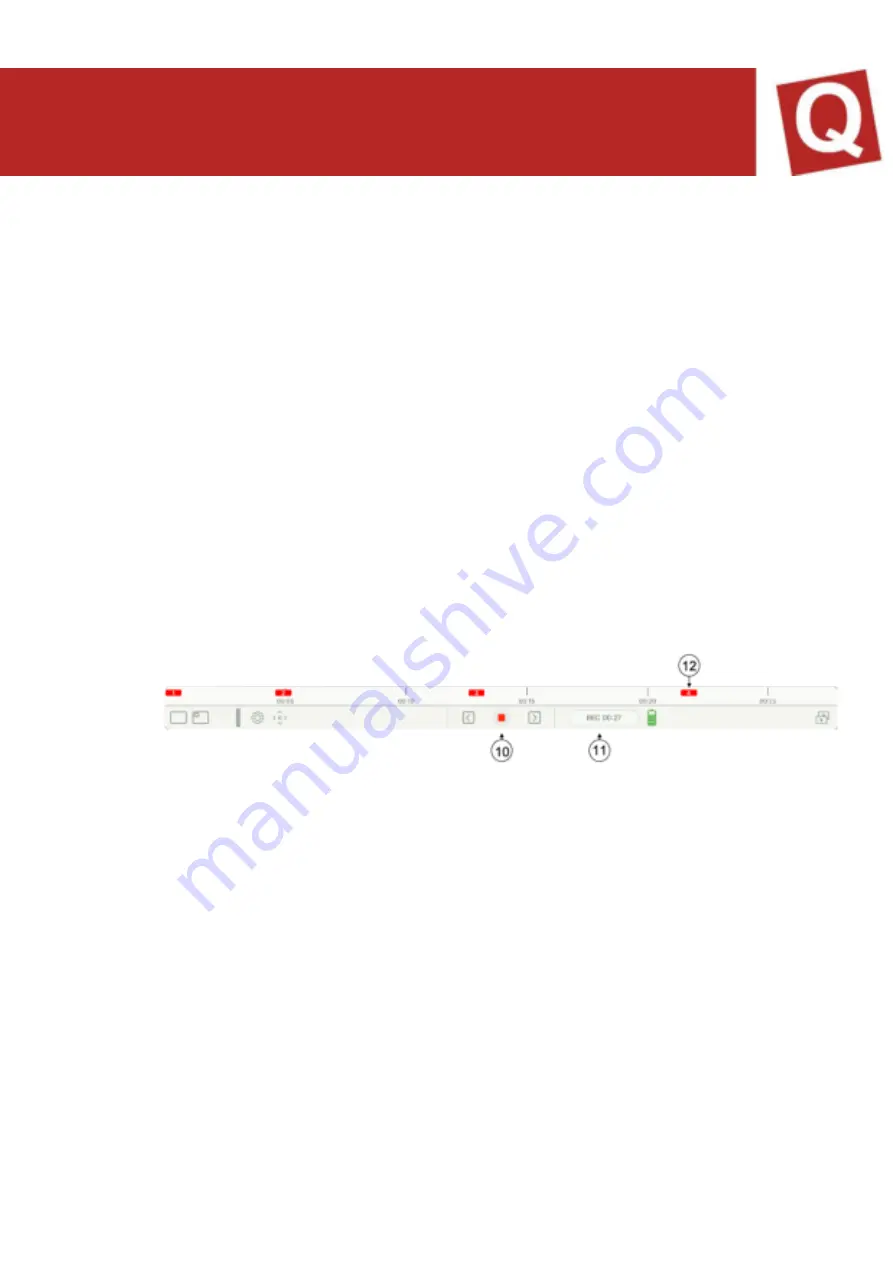
10. Stop
By pressing the Stop button, the dialog with the following options opens:
“Continue recording” –
The recording is continued
“Exit” –
The recording is stopped. The application automatically switches to
REPLAY mode.
11. Status indication
Indication of the current mode (in record mode with time indication)
12. Marker
To set markers, write with the Apple Pen in the current image. The marker is
displayed in the timeline in the colour you selected.
13. Remove notes step by step