62 38 328 D3439
12
D3439
.
092.05.03
.
02 04.2010
Installing the manual block clamp
Sirona Dental Systems GmbH
Final work
Installation Instructions for Manual Block Clamp CEREC MC XL, inLab MC XL
3. Select the desired bur set and confirm with
"Start"
.
You can also select the desired bur set on the milling unit (up/down ar
-
row) and then confirm your selection with
"Start"
.
Ç
The milling unit then moves into position to insert the calibration
tools.
A dialog box prompts you to insert the calibration pins and the cali
-
bration phantom and to close the milling chamber door again.
4. Press the catch of the milling chamber door and open the door.
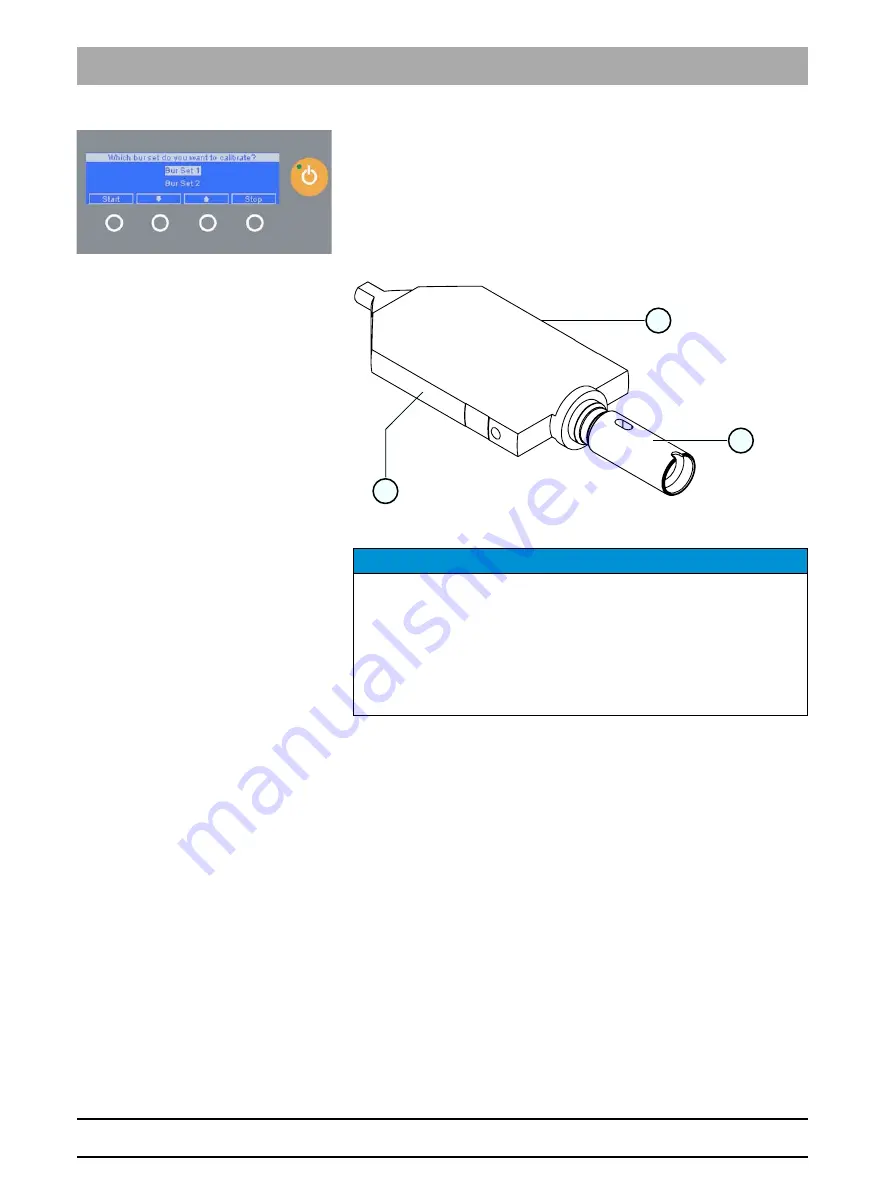
Calibration phantom
5. To insert the calibration phantom in the block clamp, grasp it by its narrow
surfaces (B).
6. Clamp the calibration phantom with the ball pressure screw. Use the
block clamp tool for this purpose.
7. Insert the calibration pins in the DC motor manually. Tighten the corre
-
sponding chuck with the torque wrench until a clicking sound can be
heard.
8. Close the milling chamber door.
9. Confirm your selection in the
"Calibrate milling unit"
window with the
"Start"
button.
Ç
The automatic calibration begins and takes approx. 9 minutes.
empty
Finishing the calibration
1. Open the milling chamber door following calibration.
2. Loosen the calibration pins with the torque wrench and pull them out ma
-
nually.
NOTICE
Grasp the calibration phantom correctly
Grasping the calibration phantom by its wide surfaces may cause calibration
errors.
Always grasp the calibration phantom by its clamping shank (A) when re
-
moving it from the storage box.
Always grasp the calibration phantom by its narrow surfaces (B) when in
-
serting it in the block clamp.
A
B
B
Summary of Contents for inLab MC XL
Page 2: ......
Page 3: ...MQKOMNM bob j uiI áåi Ä j ui kÉì ÄW aÉìíëÅÜ báåÄ ì åäÉáíìåÖ ÑΩê ã åìÉääÉ _äçÅâëé ååìåÖ ...
Page 4: ......
Page 83: ......
Page 85: ......
Page 86: ......
Page 87: ......
Page 88: ...NOTE BELOW THE LAST POSITION WHEN BE FULL AND RIGHT INSTALLED ...


