6
of 12
MA14-710ENG-REV1
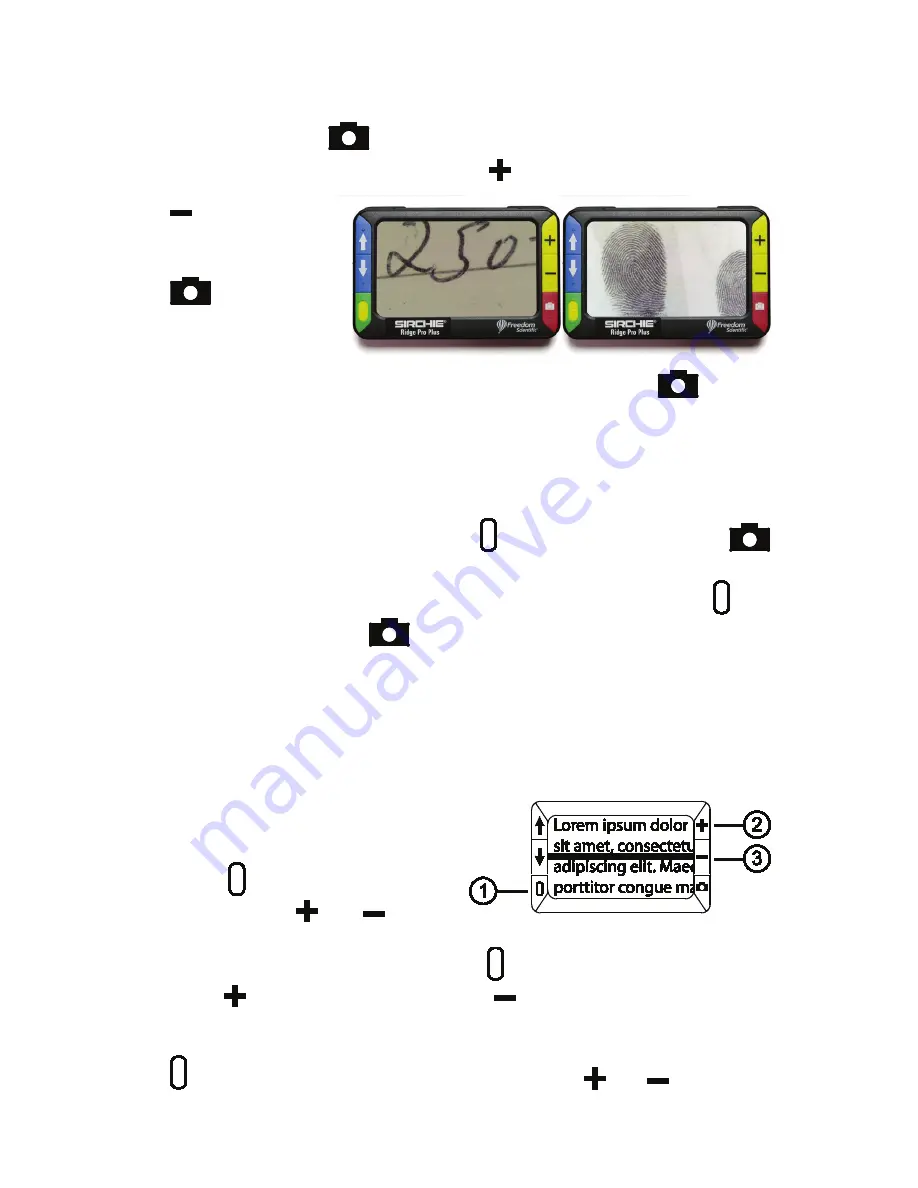
Freezing an Image
To freeze an image on the screen, do the following:
1. Press the red button
to freeze the image.
If you like, press the yellow PLUS button
to increase magnification, or the
yellow MINUS button
to decrease mag-
nification.
2. Press the red button
again to turn off
Freeze Frame mode
and return to the live
view.
Note:
To save a frozen image, press and HOLD the red button
for three
seconds. Refer to
Storage Mode
for more information.
Turning LED Lights Off
When you turn on the unit, the LED lights also turn on. To avoid glare when view-
ing reflective surfaces, you can turn off the LED lights.
1. Press and HOLD the green/yellow button , and then press the red button
. The LED lights turn off.
2. To turn the lights on again, press and HOLD the green/yellow button , and
then press the red button
.
Using the Reference Line or Masks
The reference line is a horizontal line that displays on the screen. Use it for posi-
tioning an object on the screen before capturing the image. The masks block part
of the screen to show a horizontal slice. The following describes how to display the
line and masks.
Displaying Reference Line
1. Press and HOLD the green/yellow
button
(1) and then press both
yellow buttons (
and
(2 and
3)). The reference line displays on the screen as shown in the next figure.
2. Press and HOLD the green/yellow button (1) and then press the yellow PLUS
button
(2) or the yellow MINUS button
(3) to move the reference line up
or down on the screen.
3. To remove the line from the screen, press and HOLD the green/yellow button
(1) and then press and HOLD both yellow buttons (
and
(2 and 3)).


