CN-Series Hardware Installation and Maintenance Guide
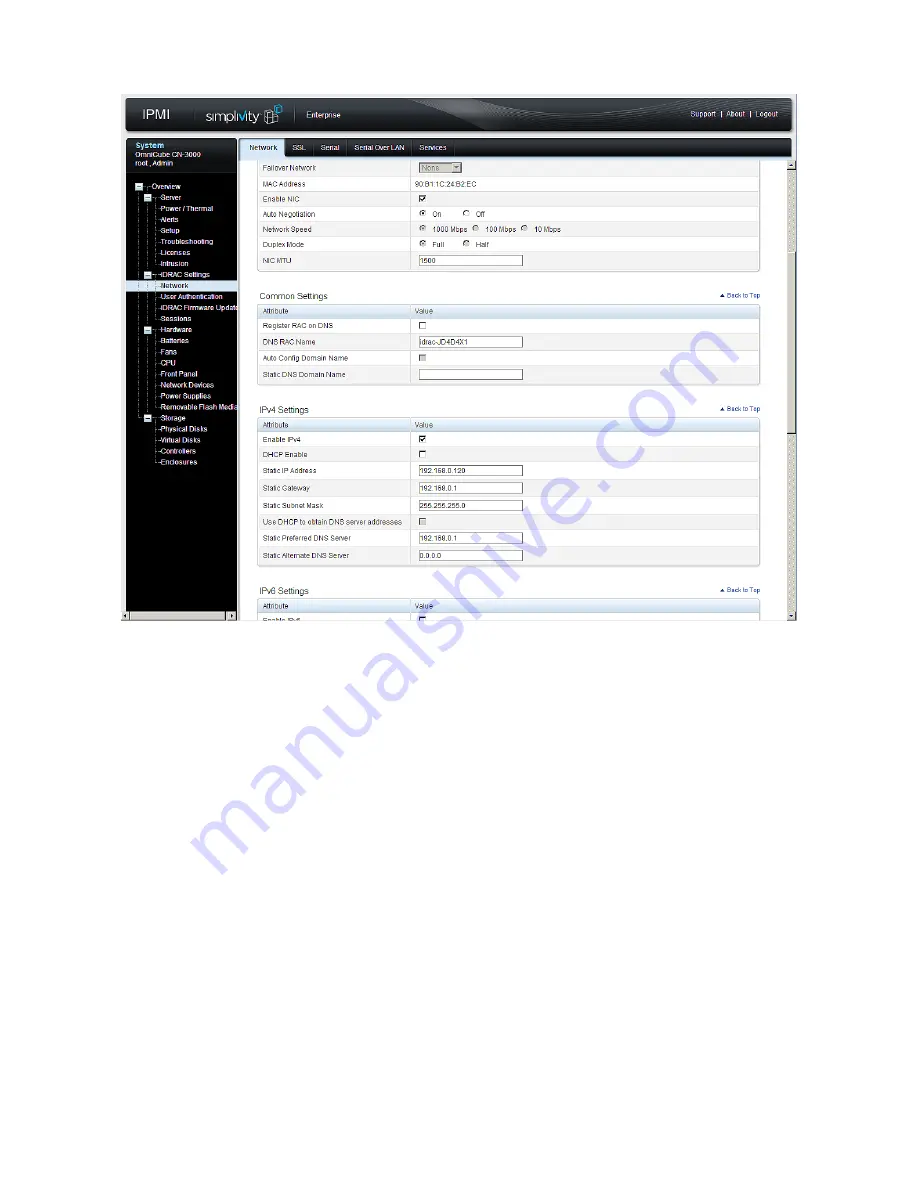
Task 5—Configuring IPMI for Remote Management
7.
Check the box for
Enable IPv4
.
8.
Do one of the following:
–
Check the box for
Enable DHCP
.
–
Assign a static IP address, Gateway, Subnet Mask and [Optional] DNS servers, if used.
9.
Verify the VLAN settings at the bottom of the screen complies with your network settings. If you are not
using VLANs, this must be unchecked.
10.
Click
Apply
then
Logout
to exit IPMI.
11.
Remove the Ethernet cable from the IPMI port in the OmniCube and replace it with a cable that is
connected to a rack switch. This switch must be in the network that you specified in
Step 8
.
12.
Reset the IPv4 properties for your laptop, reversing the changes that you made in
Step 2
.
You can now connect to IPMI from any remote location.
Related Topics
Ports Required for Network Communication
Connecting to IPMI and Launching the Virtual Console
29


