12
Features & Controls
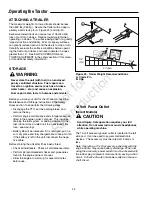
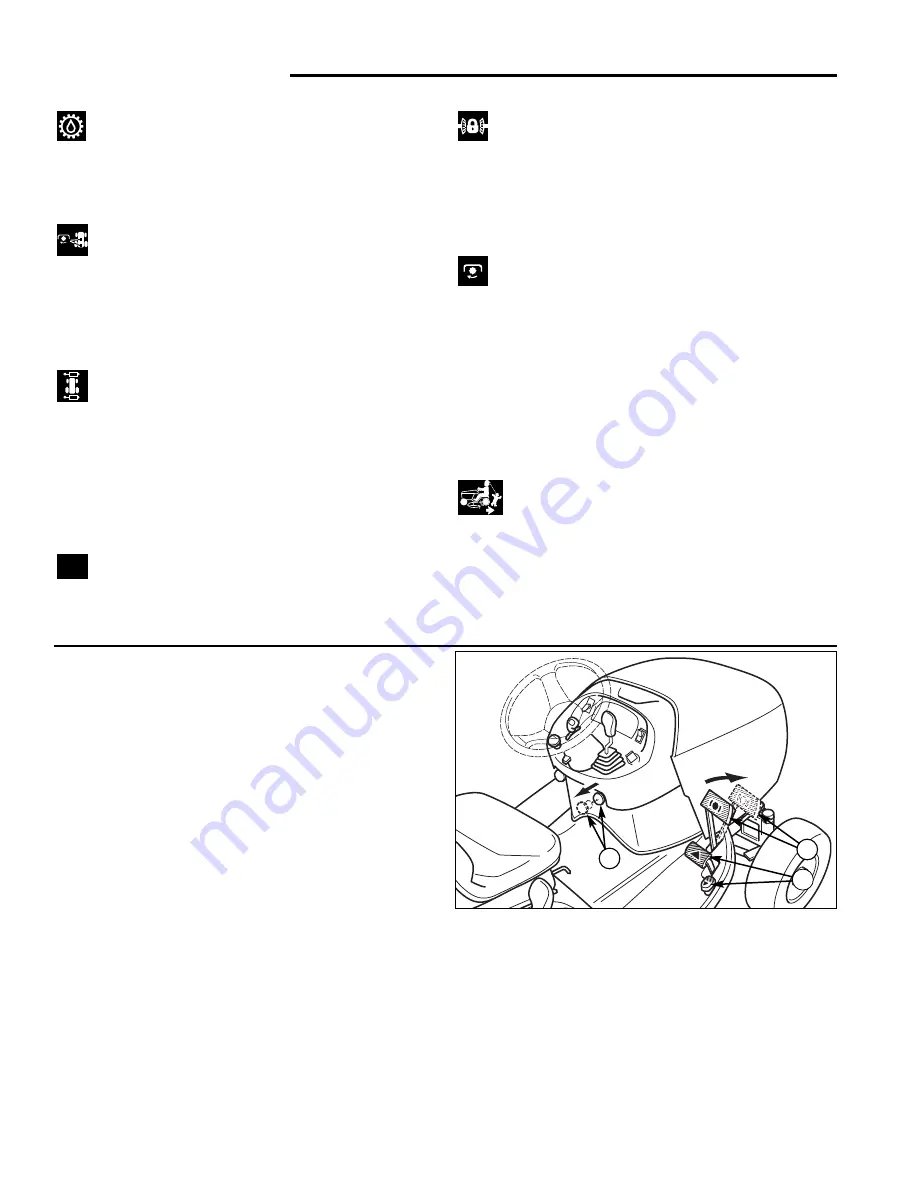
Figure 2. Engaging the Parking Brake
A. Ground Speed Pedals
B. Brake Pedal
C. Parking Brake Knob
PARKING BRAKE FUNCTION
Applying the Parking Brake -
See Figure 2. To lock
the parking brake, release the ground speed pedals (A),
fully depress the brake pedal (B), pull the parking brake
knob (C) out, and then release brake pedal.
Releasing the Parking Brake -
See Figure 2. To
release the parking brake, fully depress the brake pedal
(B) and push in the parking brake knob (C).
AUTOMATIC CONTROLLED
TRACTION
What is Automatic Controlled Traction?
Automatic Controlled Traction (ACT) is an exclusive fea-
ture of our transmissions that provides improved traction.
ACT applies a preset amount of torque to both rear
wheels even if one starts slipping (a transmission without
ACT will lose traction completely if one rear wheel starts
slipping). This preset torque is just enough to provide
additional traction, and still allow the wheels to turn at dif-
ferent speeds in a tight turn without damaging the lawn.
What to Expect from Your ACT Tractor
For the most part, while using your tractor you will not
notice ACT working, and you will simply become accus-
tomed to increased traction an ACT transmission pro-
vides.
A
B
C
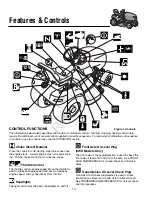
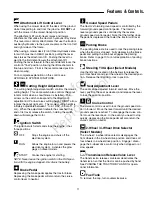
Transmission Oil Level Check Plug
Transmission oil check plug/dipstick is used to check
transmission oil level and to add oil to the transmission.
See TRANSMISSION MAINTENANCE for oil level check
and fill procedures.
Mid / Rear PTO Selector
The mid / rear PTO selector lever selects which PTO or
combination of PTOs is activated by the PTO switch.
The selector has three positions (from front to back:)
mid PTO active only, mid and rear PTO active, rear PTO
active only. Disengage the PTO switch before altering
this control’s setting.
Front / Rear Hydraulics Selector
The front / rear hydraulics selector switches which
hydraulic circuit is controlled by the forward and back-
ward movement of the attachment lift lever.
When the switch is in the forward position, the attach-
ment lift control lever affects attachments connected to
the two front left quick couplers. When the switch is in
the rear position the attachment lift control affects the
tractor’s hydraulic cylinder.
Power Outlet (Select Models)
The power outlet is 12V-DC. Accessory must be rated at
14 amps or less.
12V
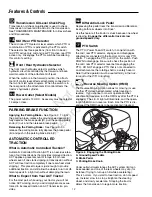
Differential Lock Pedal
Depressing this pedal locks the transmission differential,
locking both rear wheels into “drive”.
Use this feature if the tractor is stuck because one wheel
is slipping.
Engage the differential lock at slow
ground speeds only.
PTO Switch
The PTO (Power Take-Off) switch, in conjunction with
the mid / rear PTO selector, engages and disengages
attachments connected to the tractor’s mid or rear PTO
shafts. To engage the PTO, pull UP on the switch. Push
DOWN to disengage. Be sure to check the position of
the mid / rear PTO selector lever before engaging the
PTO. DO NOT engage a PTO that is not connected to
an attachment as the rotating shaft is a safety hazard.
Note that the operator must be seated firmly in the trac-
tor seat for the PTO to function.
Reverse Mowing Option (RMO)
The Reverse Mowing Option allows for mowing (or use
of other PTO driven attachments) while traveling in
reverse. If you choose to mow or operate another
attachment in reverse, turn the RMO key after the PTO is
engaged. The L.E.D. light will illuminate, and the opera-
tor can then mow in reverse. Each time the PTO is dis-
engaged the RMO needs to be reactivated if desired.
Under certain circumstances the ACT system limit can
be exceeded, and one of the rear wheels may slip (for
instance if trying to turn up a hill while accelerating).
This is normal. If you start to lose traction, do not speed
up. Instead, slow to a stop, straighten the steering
wheel, and slowly accelerate. Stopping the tractor
allows the transmission to regain more traction.
Not
for
Reproduction


