EN
DE
FR
ES
IT
EN
DE
FR
ES
IT
01
02
03
04
05
06
07
08
09
10
11
12
13
14
15
16
17
18
19
20
21
22
23
USE
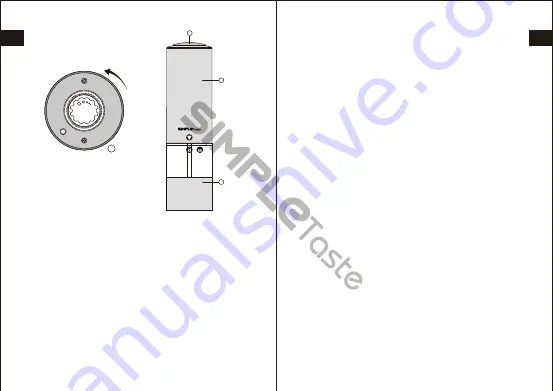
1. Firmly hold the lower section of the grinding chamber
①
and turn the top
②
in a counterclockwise direction (see
Figure A). A ‘click’ sound will be heard.
2. Pull the top
②
off the grinding chamber
①
.
3. Pull the motor
③
carefully off the grinding chamber
①
.
4. Insert 6 new AAA 1.5V batteries (not included). Insert
using the correct polarity.
5. Fill up the grinding chamber
①
with peppercorns and
coarse salt. Fill the grinding chamber
①
up 75% for best
results.
6. Put the motor back on the grinding chamber. Please
make sure the contacts of
④
and
⑤
face each other.
7. Hold the grinding chamber
①
in an upright position,
and place the top
②
back on it, aligning the top’s
'arrow' symbol with the 'unlock' symbol on the
grinding chamber.
8. While firmly holding the grinding chamber
①
, turn the
top
②
clockwise to align the 'arrow' symbol with the
'lock' symbol. A 'click' sound will be heard when the top
has been successfully locked.
9. Turn the adjustable screw
⑥
clockwise for finer
grinding, and counterclockwise for coarser grinding.
10. Press and hold the 'On' buttons
⑦
to activate salt
and/or pepper grinding.
NOTE
Make grinding more coarse if you find the mill stops
grinding when the adjustment screw
⑥
is at too fine a
level. If the mill still doesn't grind then the grinder may
also be blocked. In this case, open the adjustable screw to
the coarsest level and shake the mill back and forth until it
starts grinding again.
SPECIFICATION
Power supply: 6 x AAA batteries
Battery type: 1.5 V AAA (LR6, Mignon)
6
7
2
Figure B
Figure C
1
Coarser


