58
EN
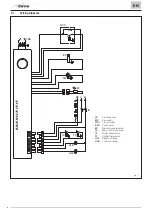
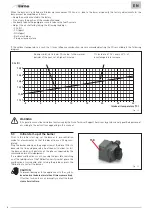
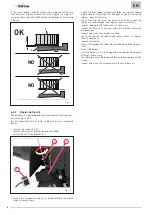
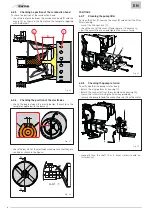
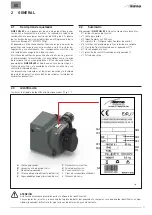
If the motor and/or impeller (3) must be replaced, make sure
that the lower rotation surface (A) of the impeller is roughly 1
mm away from the surface (B) of the housing body, as illustrated
in figure.
OK
NO
NO
~ 1mm
A
3
B
Fig. 39
6.2.2
Replacing the coil
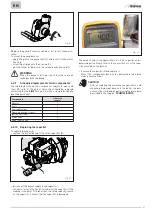
The pump coil is designed and manufactured to withstand tem-
peratures up to 85°C.
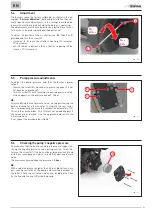
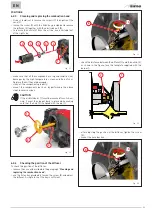
In case of malfunctions or faults, replace the coil as explained
below:
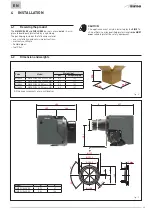
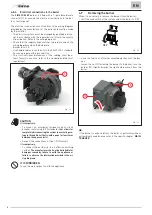
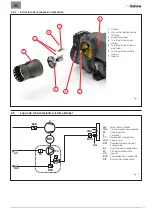
– remove the connector (1);
– remove the nut (2) using the spanner provided;
– extract the coil (3) and replace it;
1
2
3
Fig. 40
– mount the components back on by performing the above
steps in reverse order.
– Check the fuel supply components (pipe, pump, fuel supply
pipe) and their connections for leakages or signs of wear, and
replace them if necessary;
– check that the electrical connections and the connecting
cables are not damaged, and replace them if necessary;
– inspect the pump filter and clean it if necessary;
– inspect the fan and its housing, and check whether there are
any damages;
– inspect and clean the combustion head;
– check the ignition electrodes and adjust them, or replace
them if necessary;
– replace the nozzle;
– mount the combustion head. Observe the adjustment dimen-
sions;
– mount the burner;
– start the burner, check the flue gas data and adjust the burner
settings, if necessary;
– the fuel pipes must be inspected annually and replaced after
2 years;
– inspect and clean the components of the main burner.

