40
22.4 Transferring Photos, Videos and Voice Recordings
Note:
If your operating system is Windows 98, please read the chapter “
Driver
Installation
”
on page 35.
If you want to transfer data (photos, videos, voice recordings, MP3 files) between the camera and
your computer, then you must first define the memory you want to access. For more information on
this option, read “ Memory” on page 29.
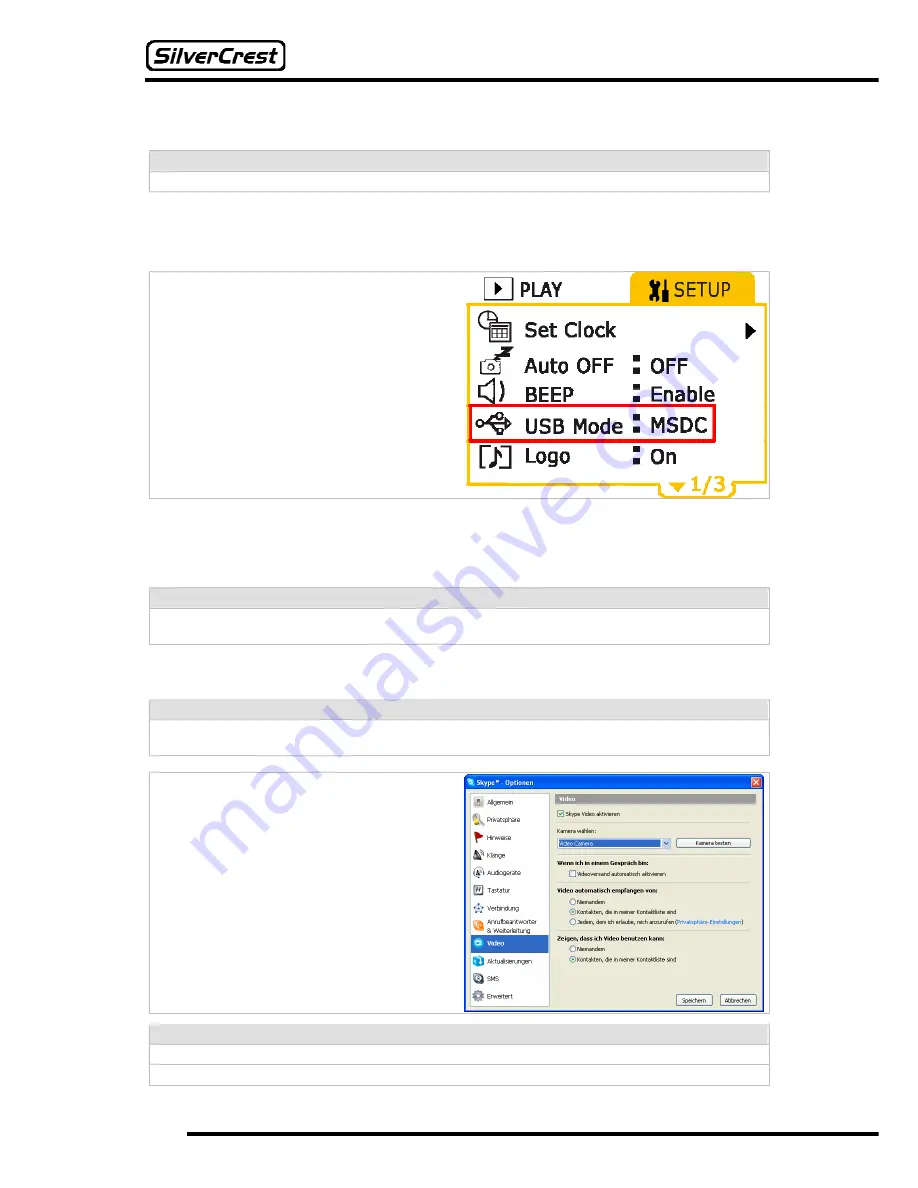
Switch the camera on and set the USB mode
to “
MSDC
” (see page 29). Use the USB cable
to connect your camera to your computer
without switching the camera off
. (See page
35).
The MSDC USB mode is the standard setting.
This means that you must only execute the
aforementioned step if you have used your
camera as a webcam or video camera, or have
printed photos using PictBridge.
If you have correctly connected the camera to your computer, a new removable medium drive
appears in “My Computer”. You can now use this removable drive as a normal drive. You can copy,
delete or rename files as normal. If necessary, read the operating instructions for your operating
system.
Caution:
To prevent data loss, you should never disconnect your camera from your computer whilst saving
or writing data. To connect the camera from your computer, follow the instructions on page 42.
22.5 Using the DV-767 as a Webcam
Note:
Before using the DV-767 as a webcam for the first time, read the chapter “
Driver
Installation ” on
page 35.
If you have correctly installed the driver for the
DV-767, then you can, for example, use the
camera as a webcam for applications such as
Skype (see image on right) or other video
conference systems. This software is not
included.
To use the camera as a webcam, switch it on
and set the USB mode to
Webcam
(see page
29). Connect your camera to your computer
without switching the camera off
. (See page
35). It is then available as a webcam for all
programs.
Note:
Use the support provided to position the camera on the table in front of you.
Summary of Contents for DV-767
Page 1: ...Instruction Manual DV 767 ...


