Before continuing with installing and pairing the device, please ensure that your Silux
Control
®
app is installed and registered.
Installation instructions
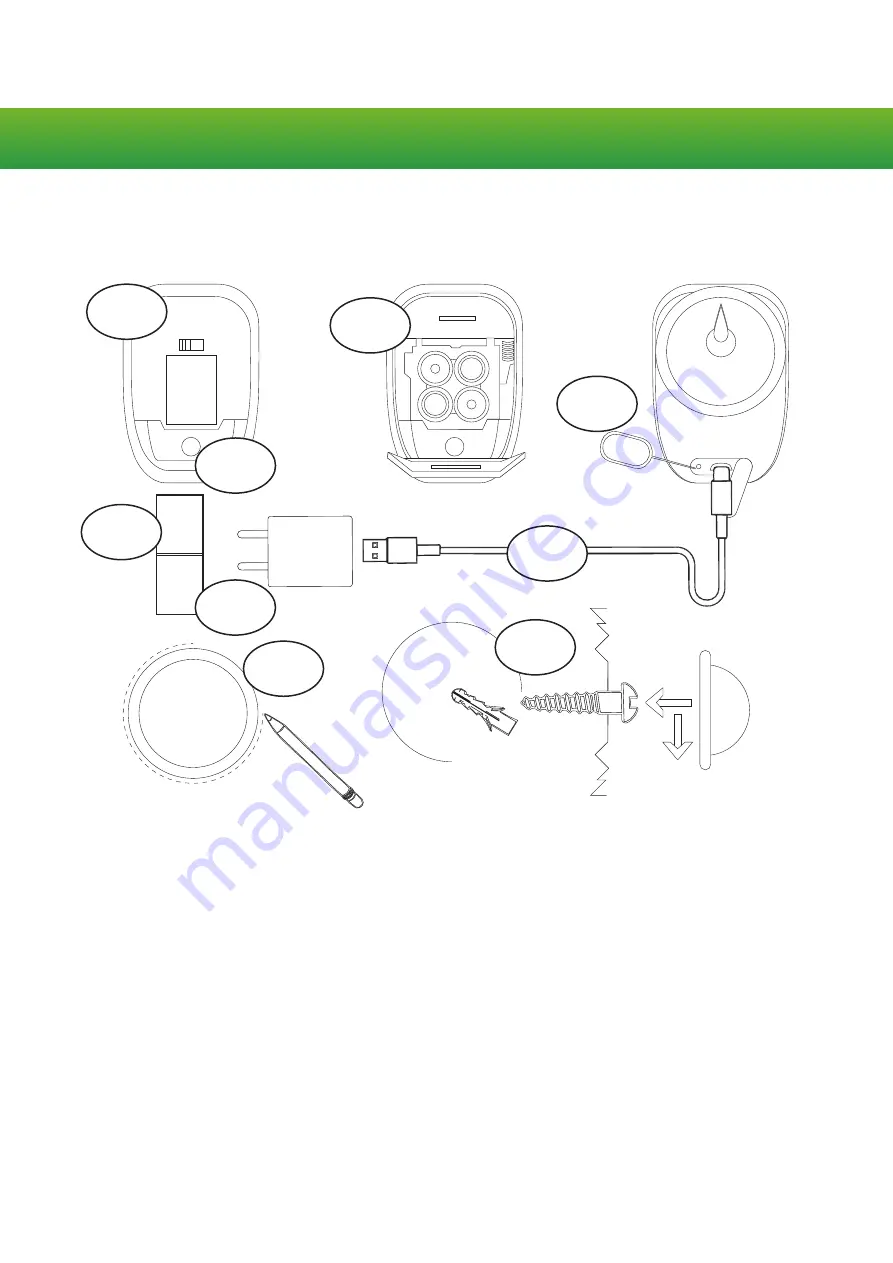
Connecting to power using batteries
Please note batteries are primarily for backup.
Step 1. At the bottom of the Transview
®
InterVedo®, open the battery compartment.
Step 2. Insert four AA batteries into the battery compartment
Please note:
Pay careful attention to the orientation of the batteries when you insert them.
Step 3. Close the battery door.
Connecting to power using the power supply adapter
Step 1. Switch OFF the plug socket and plug the USB adapter into the plug socket.
Step 2. Plug the USB cable into the adapter and the micro USB on the other end of the cable into the
micro USB slot by opening the small rubber cover at the bottom of the device, as indicated.
Step 3. Switch the power socket back ON.
Please note:
If the RED LED is not flashing, reset the device by pressing the pin provided firmly into
the hole for 5 seconds. You will hear a sound, followed by a RED light, indicating that the camera
was successfully reset and has power.
Mounting the Transview
®
InterVedo
®
Step 1 . Use the magnet bracket plastics and mark with a pencil or pen where you would like to
mount your camera.
Step 2. Drill a hole into the wall, insert the wall plug, screw in the mounting screw and hook your
magnet bracket onto the screw head.
I n s t r u c t i o n s
4.1.1
4.1.3
4.1.2
4.2.2
4.2.4
ON
OFF
4.2.1
4.2.3
4.3.1
4.3.2


