


1-5
12
x
EASY mode
In EASY mode, you can fine tune the color temperature by
changing the three preset temperatures ó 50 00K, 6500K, or
9300K.
1 Move the joystick up or down to select the color
temperature row
1
. Then move the joystick left or
right to select a color temperature.
The preset color temperatures are 5000K, 6500K, and 9300K.
The default setting is 9300K. The whites will change from a
bluish hue to a reddish hue as the temperature is lowered to
6500K and 5000K.
2 If necessary, fine tune the color temperature.
Move the joystick up or down to select the color
temperature row
2
. Then move the joystick left or
right to fine tune the color temperature.
If you fine tune the color temperature, the new color settings
are stored in memory for each of the three color temperatures
and item
1
of the on-screen menu changes as follows.
ï [5000K]
t
[
1]
ï [6500K]
t
[
2]
ï [9300K]
t
[
3]
x
EXPERT mode
You can make additional adjustments to the color in greater detail
by selecting the EXPERT mode.
1 Move the joystick up or down to select the color
temperature row
1
. Then move the joystick left or
right to select a color temperature.
2 Move the joystick up or down to select the
adjustment item
2
. Then move joystick left or right
to adjust the BIAS (black level).
This adjusts the dark areas of an image.
3 Move the joystick up or down to select the
adjustment item
3
. Then move the joystick left or
right to adjust the GAIN (white level).
This adjusts the light areas of an image.
You can adjust the R (red), G (green), B (blue) component of
the input signal when making changes to items
2
and
3
.
If you fine tune the color temperature, the new color settings
are stored in memory for each of the three color temperatures
and item
1
of the on-screen menu change as follows.
ï [5000K]
t
[
1]
ï [6500K]
t
[
2]
ï [9300K]
t
[
3]
x
sRGB mode
The sRGB color setting is an industry standard color space
protocol designed to correlate the displayed and printed colors of
sRGB compliant computer products. To adjust the colors to the
sRGB profile, simply select the sRGB mode in the COLOR menu.
Once you select the sRGB mode, the brightness (
) and
contrast (
6
) values are automatically set to the values to be set in
the sRGB mode.
In order to display the sRGB colors correctly (
γ
= 2.2, 6500K),
confirm that:
ï the brightness (
) and contrast (
6
) values are adjusted
respectively to the numbers shown in the BRIGHTNESS/
CONTRAST menu. If not, press the RESET button (for less
than 2 seconds). For information on how to change the
brightness and contrast, see ì Adjusting the brightness and
contrastî on page 10.
ï the color settings of your computer are set to the sRGB profile.
Note
Your computer and other connected products (such as a printer), must be
sRGB compliant.
EASY
EXPERT
s
B
G
R
5 0 0 0 K
6 5 0 0 K
9 3 0 K
0
5 0
K
0
0
I MAGE
RES TORA T I ON
ON
COLOR
EASY
EXPERT
s
B
G
R
5 0 0 0 K
6 5 0 0 K
9 3 0 K
0
R B I AS
0
5
G B I AS
0
5
B B I AS
0
5
R GA I N
0
5
G GA I N
0
5
B GA I N
0
5
COLOR
EASY
EXPERT
s
B
G
R
: 5 6
: 7 6
FOR
s
B
G
R
I MAGE
RES TORA T I ON
ON
COLOR
13
GB
Restoring the color from the EASY or sRGB menus
(IMAGE RESTORATION function)
The colors of most display monitors tend to gradually lose brilliance
over several years of service. The IMAGE RESTORATION feature
found in the EASY and sRGB menus allows you to restore the color
to the original factory quality levels.
1 Move the joystick left or right to select EASY or
sRGB mode.
2 First move the joystick up or down to select
(IMAGE RESTORATION). Then move the
joystick to the right.
The picture disappears while the color is being restored (about
2 seconds). After the color is restored, the picture reappears
on the screen again.
Notes
ï Before using this feature, the monitor must be in normal operation
mode (green power indicator on) for at least 30 minutes. If the monitor
goes into power saving mode, you must return the monitor to normal
operation mode and wait for 30 minutes for the monitor to be ready.
You may need to adjust your computerís power saving settings to keep
the monitor in normal operation mode for the full 30 minutes. If the
monitor is not ready, the following message will appear.
ï The monitor may gradually lose its ability to perform this function due
to the natural aging of the picture tube.
Adjusting the quality of the picture
(SCREEN)
The SCREEN settings allow you to adjust the quality of the
picture by controlling the moire and landing.
ï If the color is irregular at the corners of the screen, adjust the
landing.
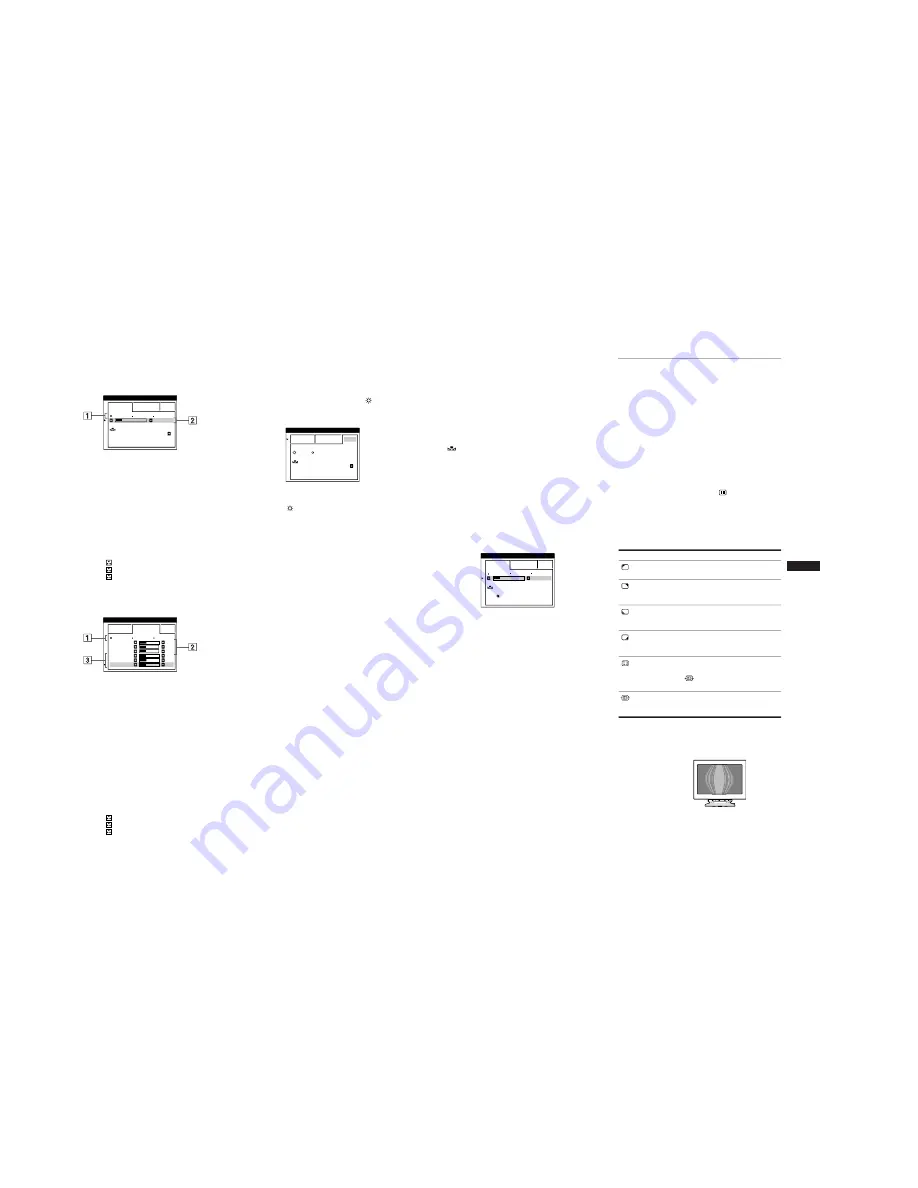
ï If elliptical or wavy patterns appear on the screen, cancel the
moire.
The CANCEL MOIRE and MOIRE ADJUST settings are stored
in memory for the current input signal. All other settings are
stored in memory for all input signals.
1 Press the joystick.
The main MENU appears on the screen.
2 Move the joystick to highlight
SCREEN and
press the joystick again.
The SCREEN menu appears on the screen.
3 First move the joystick up or down to select the
desired adjustment item. Then move the joystick left
or right to make the adjustment.
* Moire is a type of natural interference which produces soft, wavy lines
on your screen. It may appear due to interference between the pattern
of the picture on the screen and the phosphor pitch pattern of the
monitor.
Note
The picture may become fuzzy when CANCEL MOIRE is set to ON.
EASY
EXPERT
s
B
G
R
5 0 0 0 K
6 5 0 0 K
9 3 0 K
0
5 0
K
0
0
I MAGE
RES TORA T I ON
AVA I L AB L E
A F T ER WARM UP
COLOR
Select
To
LANDING
reduce any color irregularities in the
screenís top left corner to a minimum.
LANDING
reduce any color irregularities in the
screenís top right corner to a
minimum.
LANDING
reduce any color irregularities in the
screenís bottom left corner to a
minimum.
LANDING
reduce any color irregularities in the
screenís bottom right corner to a
minimum.
CANCEL MOIRE
*
turn the moire cancellation function
ON or OFF.
(MOIRE ADJUST) appears in
the menu when you select ON.
MOIRE ADJUST
adjust the degree of moire
cancellation until the moire is at a
minimum.
Example of moire


