


User Guide - Silex ClickShow R101
To pair a Button, insert the USB cable of the Button in the USB port on the Base unit.
The light indicator on the Button will remain static blue during the pairing process.
When the Button pairing is done, the light indicator on the Button turns static red. At
this point, you can unplug the Button from the Base unit.
Note:
•
A Button can be paired to one Base unit at a time and will connect to the Base unit it
was last paired to
11. How to access the configurator
Some features can be set from the Configurator.
To access the Configurator, first connect your device to the ClickShow Base unit as
.
Open your browser. It is recommended to use Google Chrome in no trace mode. On
your browser, type the IP address of the ClickShow Base unit. If you are connected Via
the LAN, then enter the LAN IP. If you are connected wirelessly to the Base unit directly,
then enter the WiFi IP. Both the WiFi IP and the LAN IP are displayed on the top left
corner of the ClickShow wallpaper on the meeting room main display (see
).
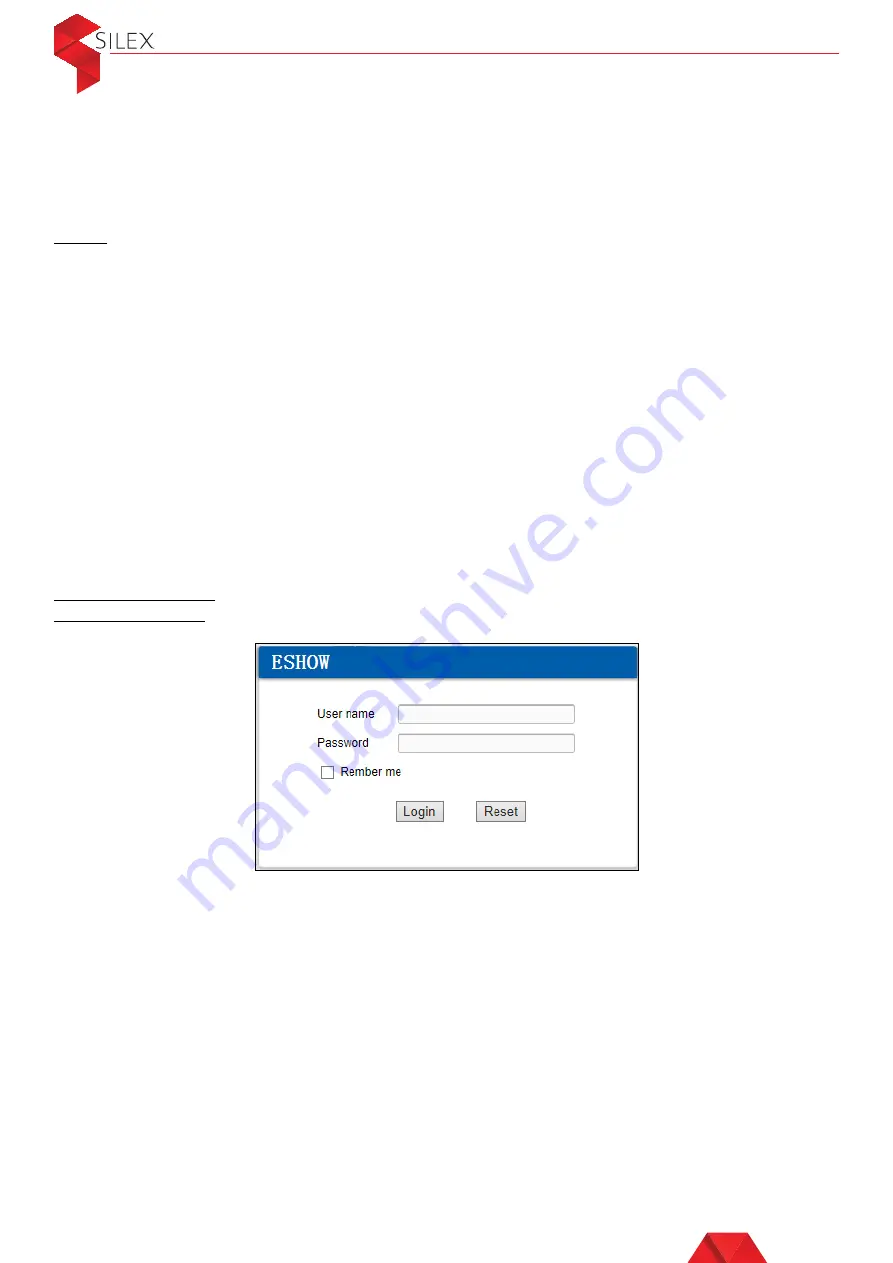
You will be prompted to enter the administrator credentials. The Default is:
Username: admin
Password: admin
12. Enable / disable pin code
By default, the PIN code is disabled. When PIN Code is enabled, the users will be
prompted to enter a PIN Code before sharing from a personal device. The PIN Code to
enter can be found on the ClickShow wallpaper on your meeting room main display.
when sharing using a Button, there is no PIN Code required.
The PIN Code will only be requested when sharing from:
• Android devices from V.1.4.2, using the Android App
• Windows laptops from V1.3.1, using the Desktop App
• iOS devices using AirPlay
To enable PIN Code:
Connect to the Configurator (see
), then go to Settings – PIN CODE settings.
Enable the PIN Code then save your changes.
8


