8
6
# T E S T P R I N T S
[
O K ?
Press the
key.
# T E S T P R I N T S
[
E X E C U T I N G
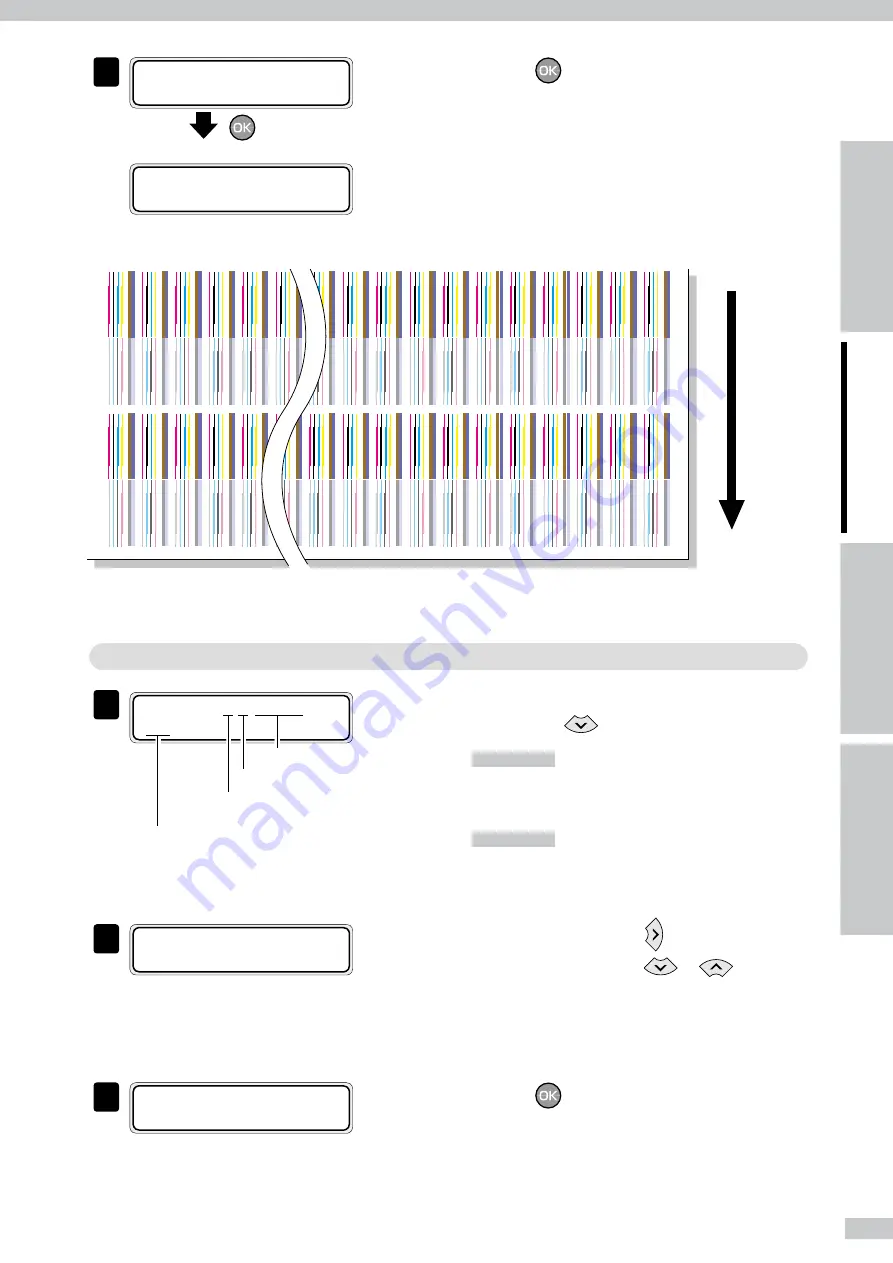
Bidirectional print position adjustment pattern is
printed.
• [BIDIRECTION] print sample
+0
+
1
+
2
+3
+4
+5
+6
+7
+8
+9
+10
+11
+27
+28
+29
+30
+31
-32
-31
-30
-29
-28
-27
-26
-25
-24
-23
-22
-21
-20
+0
-3
-2
-1
ADJUST PH R/L
Media advance direction
* The print sample above shows the [BIDIRECTION L] adjustment pattern. Actually two patterns are printed for this adjustment: [BIDIRECTION R]
adjustment pattern and [BIDIRECTION L] adjustment pattern.
STEP 2
Enter the adjustment value.
1
# B I D I R A D J 2 L G l o s s y
# Y 1
> + 0 0
Ink color and position
Enter the adjustment pattern’s
number.
Indicates R or L.
Media name
Select the menu group that includes ADJUST,
and press the
key to display
[#BIDIR ADJ
].
Ink color and position
8-color mode
Y1 : Yellow
K5 : Black
Lm2 : Light magenta
Lc6 : Light cyan
C3 : Cyan
M7 : Magenta
Gy4 : Gray
Lg8 : Light gray
4-color mode
Y1 : Yellow
K5 : Black
M2 : Magenta
C6 : Cyan
C3 : Cyan
M7 : Magenta
K4 : Black
Y8 : Yellow
2
# B I D I R A D J 2 L G l o s s y
# M 7
> + 0 0
Move the cursor with the key, and select the
print head color with the
or
key.
Here describes a sample operation to adjust the M7
print head’s bidirectional print position at left position
with Glossy media and BIDIRECTION2 adjustment
pattern.
3
# B I D I R A D J 2 L G l o s s y
# M 7
[
+ 0 0
Press the
key.
Determine the adjusted print head’s color, then the
display is ready to receive the parameter.


