User Manual
34
•
If adjustment fails, the cause may be that the touch pen did not click on the cursor centers, a dialog box will appear to indicate failure. Then
repeat the operation above until the adjustment succeeds.
•
To save the ultimate coordinates of the pen after adjustment, select button “Save”. To test the adjustment result, select button Test, draw
anything with the touch pen on the screen and observe whether the cursor moves accordingly with the pen. If so, adjustment has done well.
Now select button “Save” to save the ultimate coordinates of the pen after adjustment. Then the pen and cursor will respond to each other
accurately.
•
Select button “Exit” or press button “C” to exit the interface and return to the live thermal image.
Note:
In the adjustment process, improper adjustment may cause the touch pen not to work well. Thus it is strongly recommended to use
functional buttons in this process.
Option Video
•
Live video recording can be performed.
•
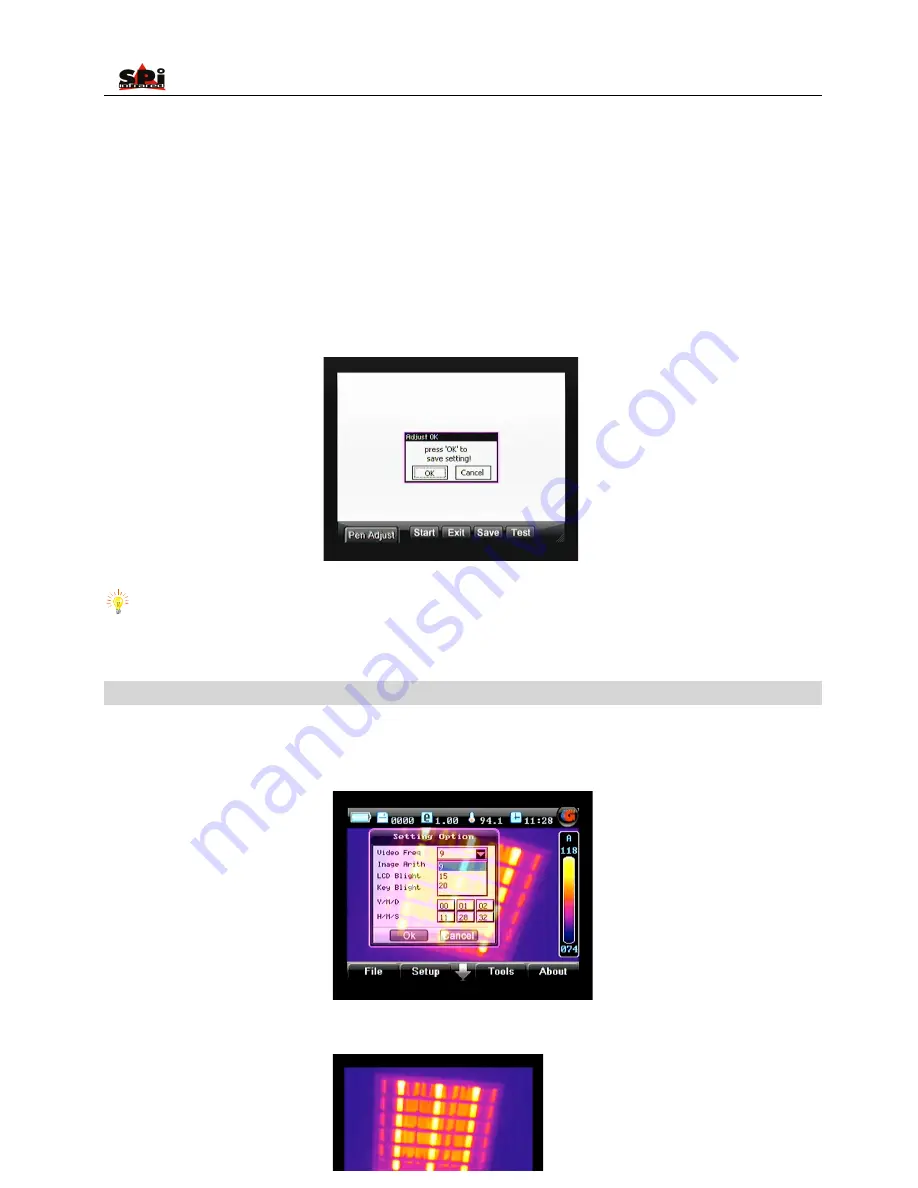
Before video recording, select the video frequency. First enter the menu “Setup”, press “Up” or “Down” to highlight sub-menu “Setting”, press
button “M” to confirm. The option “Video Freq” is highlighted. Press “Up” or “Down” to change its value as 9hz, 15hz or 20hz.
•
Enter submenu, press “Tools”, then click option “Video” with the touch pen or press button “Up” and “Down” to highlight it and then press
“Menu” to select it. Screen as below will appear.


