


Operation
5
Press and hold down the REC button for about 3 seconds till the REC LED is lit, that
means you have already entered the editing mode.
To enter or exit the editing mode
Scene/Chase Editing
Editing entrance:
After your operation, you can press the RUN button to exit (REC LED goes out).
Editing exit:
To edit a Scene/Chase
Firstly, you should press and hold down the REC button for about 3 seconds (till its
LED lights up) to enter the editing mode.
(1)
Press one of the Scene buttons to select a scene/chase to be edited (its LED will
light up). Note: if you press a Scene button and the LED-display shows you ,
that means the current scene/chase is empty. If the LED-display shows you ,
that means this scene had already been programmed, it must be deleted before
being reprogrammed.
(2)
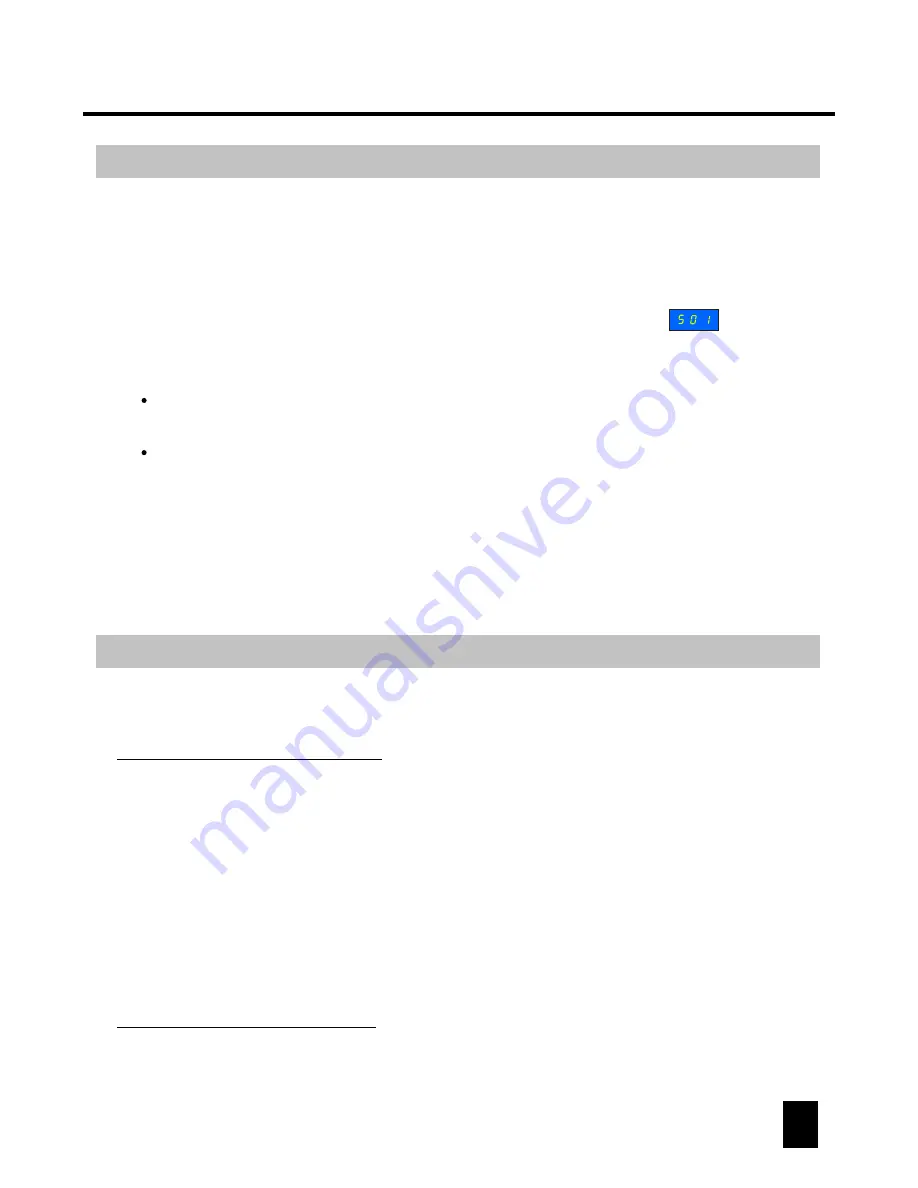
Use the channel faders to set a scene, then press the REC button to save your setting
(all the Scene LEDs flash briefly). The LED-display will show you , that means
you have stored one "step". If you set a second scene and save it, the LED-display will
show you , that means you have stored two "steps". You can set and save up to
99 steps as your desire.
(3)
After your setting, press the RUN button to exit the editing mode (REC LED goes out).
(4)
To delete a scene/Chase
Firstly, you should press and hold down the REC button for about 3 seconds (till its
LED lights up) to enter the editing mode.
(1)
You can delete another scene/chase in the same way like the above. After your ope-
ration, you can
press the RUN button to exit the editing mode (REC LED goes out).
(3)
Select a programmed scene/chase to be deleted. Then press and hold down the
REC button, and at the same time giving the selected Scene button two quick press.
All Scene LEDs will flash briefly, and the LED-display shows you , that means
this scene/chase has already been deleted.
(2)
Operation
6
To see over a programmed Scene/Chase
Firstly, you should press and hold down the REC button for about 3 seconds (till its
LED lights up) to enter the editing mode.
(1)
When in the editing mode, you should firstly select a programmed scene/chase and
press its button, its LED will light up. (The LED-displaly shows you , that means
the current scene/chase is preprogrammed.)
(2)
You can then tap the STEP button to see over this programmed scene/chase:
(3)
Each tap can call one "step" accordingly, the LED-display will show you the current
step depending on you operation. There are up to 99 steps in a chase.
For example, if the current programmed scene/chase has 20 stored steps, you can
use the STEP button to see over the chase from Step 01 to Step 20 circularly.
Note: If you tap the STEP button too quickly, LED-display will show you the stored
"steps" in reverse sequence.
You can see over the other programmed scene/chase in the same way like the above.
After your operation, you can press the RUN button or the current Scene button (its
flashing LED will go out when you press it) to exit.
(4)
To resume the original preset Chase(s)
Firstly, you should press and hold down the REC button for about 3 seconds (till its
LED lights up) to enter the editing mode.
(1)
Press a Chase button to select a chase to be resumed (its LED lights up). Then you
press and hold down the "Tap Sync" button, and at the same time press the REC
button, all Scene LEDs flash briefly, that means this original preset chase has been
resumed.
(2)
This product provides 18 original preset chases for your application. If you want to
resume the original preset chase(s), do as below:
You can resume the other original preset chases in the same way like the above.
After your operation, you can press the RUN button or the current Chase button
(its flashing LED will go out when you press it) to exit.
(3)
To resume a single chase
To resume all the chases
Turn on the power while pressing and holding down the REC button and the "Tap Sync"
button at the same time for about 5 seconds (all Scene LEDs flash briefly), that means
all the chases have been resumed to their original state.
If you want to delete a scene/chase, please do as below:
Please do as below
:
to see over a programmed scene/chase


