Desktop Quick Start Guide • October 6, 2017
© Copyright 2017 ShopBot Tools, Inc.
page 28
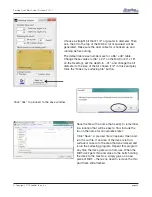
Choose a straight bit that’s 1/2” or greater in diameter. Then
zero the bit to the top of the MDF. A lot of sawdust will be
generated. Make sure the dust collector is hooked up and
running before cutting.
The default table size numbers are for a 96” x 48” table.
Change these values to (36” x 24” on the MAX or 24” x 18”
on the Desktop), set the depth to -.01”, and change the bit
diameter to the size of the bit chosen (1/2” in this example).
Click the “Make my surfacing file” button.
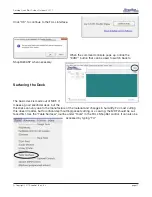
Click “Yes” to proceed to the save window.
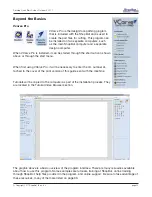
Save the file with a name that is easy to remember,
in a location that will be easy to find. Include the
tool in the name for convenience later.
Click “Save”. A preview file will appear. Open and
run the cut file. If an area of the deck is left un-
surfaced, re-zero to the area that was missed and
rerun the surfacing program. Repeat this program
any time the deck gets worn from use. When the
MDF deck gets thin and close to the bolts holding
the deck to the machine, simply glue on a new
piece of MDF – there’s no need to remove the thin
part that’s still attached.


