7
l
Prepare a high speed SD card to save your record data.
l
A video image and OSD will appear on the screen of the display device, you can select a TV or LCD as
the display device by pressing the LCD/TV Switch Button
on Wireless Remote Controller , press
the button
to switch the display as the following: LCD--> TV PAL-->TV NTSC
LCD,
2.
How to capture the video and audio:
l
Push the Record / Stop switch
to
“
Rec
”
side to start a recording, the red power led
lamp and the red dot icon on the left up corner of screen will flash at once per second until the switch
be push to
“
Stop
”
side to stop recording; the continued recording time will be shown on the right up
corner, as shown in recording figure, if the switch is set on
“
Rec
”
side before power on, the DVR will
record directly if the SD card is available
l
One button for your recording task.
:
,P r e s s down the r e d button to tur n
on the DVR to r e c or ding, a nd r e le a s e the button to s top r e c or ding ,the n the DVR will
powe r off a fte r s a ving r e c or d da te a utoma tic a lly. (
the trigger
Cable is plugged into the AV port.
Recording
l
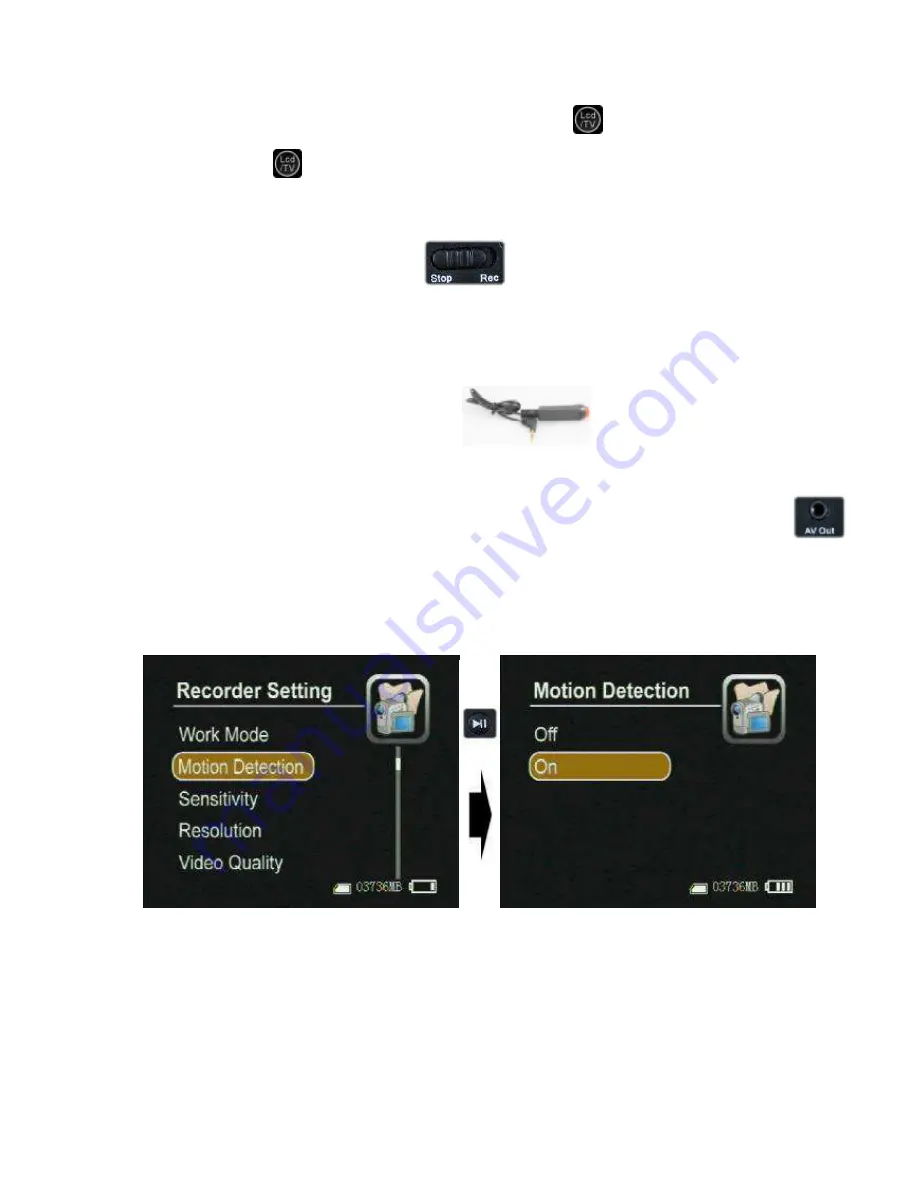
Motion detect recording, the DVR will be triggered to record when only the video image is changed
in the motion detect red area covered by the red block, as how in Figure13,14.
When the motion detect function is on, you can select the motion sensitivity (showed as the
following figure)


