


4 Port / 8 Port User Manual
-
21
-
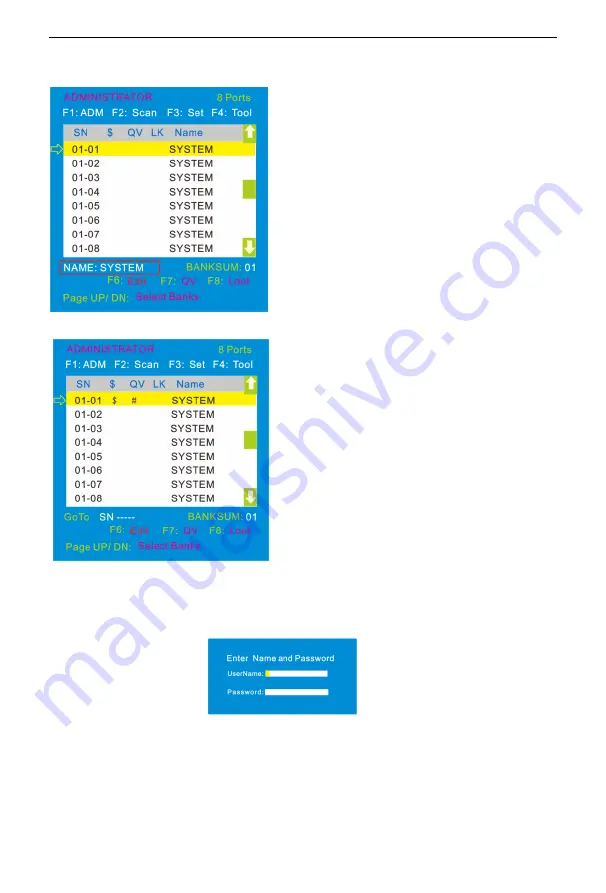
F6: Edit port names
F7: Set quick view port(QV)
F8: LOUT
Press
【
F8
】
exits the OSD main menu and fully exits current port, then the log in
window appears:
Users must log in all over again to regain access to the OSD.
Select ports with
【
↑
】【
↓
】
keys
;
Press
【
F7
】
to include current port as Quick
View, then an arrowhead appears in the QV
column to indicate so.
Note
:
Press
【
F7
】
to cancel the QV symbol is the
current port has already have a QV arrowhead
symbol in its QV column; If you want to cancel all
the QV function, press Restore Values under F4:
Tool. (The port name restores to default setting at
the same time.)
Select the port with
【
↑
】【
↓
】
key;
Press F6 and key in the new name
or modify the old one, then press
Enter to save the name and exit
editing.
Press
【
Esc
】
to cancel and exit the
editing.
Note:
The NAME characters include:
All alpha characters
:
A-Z
All numeric characters
:
0-9
Default value: SYSTEM