background image

Sheng Jay Automation Technologies Co., Ltd.


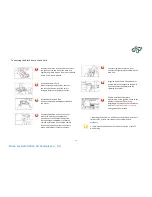
6. Firmware Update 


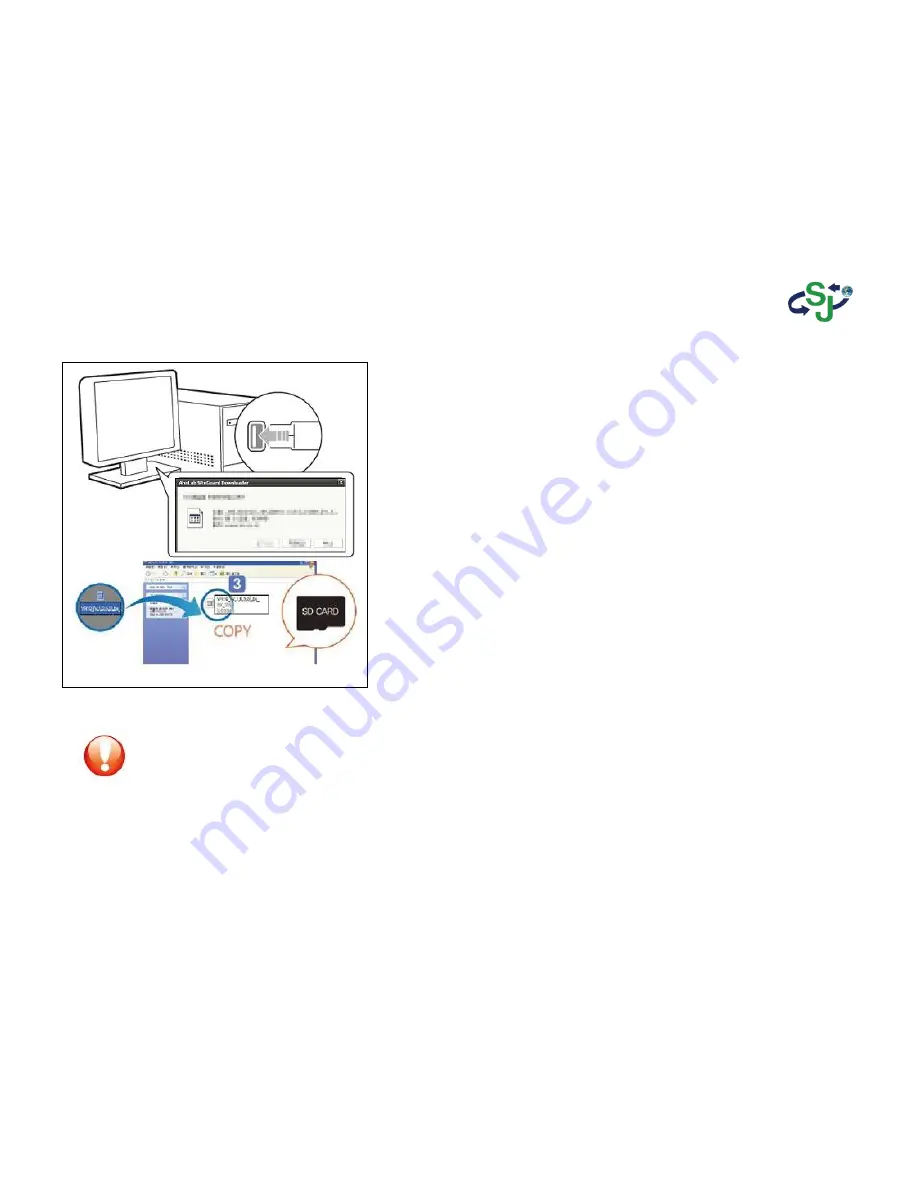
1.


Remove the Micro SD card from the device and use a 
card reader to connect with the PC. 

2.


Back up data currently in the memory card separately and format 
the memory card. 

3.


Copy the downloaded firmware into the SD card. 

4.


Insert the SD card with the firmware copied and turn the power on. 

5.


At such time, the red LED will remain on. Once the firmware upgrade is 
complete, the LED will change to green. 

6.


7. Once upgrade ends, the downloaded firmware is automatically 
deleted. 

7.


8. Once upgrade is complete, the device will automatically reboot and 
recording can begin. 


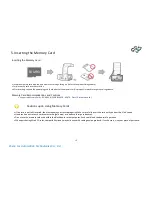
Cautions upon using 
Memory Cards 

• 

Problems may occur within SD cards that have been used for prolonged periods of time. 

• 

Regularly format the SD card for use. 

• 

For stable recording functionality, the entire capacity of the SD card is not used. 


14


Summary of Contents for SJ-KV202

Page 1: ...Sheng Jay Automation Technologies Co Ltd SJ KV202 User s Manual...

Page 2: ...the Power Installing in the Vehicle 2 Basic Product Functions Using the Memory Card Firm Update Key Product Features How to Operate the Product Voice Guidance on Product States and LED Display Checkin...

Page 3: ...within this category could result in system error or damage Product Related Do not disassemble repair or modify the product Such acts may result in electric shock For inspections or repairs please vis...

Page 4: ...ossible In addition placing other objects in the vicinity of the product may be visible through reflections in the mirror Never place other objects nearby the product Firmly fasten the product when in...

Page 5: ...hin vehicles with sun tints may be somewhat blurry or distorted Heed caution as event data may not be recorded within this product in cases of accidents under a certain impact level In such cases it i...

Page 6: ...ely 15m Buildings underground roads tunnels and roadside trees could increase the margin of error or prevent the GPS from being properly received The time required to receive the GPS signal from the p...

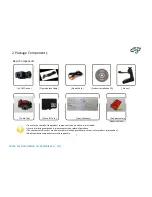
Page 7: ...e Clip Micro SD Card User s Manual Supplementary Adhesive Sticker Check to see that all of the product components shown above are included In case of missing components please contact your place of pu...

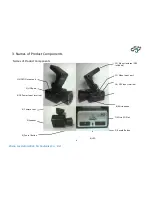
Page 8: ...omponents Names of Product Components 12 Mount external GPS included 1 VIDEO Output port 11 Video Input port 2 USB port 10 GPS Input terminal 9 DC Power Input terminal 4 Camera Lens 8 Microphone 3 Spe...

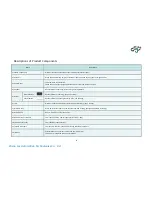
Page 9: ...Button Button related to recording play and settings Cancel Button Button related to canceling recording play and settings 6 LED Displays the various operating states through LED red green orange 7 Mi...

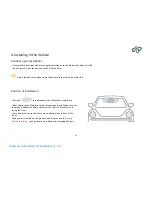
Page 10: ...er s field of vision is not blocked Position of Installation Position recommended area of Black box installation After attaching the Black box to the recommended installation area use the product hand...

Page 11: ...e product so that the camera is facing the front and the vehicle interior Here heed caution so that there are no obstructions in front of the lens Connect Cigarette Jack Main Unit Connect the cigarett...

Page 12: ...Cautions Supported Memory Cards 8GB 16GB 32GB MAKER ADATA Class 10 recommended Cautions upon Using Memory Cards If the card is not fully inserted then footage may not record properly Make sure to ful...

Page 13: ...ax saving time 32 minutes 7 minutes 5 minutes 36 minutes 23 minutes Standard HD level 2CH 30fps Infinite recording H 264 Encoding 8Mbps high resolution High Profile Memory occupation by recording mode...

Page 14: ...turn the power on 5 At such time the red LED will remain on Once the firmware upgrade is complete the LED will change to green 6 7 Once upgrade ends the downloaded firmware is automatically deleted 7...

Page 15: ...ms and external monitors can be connected to be play video and recorded files Through the dedicated PC program the video and voice data saved within the memory card are used to view driving video vehi...

Page 16: ...ing file even when there is no impact saved as man file name Example man_20120410_121030A Parking Mode Recording Pressing the parking mode button to monitor a parked vehicle will slowdown the recordin...

Page 17: ...been parking recording mode Power off If the vehicle ignition is turned off or the power cable is removed then the System will end voice guidance will sound and the orange LED will blink The device wi...

Page 18: ...s complete the green LED will blink and the device will automatically convert back to infinite recording mode Parking Mode Recording is comprised of manual parking mode recording and automatic parking...

Page 19: ...ting Method File Play Previous File Next File In Recording Mode press the button to pause recording In this state pressing and holding the button will direct to the most recently recorded file and dis...

Page 20: ...t has been detected Event End Automatically converts from event recording OFF Normal blinking to infinite mode Start Manual Recording Changes from infinite recording mode to manual recording mode Shor...

Page 21: ...card Insert Micro SD When inserting Micro SD OFF ON Insert Defective SD When inserting a defective SD This SD card cannot be used When requiring SD Card Formatting When SD card requires formatting Th...

Page 22: ...ro SD card from the device and use a card reader to connect with the PC 2 Once connected with the PC a removable disc will be started 3 As shown in the figure pressing open folder to view files will d...

Page 23: ...omatic parking mode Front folder Folder where front camera video files are saved Includes Infinite event parking parking event manual files related to front camera videos Rear folder Folder where rear...

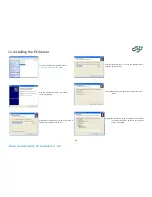
Page 24: ...ick Next to start installation 4 To continue click Next To save as a different name enter the desired name 5 Check the desired icons you want to create and click Next 3 Designate the folder where you...

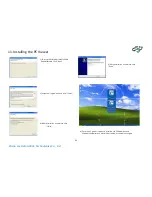
Page 25: ...2008 Redistributable click Next 2 Check the I agree box and click Install 5 Once installation is complete click Finish 4 After installation is complete click Finish 6 Once the PC Viewer is properly i...

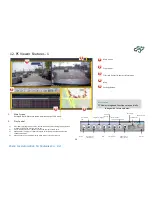
Page 26: ...Play Control Play previous file Play Pause Toggle Move in Frame units forward direction Speedometer 1 Play After selecting the file to play the file can be played by clicking the play button or double...

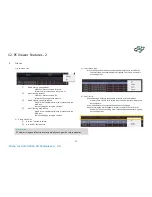
Page 27: ...utton 2 Delete Video Files Use the button to delete Use the DEL key to delete 3 Select Video Type When the right side mouse button is pressed within the fie list title area the selection menu shown be...

Page 28: ...al Video Zoom In Within the zoom in video right clicking with the mouse will cancel video zoom in 5 Full Screen Mode 1 Full Screen Mode Double clickingthe play screen will convert to Full Screen mode...

Page 29: ...he image clearer The buttons are used to enlarge reduce the image while the mouse is dragged to move the image Reset video size Defog scale 0 15 0 original image Save Saves resulting file Print Prints...

Page 30: ...n button on the top right side of the PC Viewer or by starting the PCViewerConfEditor exe file Information Settings files can be opened by Drag Drop but applies only to sys_data ini files If the file...

Page 31: ...video Parking 1 Parking Video Quality Sets parking video quality 2 Parking Event Mode Sets whether to detect events during parking recording 3 Impact Event Sensibility Sets impact event sensitivity du...

Page 32: ...0 recommended Sensor 2M HD CMOS Sensor Camera Viewing Angle Diagonal 147 5 degrees Horizontal 110 8 degrees Vertical 79 5 degrees Based on Front Camera Resolution 720p HD 1280 x 720 VGA 640 x 480 HD 7...

Page 33: ...Recording 1 minute recording Event Recording Impact Motion 1 minute recording 10 seconds before event excluding motion 50 seconds after 1 minute recording 10 seconds before event excluding motion 50...

Reviews: