background image

10/5/26

XL-HF200PH(S)(BK)_AUS.fm

13

Listening to USB mass storage device/MP3 player (continued)

Notes:

SHARP will not be held liable for the loss of data whilst
the USB memory device is connected to the audio
system.

Files compressed in MP3 and/or WMA format can be
played back when connected to the USB terminal.

This USB memory’s format supports FAT 16 or FAT 32.

SHARP cannot guarantee that all USB memory
devices will work on this audio system.

USB cable is not recommended for use in this audio
system to connect to USB memory device. Use of the
USB cable will affect the performance of this audio
system.

This USB memory cannot be operated via USB hub.

The USB terminal in this unit is not intended for a PC
connection but is used for music streaming with a USB
memory device.

External HDD-storage cannot be played back via USB
terminal.

If the data inside the USB memory is large, it may take
longer time for the data to be read.

This product can play WMA and MP3 files. It will
automatically detect the file type being played. If
unplayable file is played on this product, “Not Support”
is indicated and the file will be automatically skipped.
This will take a few seconds. If abnormal indications
appear on the display due to the unspecified file, turn
off the unit and then turn it on again.

This product relates to USB mass storage devices and
MP3 players. It may however face some irregularities
due to various unforeseen reasons from some devices.
Should this happen, turn off the unit and then turn it on
again.

The USB port is only intended for direct connection to
a USB memory device without any cable.

During CD function, MP3 player will not be charging.

Advanced USB playback

The following functions are the same as CD
operations:

Page

Direct track search . . . . . . . . . . . . . . . . . . . . . . . . . . .  10
Repeat play . . . . . . . . . . . . . . . . . . . . . . . . . . . . . . . . .  10
Random play . . . . . . . . . . . . . . . . . . . . . . . . . . . . . . . .  10
Programmed play . . . . . . . . . . . . . . . . . . . . . . . . . . . .  11

Note:

If USB memory device is not connected, “USB No Media”
will be shown on the display.

Notes:

This unit only supports “MPEG-1 Audio Layer-3”
format. (Sampling Frequency is 32, 44.1, 48kHz)

Playback order for MP3 files may differ depending on
the writing software used during file download.

Bitrate which is supported by MP3 is 32~320 kbps,
WMA is 64~160 kbps.

For MP3/WMA files, please put “.MP3” “.WMA”
extension. Files cannot be played back if there is no
MP3/WMA extension.

Playlists are not supported on this unit.

This unit can display Folder Name or File Name up to
32 characters.

Maximum total number of MP3/WMA files is 1024.
Maximum total number of folders is 255 inclusive of
root directory.

The display playback time may not be displayed
correctly when playing back a variable bitrate file.

The ID3TAG information supported are TITLE, ARTIST
and ALBUM only. Title name, artist name and album
name can be displayed by pressing the DISPLAY
button during file playback or pause mode.

WMA meta tag also supports title, artist and album
name which are recorded in WMA files. Copyright
protected WMA files cannot be played back.

To play back USB/MP3 player with folder 
mode on

1

Press the USB button on the remote control or
FUNCTION button repeatedly on main unit to select
USB function. Connect the USB memory device that
has MP3/WMA format files on the unit. When the USB
memory is connected to the main unit, the device
information will be displayed.

2

Press the FOLDER button, and press the PRESET (
or 

) button to select desired playback folder. To start

playback with folder mode on, go to step 4. To change
the playback folder, press the PRESET (

 or 

)  button

to select another folder.

3

Select desired file to be played back by pressing the 
or  

button.

4

Press the  /  (CD/USB  / ) button. Playback will start
and the file name will be displayed.

Title, Artist and Album name are displayed if they are
recorded in the USB memory device.

Display content can be changed by pressing the
DISPLAY button.

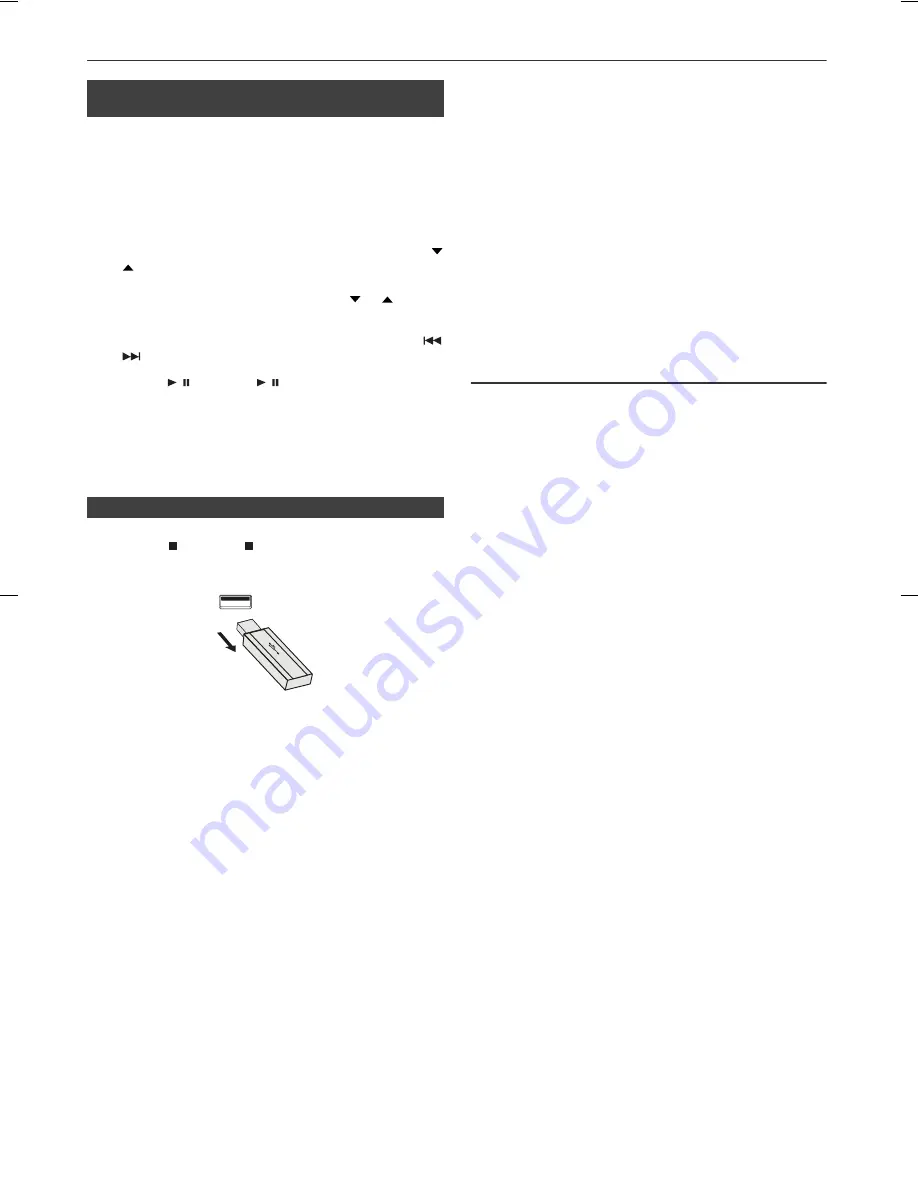
To remove USB memory device

1

Press the   (CD/USB  ) button to stop playback.

2

Disconnect USB memory device from the USB terminal.

Summary of Contents for XL-HF200PH(BK)

Page 1: ... standards Apple is not responsible for the operation of this device or its compliance with safety and regulatory standards Special Note Supply of this product does not convey a license nor imply any right to distribute content created with this product in revenue generating broadcast systems terrestrial satellite cable and or other distribution channels revenue generating streaming applications v...

Page 2: ... owner of the copyright Please refer to the relevant laws in your country CAUTION This product is classified as a CLASS 1 LASER PRODUCT Use of controls adjustments or performance of procedures other than those specified herein may result in hazardous radiation exposure As the laser beam used in this compact disc player is harmful to the eyes do not attempt to disassemble the cabinet Refer servicin...

Page 3: ...on should be drawn to the environmental aspects of battery disposal This unit should only be used within the range of 5 C 35 C Warning The voltage used must be the same as that specified on this unit Using this product with a higher voltage other than that which is specified is dangerous and may result in a fire or other type of accident causing damage SHARP will not be held responsible for any da...

Page 4: ...r Button 8 18 34 Demo Dimmer Button 4 6 35 Audio Line INPUT Button 5 20 36 USB Button 12 Page 1 USB Indicator 13 2 iPod Indicators 8 3 CD Indicator 10 4 MP3 Indicator 11 5 WMA Indicator 11 6 RDM Random Indicator 10 7 MEM Memory Indicator 10 8 Repeat Indicator 10 9 Play Pause Indicator 9 10 Tuning FM AM Indicator 14 11 FM Stereo Mode Indicator 14 12 Stereo Station Indicator 14 13 RDS Indicator 15 1...

Page 5: ...O OUT socket at the back of the unit and set the TV Out on the iPod or iPhone unit to ON position Note Please make sure to set iPod unit to either NTSC or PAL to match your TV signal Please visit Apple s homepage for further information After checking all the connections have been made correctly plug the AC power lead of this unit into the wall socket Note Unplug the AC power lead from the wall so...

Page 6: ...is reduced or if the operation becomes erratic Purchase 2 AAA size batteries UM SUM 4 R3 HP 16 or similar Periodically clean the transmitter on the remote control and the sensor on the unit with a soft cloth Exposing the sensor on the unit to strong light may interfere with operation Change the lighting or the direction of the unit if this occurs Keep the remote control away from moisture heat sho...

Page 7: ...s press the VOLUME or button to adjust the bass 1 Press the BASS TREBLE button to select TREBLE 2 Within 5 seconds press the VOLUME or button to adjust the treble When the FUNCTION button on main unit is pressed the current function will change to different mode Press the FUNCTION button repeatedly to select desired function Note The backup function will protect the memorised function mode for a f...

Page 8: ... headphone output is disabled You may also experience brief audio interference during incoming calls Notes Please use the adaptor supplied with your iPod or iPhone unit You can use an audio cable to connect your iPod to the AUDIO IN socket if 1 your iPod adaptor does not fit into the iPod dock on the main unit 2 you have an iPod that does not have an iPod adaptor 3 you have an iPod that does not h...

Page 9: ... iPod Display appears During iPod or iPhone video playback pressing the DISPLAY TV OUT button will not toggle video out display between iPod and TV iPod or iPhone playback detection function Once the play button on the iPod or iPhone unit is pressed the main unit will automatically change to iPod function overriding the previous function selected Caution Unplug all accessories for the iPod or iPho...

Page 10: ...ence occurs during CD operation move the unit away from the TV or radio Be sure to place 8 cm disc in the middle of the disc tray Due to the structure of the disc information it takes longer to read an MP3 WMA disc than a normal CD approximately 20 to 90 seconds Notes for CD or MP3 WMA disc When the end of the last track is reached during fast forward END will appear on the display and CD operatio...

Page 11: ...o cancel random play Press the PLAY MODE button until RDM indicator disappears Notes If you press the button during random play you can move to the track selected next by the random operation On the other hand the button does not allow you to move to the previous track The beginning of the track being played will be located In random play the unit will select and play tracks automatically You cann...

Page 12: ...older the folder is skipped and the next folder will be selected Example How to set folder number if MP3 WMA format files are recorded as below figure The folder and file order information which is recorded on the disc depends on the writing software There maybe possibilities that this unit will playback the files not according to our expected playback order For CD MP3 WMA 255 numbers of folders a...

Page 13: ...d the folder can be selected even though it is in playback pause mode It will continue playback pause mode in the 1st track of the selected folder Display content can be changed by pressing the DISPLAY button RRMCGA225AWSA MP3 indicator WMA indicator TOTAL indicator Total number of files Total number of folder First track number in the folder FOLDER indicator FOLDER number File name display Folder...

Page 14: ...edia will be shown on the display Notes This unit only supports MPEG 1 Audio Layer 3 format Sampling Frequency is 32 44 1 48kHz Playback order for MP3 files may differ depending on the writing software used during file download Bitrate which is supported by MP3 is 32 320 kbps WMA is 64 160 kbps For MP3 WMA files please put MP3 WMA extension Files cannot be played back if there is no MP3 WMA extens...

Page 15: ... power on 2 Press the TUNER BAND button repeatedly to select the desired frequency band FM or AM 3 Press the TUNING or button on the remote control to tune in to the desired station Manual tuning Press the TUNING or button repeatedly to tune in to the desired station Auto tuning When the TUNING or button is pressed for more than 0 5 seconds scanning will start automatically and the tuner will stop...

Page 16: ...ferent frequencies the strongest frequency will be stored in memory Any station which has the same frequency as the one stored in memory will not be stored If 40 stations have already been stored in memory the scan will be aborted If you want to redo the ASPM operation erase the preset memory If no station have been stored in memory END will appear for about 4 seconds If the RDS signals are very w...

Page 17: ...tep 2 If the unit finds a desired programme type the corresponding channel number will lit for about 8 seconds and then the station name will remain it If you want to listen to the same programme type of another station press the RDS PTY button whilst the channel number or station name is flashing The unit will look for the next station If no station can be found NOT FOUND will appear for 4 second...

Page 18: ...gae are examples WEATHER Weather reports and forecasts and meteorological information FINANCE Stock Market reports commerce trading etc CHILDREN For programmes targeted at a young audience primarily for entertainment and interest rather than where the objective is to educate SOCIAL Programmes about people and things that influence them individually or in groups Includes sociology history geography...

Page 19: ...d the CLOCK TIMER button 3 Within 10 seconds press the or button to select Once or Daily and press the ENTER button 4 Within 10 seconds press the or button to select Timer Set and press the ENTER button 5 To select the timer playback source CD TUNER USB iPod AUDIO IN LINE IN press the or button Press the ENTER button When you select the tuner select a station by pressing the or button and then pre...

Page 20: ...ithin 10 seconds press the or button to select Once or Daily and press the ENTER button 3 Within 10 seconds press the or button to select Timer Call and press the ENTER button 1 Turn the power on and press and hold down the CLOCK TIMER button 2 Within 10 seconds press the or button to select Once or Daily and press the ENTER button 3 Within 10 seconds press the or button to select Timer Off and pr...

Page 21: ...e level of the connected device is too high sound distortion may occur Should this happen lower the volume of the connected device If volume level is too low increase the volume of the connected device Headphones Audio cable not supplied Portable audio player etc General Symptom Possible cause The clock is not set to the correct time Did a power failure occur Reset the clock Refer page 6 When a bu...

Page 22: ...s dirt or water on the CDs can cause noise or mistracking If a CD is dirty or does not play properly clean it with a soft dry cloth wiping straight out from the centre along the radius Maintenance Periodically wipe the cabinet with a soft cloth and a diluted soap solution then with a dry cloth Caution Do not use chemicals for cleaning petrol paint thinner etc It may damage the cabinet Do not apply...

Page 23: ...rminals Audio In audio signal 500 mV 47 k ohms Line in Analog input 500 mV 47 k ohms CD player Type Single disc multi play compact disc player Signal readout Non contact 3 beam semiconductor laser pickup D A converter Multi bit D A converter Frequency response 20 20 000 Hz Dynamic range 90 dB 1 kHz USB USB host interface Complies with USB 1 1 Full Speed 2 0 Mass Storage Class Support Bulk only and...

Page 24: ...TINSEA324AWZZ 10E R AS 1 SHARP CORPORATION ...

Reviews: