29
Synchronization Software
After the Serial Port Setup is
complete, the Settings window will
appear.
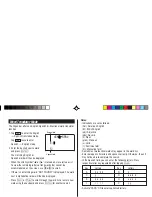
To bring up the Settings window
manually, right-click on the
Synchronization icon on the
Windows
®
system tray, then select
"Settings..." in the menu.
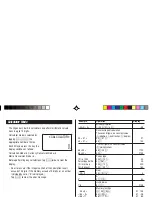
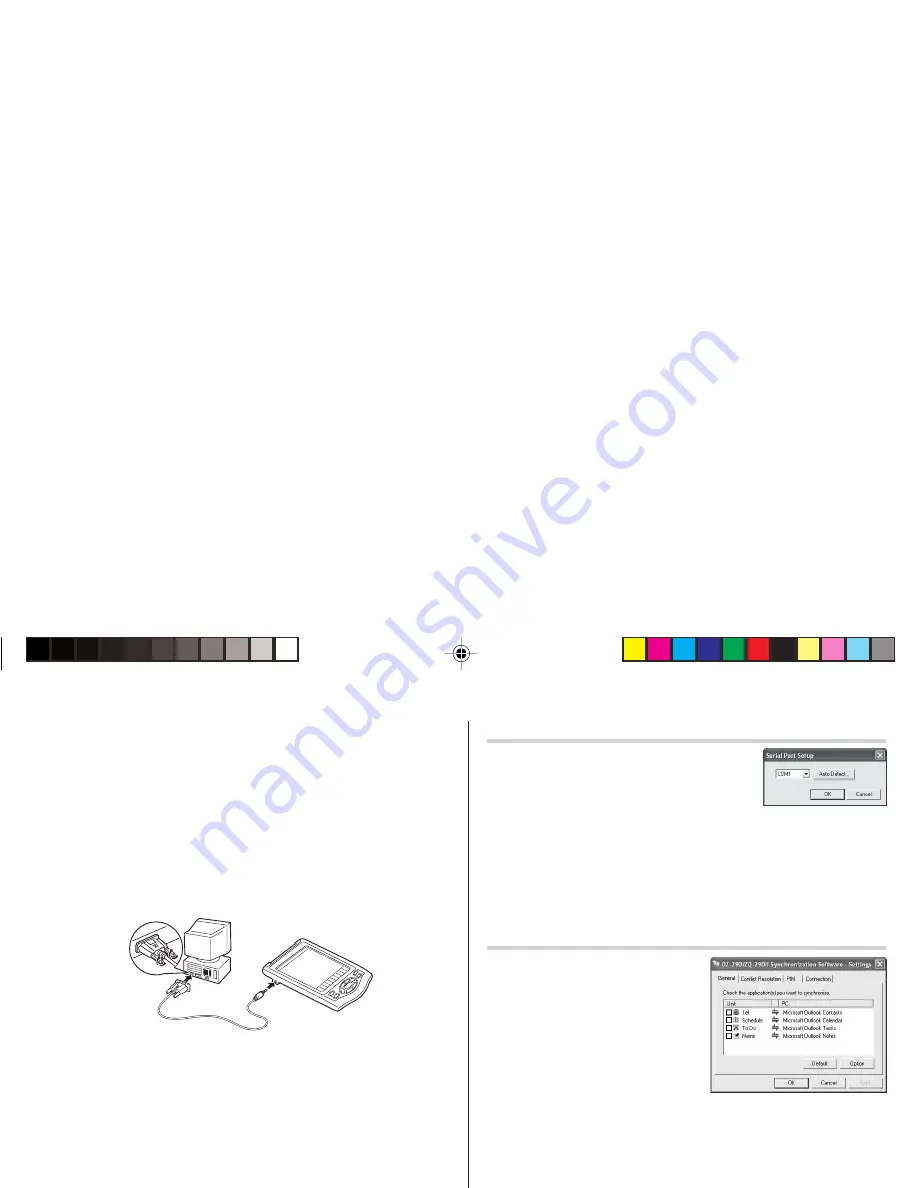
General tab
This tab allows you to select the application that you want to
synchronize with the PC.
• Click on the checkbox for each application to enable synchroni-
zation.
• Use the "Option..." button, or double-click the desired settings
row to configure the communication method.
• Click the "Default" button to reset the Options settings.
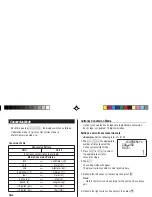
Serial Port Setup
The serial port setting dialog box appears
after you have finished software installation.
Click “Auto Detect...” to allow the Synchroni-
zation to automatically detect the appropriate
serial port. Make sure that the unit is physically connected with the
PC first, then click this button.
If the desired serial port is not found, manually select the serial port
from the drop-down list.
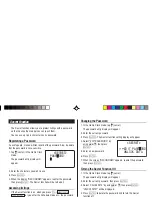
Connecting the Organizer to Your PC
1. Turn off your PC and the Organizer.
2. Connect the standard 9-pin connector of the PC-Link cable to the
PC’s serial port.
• Using a 25-pin connector will require an additional adapter.
(Commercially available)
3. Connect the other end of the PC-Link cable to the Organizer’s
option port.
4. Turn on the PC and the Organizer.
Installing
1. Insert the PC software CD-ROM into your CD-ROM drive. Installa-
tion process should automatically start.
If the PC software screen does not appear, double-click “My
Computer” to locate the CD-ROM drive directory, then double-click
to launch “install.exe” or “installer.exe” found on the CD-ROM.
2. Click the "Install" button.
3. Follow the installation instructions that appear on the screen.
Note:
• For Windows2000
®
Professional and Windows
®
XP, install/uninstall
programs after logging on as an Administrator.
• When the installation is complete, click the "Finish" button to finish
the installation process.
< REVISED_030723 >
OZ-290(En).pm65
03.7.23, 7:22 PM
29


