background image

MODEL
MODELL
MODÈLE
MODELO

MD-ZV30H

OPERATION MANUAL

BEDIENUNGSANLEITUNG

MODE D’EMPLOI
MANUAL DE MANEJO

S
M

<P=001>

MD STUDIO

S
M

<P=001>

S
M

<P=001>

S
M

<P=001>

ESPAÑOL

     F

RANÇAI

S       DEUT

SCH        ENGL

IS

H

MD STUDIO

MD STUDIO

MD STUDIO

MD-ZV30H TINSZ0217AWZZ

Summary of Contents for MD-ZV30

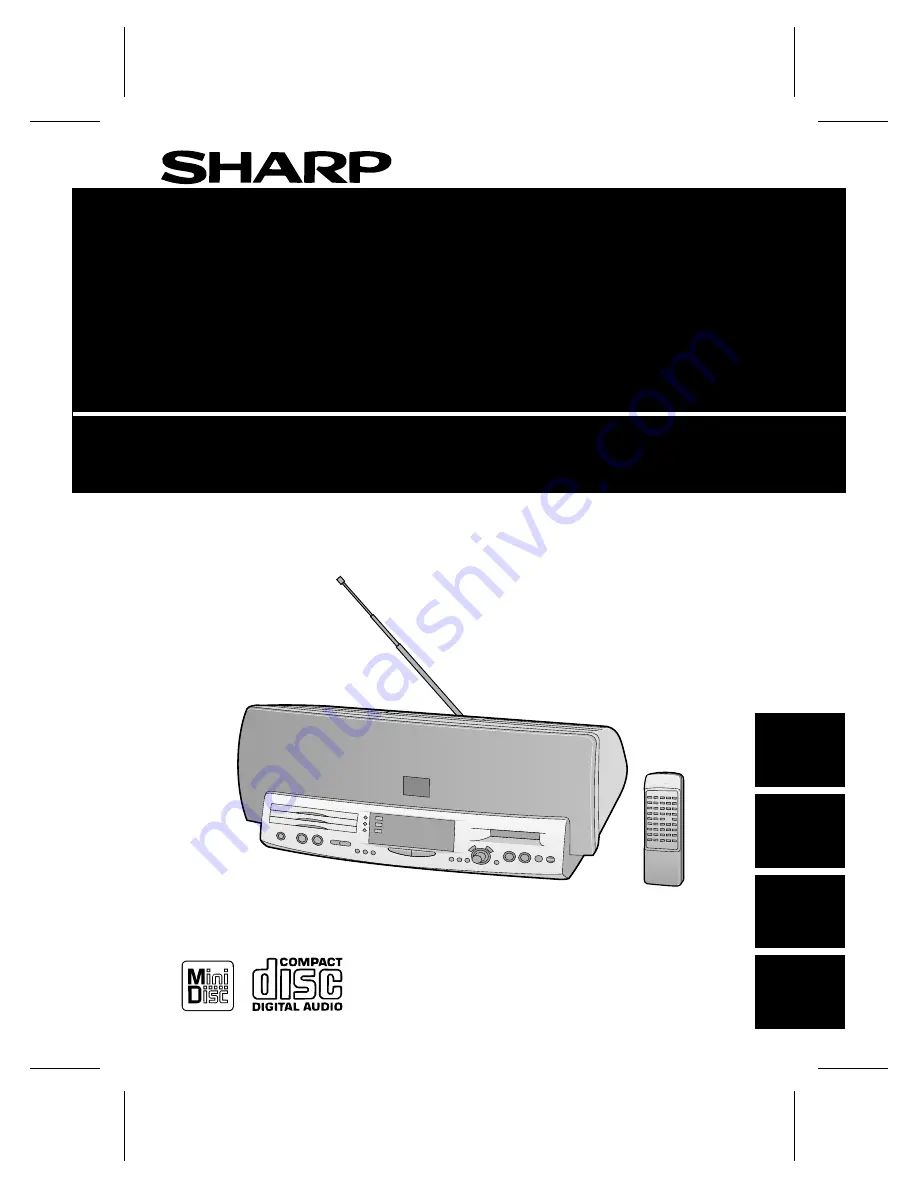
Page 1: ... MODELO MD ZV30H OPERATION MANUAL BEDIENUNGSANLEITUNG MODE D EMPLOI MANUAL DE MANEJO S M P 001 MD STUDIO S M P 001 S M P 001 S M P 001 ESPAÑOL FRANÇAIS DEUTSCH ENGLISH MD STUDIO MD STUDIO MD STUDIO MD ZV30H TINSZ0217AWZZ ...

Page 2: ...into a 13A socket outlet as a serious electric shock may occur To fit an appropriate plug to the mains lead follow the instructions below IMPORTANT The wires in the mains lead are coloured in accordance with the following code Blue Neutral Brown Live As the colours of the wires in the mains lead of this product may not correspond with the coloured markings identifying the terminals in your plug pr...

Page 3: ...ON 11 RADIO OPERATION 12 13 CONVENIENT CD AND MD OPERATIONS 14 17 Page RECORDING 18 22 EDITING 23 32 HOW TO USE THE BUILT IN TIMER 33 35 USING EXTERNAL UNITS 36 37 WHAT IS A MINIDISC 38 39 MINIDISC SYSTEM LIMITATIONS 39 TROUBLESHOOTING 40 42 TRANSPORTING THE UNIT 42 MAINTENANCE 43 SPECIFICATIONS 43 ACCESSORIES For European customers For U K customers AC Power Lead 1 AM loop aerial 1 Remote control...

Page 4: ...to high volume levels which occur whilst turning the unit on with the volume control set ting up high or whilst continually listening at high volumes Condensation Sudden temperature changes storage or operation in an extremely humid environment may cause condensation in side the cabinet CD pickup MD pickup etc or on the transmitter window on the remote control Condensation can cause the unit to ma...

Page 5: ...er Call Band Select Button 34 CD Track Select Button 35 CD Edit Button 36 Name TOC Edit Button 37 Timer Delete Button 38 Display Button 39 Jog Dial 40 Enter Button 41 MD Stop Button 42 MD Play Pause Button 0 6 43 MD Record Button 44 MD Eject Button 7 45 Headphone Socket 46 Reset Button 47 FM Telescopic Rod Aerial 48 AC Power Input Socket 49 Monitor Output Socket 50 Auxiliary Input Socket 51 Auxili...

Page 6: ...ack Down Review Button 3 5 24 3D Surround On Off Button 25 3D Surround Mode Select Button 26 Auxiliary Select Button 27 Time Display Select Button 28 Bass Treble Select Button 29 Volume Up Down Buttons Loading the batteries for the remote control 1 Remove the battery compartment cover 2 Insert 2 AA size batteries UM SUM 3 R6 HP 7 or similar into the battery compartment When inserting the batteries...

Page 7: ... supplied Notes Do not place the aerial on the unit It may result in noise generation since the unit is equipped with digital electronics Place the aerial away from the unit for better reception If the AM loop aerial is placed near the AC power lead it may cause interference Unplugging the connector Hold the connector and remove it in the direction indicated by the arrow Do not pull on the lead Co...

Page 8: ...nter the date setting mode 8 Set the hour using the jog dial When you turn the jog dial and let go the hour will change up or down by one When you turn and hold it the hour will change continuously The clock uses the 24 hour system 9 Press the ENTER button to set the hour 10Adjust the minute using the jog dial 11Press the ENTER button to set the minute When the ENTER button is pressed the clock wi...

Page 9: ...BLE Press the BASS TREBLE button until the TREBLE display ap pears Press the VOLUME W button to increase the high fre quency level and press the VOLUME X button to decrease the level Bass Remote control operation Press the BASS TREBLE button until the BASS display appears Press the VOLUME Wbutton to increase the low frequency level and press the VOLUME X button to decrease the level Main unit Remo...

Page 10: ...rent 3D surround effect 1 Select any desired audio source and begin playback 2 Press the 3D SURROUND ON OFF button to enter the 3D surround mode 3D SURROUND will appear 3 Press the MODE button repeatedly to select the desired mode When the MODE button is pressed in the 3D surround mode the current mode will be displayed When you press the MODE button again you can switch the mode About 3 sec onds ...

Page 11: ... disc tray will light up The music schedule will be displayed only for the number of tracks on the disc If the CD contains more than 21 tracks Y will appear 6 Press the CD 0 6 button Playback will begin from track 1 on the disc you have speci fied to play After the disc finishes playing the next disc will be automat ically played When there is no CD in one of the disc 1 3 positions that position w...

Page 12: ... malfunctions Do not place two CDs in one disc position Do not push the disc tray whilst it is moving Do not attempt to push the disc tray by hand This may cause malfunctions If power fails whilst the tray is open wait until the power supply returns or gently push the tray manually to close it If the disc tray is stopped forcibly TRAY ERROR will appear on the display and the unit will not function...

Page 13: ...button If the MD has a name the name will be scrolled If the disc name or track name has not been programmed NO NAME will appear When the last track has been played back this unit will stop automatically To interrupt playback Press the MD 0 6 button Press the MD 0 6 button to resume playback from the same point DISC TOTAL 1 2 3 4 5 6 7 8 9 10 11 12 To stop playback Press the MD button To remove a ...

Page 14: ...ressed for more than 0 5 seconds scanning will start automatically and the tuner will stop at the first receivable broadcast station Notes When radio interference occurs during auto scan tuning auto scan tuning may stop automatically at that point If a weak station signal is found during auto scan tuning the station will be skipped To stop the auto tuning press the TUNING X or W button again 5 To ...

Page 15: ...on When a new station is stored in the selected station preset number memory the contents previously memorised will be erased To recall a memorised station 1 Press the TUNER BAND button 2 Press the tuner preset number button on the remote control or turn the jog dial on the main unit to recall the preset chan nel number The frequency will appear on the display For example to select 5 1 2 3 4 5 6 1...

Page 16: ... TIMER DELETE DISPLAY ENTER TRACK START TUNING CURSOR REC 1 2 3 SURROUND 3D TUNER BAND MODE ON OFF CD PLAY 1 2 3 ON STAND BY B To select track number 100 or higher only for MD Press the Y 10 button twice then press the track number For example to select 128 Press the Y 10 button Within 5 seconds press the Y 10 button Within 5 seconds press the 1 button Within 5 seconds press the 2 button Within 5 ...

Page 17: ... random play 1 Select the desired programme source CD or MD by pressing the CD or MD button 2 Press the P MODE button Each time this button is pressed the mode will change in the following order Repeat play Random play Normal play Repeat play 3 Press the 0 6 button to start playback To specify a disc from disc trays 1 3 press one of the buttons 0 1 0 3 1 2 3 4 5 6 10 7 8 9 10 0 PROGRAM MD CD TUNER...

Page 18: ...flashing Each time the button is pressed one track will be cleared beginning with the last track programmed To cancel the APMS Whilst the unit is stopped in the APMS mode press the CLEAR button to turn off the PRGM display The programme contents will be erased When you open the disc tray or a MiniDisc is removed the APMS mode will be cancelled To check which tracks are programmed Whilst the unit i...

Page 19: ... name will be displayed If a track name has not been programmed NO NAME will appear 2 The remaining recording time will be displayed 3 The date and time recorded will be displayed 4 The level meter will be displayed Changing the brightness of the display section If you need to operate the unit in different lighting conditions you can change the brightness of the display section When the power is o...

Page 20: ...uto matically record in a vacant area When you start recording or editing TOC will appear in the display window This indicates that information in the TOC is now being changed according to recording or editing being performed The changed TOC is not yet recorded on the MiniDisc at this time The TOC is recorded when you stop recording you switch to another input source you eject the MiniDisc you tur...

Page 21: ...e TOC FULL message appears Page 39 If a disc s TOC has been damaged If you are trying to copy a digital signal that has been encoded with the SCMS signal Serial Copy Management System Notes When recording important selections be sure to make a preliminary test to ensure that the desired material is being properly recorded The VOLUME X BASS TREBLE and 3D SUR ROUND controls may be adjusted with no e...

Page 22: ...n Recording will begin starting from the first track on disc tray 1 After recording all of the tracks that can be recorded the unit will automatically stop To stop recording Press the CD or MD button Playback and recording will stop after the track numbers have been written on the MiniDisc It is not possible to pause recording To check the remaining time available for recording 1 Load a MiniDisc 2...

Page 23: ...nd the MD will stop automatically 0dB OVER 12 4 REMAIN 1 2 3 4 5 6 7 8 9 10 11 12 1 2 3 TOTAL 3 1 2 3 TOTAL 3 4 5 6 7 1 2 3 3 4 5 To cancel the track edit operation Press the CD button before pressing the START button To stop recording Press the MD button After the track numbers have been written on the MiniDisc playback and recording will stop It is not possible to pause recording APMS recording ...

Page 24: ...ng you can increase the track number at any point during the recording process To create a new track number whilst in the record mode press the REC button The track number will increase by one and then the recording will continue If you press the REC button and assign a track number a space of at least 15 seconds should be given between tracks If the space is shorter than 15 seconds tracks may not...

Page 25: ...D A B ERASE Tracks you want to erase can be erased one at a time or all at once Once a track has been erased it cannot be recovered Double check the track number before erasing it Page 27 A B C A B D E D 1 2 3 4 1 2 3 4 E 5 MOVE The order of the recorded tracks can be changed This feature is different from programme play A new track order can be recorded directly on the disc When the power is turn...

Page 26: ...If the TOC FULL message is seen the second track may not be given a name Page 39 Notes This unit can hold up to 255 tracks However even if the number of tracks assigned has not reached 255 it might not be possible to make any further divisions of tracks Page 39 This function cannot be used whilst a programme is being entered PRGM is lit Page 16 or whilst in the random play mode RANDOM is lit Page ...

Page 27: ...both tracks have a name The name of the first track will be used To combine two non contiguous tracks Example the first and third tracks Move the third track to the second track using the MOVE func tion Page 26 Then combine the first and second tracks using the COMBINE function Notes Tracks recorded from analogue inputs cannot be combined with tracks recorded from CDs or MDs using the digital inpu...

Page 28: ...ved the other tracks which are affected will be assigned new track numbers automatically Example When moving the fifth track to the third track the old third track will become the new fourth track and the old fourth track will become the new fifth track This function cannot be used whilst a programme is being entered PRGM is lit Page 16 or whilst in the random play mode RANDOM is lit Page 15 First...

Page 29: ...and the total playing time for the MD will be displayed 2 Press the NAME TOC EDIT button and then select ALL ERASE using the jog dial 3 Within 10 seconds press the ENTER button To cancel the operation press the MD button 4 Press the ENTER button again All of the track numbers and track names will be erased Note This function cannot be used whilst a programme is being entered PRGM is lit Page 16 or...

Page 30: ... i j k l m n o p q r s t u v w x y z 1 2 3 4 5 6 7 8 9 0 _ Type of characters Characters ZsymbolsY Capital letters Lower case letters Symbols Number of characters you can enter Disc names and track names Up to 40 characters including spaces can be entered for each name If more than 40 characters are entered NAME FULL will appear Total number of characters per MiniDisc A total of approximately 1700...

Page 31: ...disc name will be recorded CD DISC 1 DISC 2 DISC 3 MD ON STAND BY VOLUME TUNER BAND MODE ON OFF CD PLAY 1 2 3 CD MD DIGITAL EDIT NAME TOC EDIT TIMER DELETE DISPLAY ENTER TRACK START TUNING CURSOR REC 1 2 3 SURROUND 3D 2 7 3 6 1 5 4 TOTAL DISC 1 2 3 4 5 6 7 8 9 10 11 12 13 14 15 16 17 18 TOTAL DISC 1 2 3 4 5 6 7 8 9 10 11 12 13 14 15 16 17 18 TOTAL 1 2 3 4 5 6 7 8 9 10 11 12 13 14 15 16 17 18 TOTAL...

Page 32: ...rst cancel the pro gramme or random play mode before trying to use this func tion The track name function can be used whilst in the stop mode when selecting a track in the pause mode or in the recor ding mode Select TRACK NAME from the edit menu If you create a track name whilst recording the track make sure you finish entering the name before you finish recording the track If the end of the recor...

Page 33: ... 5 6 7 8 9 10 11 12 13 14 15 16 17 18 2 1 TOTAL 1 2 3 4 5 6 7 8 9 10 11 12 13 14 15 16 17 18 3 1 During playback press the MD button 2 Press the NAME TOC EDIT button and then select DISC NAME using the jog dial 3 Within 10 seconds press the ENTER button The unit will enter the character input mode To cancel the operation press the MD button Now you can erase or add characters Page 32 To change tra...

Page 34: ...MER DELETE DISPLAY ENTER TRACK START TUNING CURSOR TUNING CURSOR REC 1 2 3 SURROUND 3D NAME TOC EDIT ENTER TOTAL 1 2 3 4 5 6 7 8 9 10 11 12 13 14 15 16 17 18 4 TOTAL 1 2 3 4 5 6 7 8 9 10 11 12 13 14 15 16 17 18 5 TOTAL DISC 1 2 3 4 5 6 7 8 9 10 11 12 13 14 15 16 17 18 6 TOTAL 1 2 3 4 5 6 7 8 9 10 11 12 13 14 15 16 17 18 4 TOTAL 1 2 3 4 5 6 7 8 9 10 11 12 13 14 15 16 17 18 5 TOTAL DISC 1 2 3 4 5 6 ...

Page 35: ...TER button 4 Select the timer mode using the jog dial 5 Press the ENTER button The start time setting display will appear To select the timer recording mode Before timer recording the following preparations are required Load a recordable MD Preset the radio station 1 Press the TIMER DELETE button 2 Turn the jog dial so that the TIMER SET display appears 3 Within 10 seconds press the ENTER button 4...

Page 36: ...nter the timer playback or timer recording standby mode The power will be turned off To change the programmed contents Turn the power on and start again from step 1 To check the timer setting 1 Whilst in the timer standby mode press the TIMER DELETE button 2 Turn the jog dial so that the TIMER CALL display appears 3 Within 10 seconds press the ENTER button The timer settings will appear in order a...

Page 37: ...e TIMER DELETE button 2 Turn the jog dial so that the SLEEP display appears To cancel the sleep operation If the power is turned off the sleep operation will be cancelled The timer operation can also be cancelled as follows if the power cannot be turned off during recording 1 Press the TIMER DELETE button 2 Turn the jog dial so that the SLEEP OFF display appears 3 Within 10 seconds press the ENTER...

Page 38: ...AX 4 Connect the MONITOR OUT socket to the input of the other equipment using an RCA lead Commercially available lead with a stereo plug and phono plug Note The output of MONITOR OUT is fixed The output is not affected by the adjustment of the volume or tone controls Auxiliary input To listen to playback from other equipment or record it through this unit Connect the AUX socket to the input of the...

Page 39: ...TEREO PHONES Using the microphone Press the AUX button on the remote control The microphone volume should be adjusted using the INPUT LEVEL control The method of recording playing back the sound from a micro phone is the same as that from analogue inputs When a microphone is connected recording playback from other analogue inputs is not possible This unit does not allow you to mix playback sound w...

Page 40: ...e of the disc in the direction indicated by the arrow The disc will then be protected against accidental erasure To add a recording to such a disc slide the accidental erase prevention tab back to its original position Tab Protected against accidental erasure What is a MiniDisc A MiniDisc is a 64 mm 2 1 2 diameter disc which is stored in a cartridge MiniDiscs are easy to handle com pared to compac...

Page 41: ...Even if the maximum recording time of a MiniDisc has not been reached DISC FULL may be displayed Even if several short tracks are erased the remaining recording time may not show an increase Two tracks may not be combined in editing The total of the recorded time and time remaining on a disc may not add up to the maximum possible rec ording time If recorded tracks are fast reversed or fast forward...

Page 42: ... on The unit should function properly in about 1 hour MD recording and playback SYMPTOM POSSIBLE CAUSE REMEDY A recording cannot be made Is the MiniDisc protected against accidental erasure Did you try to make recording on a playback only MiniDisc Can you see the TOC FULL message in the dis play Slide the accidental erase prevention tab back to its original position Replace it with a recordable di...

Page 43: ...e exceeds 40 Shorten the disc or track name NO DISC A disc has not been loaded The disc data cannot be read Load a disc Reload the disc NOT AUDIO The data recorded on this disc is not audio data Select another track Replace the disc PLAYBACK MD You tried to record on a playback only disc Replace it with a recordable disc PROTECTED The disc is write protected Move the write protection tab back to i...

Page 44: ... settings in memory will be erased If strange sounds smells or smoke come out of the unit or if a foreign object falls into the unit turn off the power unplug the AC power lead from the AC socket immediately Contact the shop where you purchased the unit AC INPUT MONITOR OUT MIC STEREO AUX AM ANTENNA PHONES RESET INPUT LEVEL MIN MAX RESET TRANSPORTING THE UNIT Before you move this product to a new ...

Page 45: ...0 2 dB D A converter 1 bit D A converter Signal noise ratio 95 dB 1 kHz Dynamic range 90 dB 1 kHz Wow and flutter Unmeasurable less than 0 001 W peak Audio channel Stereo 2 channel T H D at 1 kHz 0 1 Compact disc player Type 3 disc multi play compact disc player Signal readout Non contact 3 beam semi conductor laser pickup Rotational speed 200 500 rpm CLV Approx Error correction CIRC Cross Interle...

Page 46: ...SHARP CORPORATION TINSZ0217AWZZ A9703 SM MD ZV30H TINSZ0217AWZZ ...

Reviews: