77
Photo mode
H
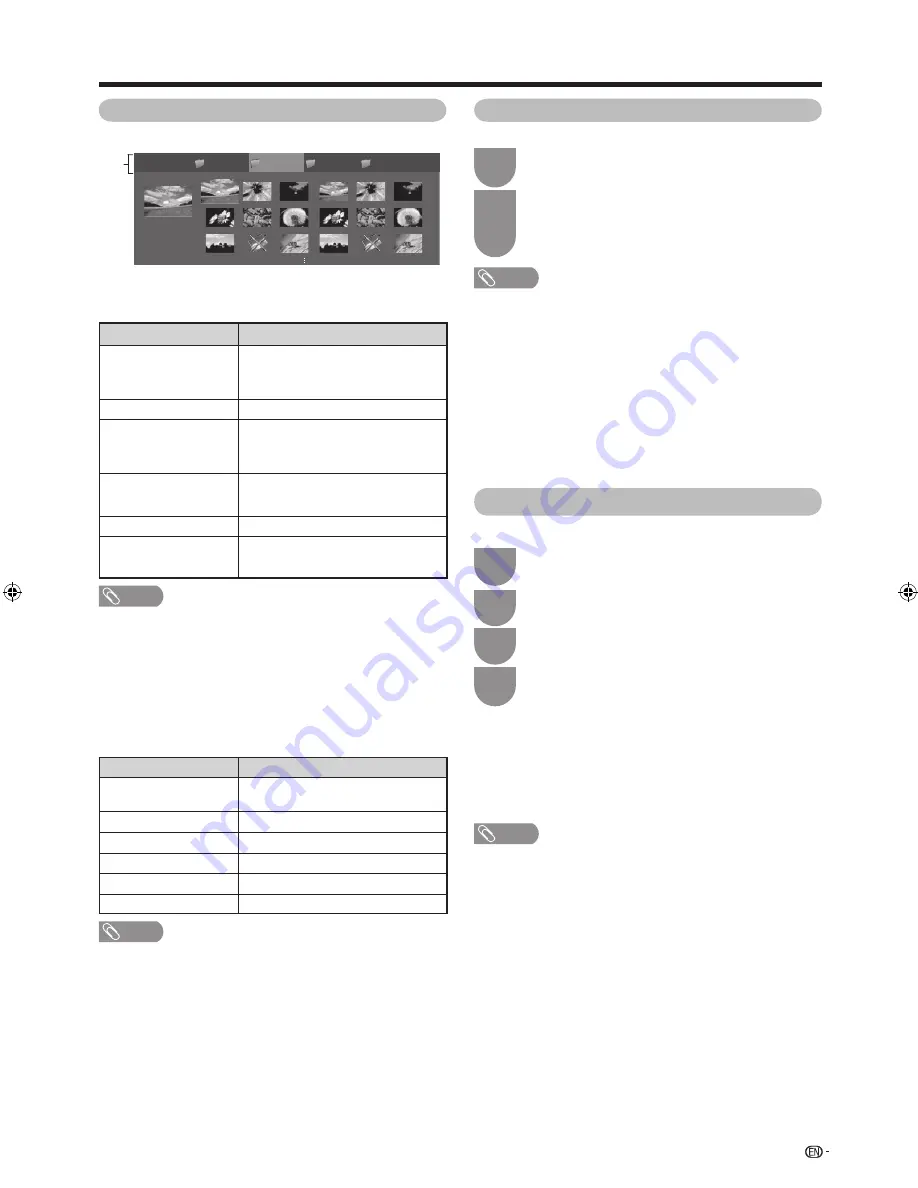
Viewing thumbnails
Picture_01.jpg
2003/09/08 14:55:46
3984KB
3072 x 2304
...
Folder 1*
Folder 3*
Folder 4*
Folder 2*
* This bar is not shown in the “Home network” screen.
*
Other useful features
Buttons for thumbnail operations
Buttons
Description
ENTER
When selecting a folder icon: Enter this
directory.
When selecting a photo thumbnail: Display
the photo in full screen.
a
/
b
/
c
/
d
(Cursor)
Select a desired item.
R button
Select/deselect photos shown in the slide
show in the USB mode.
Move to the parent folder in the Home
network mode.
G button
Selecting BGM.
This is not available in the Home network
mode.
Y button
Slide show
B button
Go to the USB menu in the USB mode.
Go to the Home network menu in the Home
network mode.
NOTE
• When there are invalid photo fi les, the
g
mark will be displayed for the fi le.
• The 3D mode icon appears on the thumbnails of 3D images. If you
do not switch to 3D mode for the 3D images, they will be displayed
in 2D.
• You can see the fi le name, shooting date, fi le size and pixel size of
the selected photo in the lower-left corner of the screen (shooting
date is only available in the EXIF fi le format).
H
Viewing photos in full screen
Buttons for full screen display operation
Buttons
Description
c
/
d
(Cursor)
Go to the previous/next photo in the
same directory.
RETURN
Return to the thumbnail selection screen.
3D
Switch between 2D and 3D modes.
R button
Rotate the photo by 90 degrees to the left.
G button
Rotate the photo by 90 degrees to the right.
Y button
Reveal/hide the guide display.
NOTE
• Rotating photos only applies to the temporarily selected item and
this setting is not saved.
H
USB menu
You can set each function for each mode in the USB
mode.
H
Home network menu
You can set each function for each mode in the Home
network mode.
3D mode
You can view photos in 3D mode.
Press
B
to display the “USB MENU” screen.
1
2
Press
a
/
b
to select “3D display”, and then
press
ENTER
.
• See pages 49 to 56 and 81 for details on the 3D
function.
NOTE
• In 3D mode, you cannot rotate the photos.
• You can select “3D display” from “USB MENU” only when the
thumbnails screen for the photo mode in USB mode is displayed on
the screen.
DivX® setup
This is the function to confi rm your registration code.
Press
a
/
b
to select “DivX(R) setup”, and then
press
ENTER
.
4
1
Press
MENU
and the MENU screen displays.
2
Press
c
/
d
to select “Setup”.
3
Press
b
/
c
/
d
to select “View setting”.
H
DivX® VOD registration
You need to visit the DivX® main page to register your
TV, then you can play DivX® content.
H
DivX® VOD deregistration
You can fi nd the deregistration code.
NOTE
• Visit www.DivX.com for more information about DivX® VOD.
60LE925X_en_au.indd 77
60LE925X_en_au.indd 77
2010/09/01 16:34:41
2010/09/01 16:34:41
Summary of Contents for LC-60LE925X
Page 1: ...MODEL LC 60LE925X LCD COLOUR TELEVISION OPERATION MANUAL ...
Page 2: ......
Page 92: ...90 Memo ...
Page 93: ...91 Memo ...
Page 94: ...92 Memo ...
Page 95: ......
Page 96: ...Printed in Malaysia TINS E885WJZZ 10P09 MA NG ...


