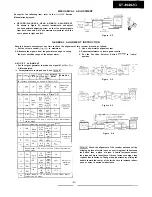
F M I F / R F
l
Set the signal generator to produce a signal of
FM modulated.
Figure
TEST
DIAL
S T E P B A N D
S E T -
REMARKS
GE CY
M E N T
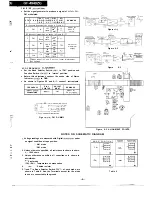
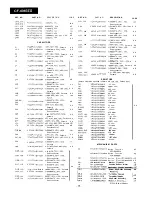
IF (Connect instruments as shown in Figure 6-l
I
I
FM
I
10.7
Adjust for
end of
best “S”
dial
curve.
RF (Connect instruments as shown in Figure
87.1
Low
2
FM
Band
end of
dial
cover-
age
3
FM
109.0
High
MHz
end of
TC2
dial
4
FM
88
MHz
MHz
5
Adjust for
maximum
output.
Figure 6-2
io”
steps
and 5 until no further improvement
can be made.
Figure 6-3
V C O F R E Q U E N C Y
l
Set the Band Selector Switch
to “FM” position and
Function Switch
to “stereo” position.
l
Before this adjustment, connect the anode side of Stereo
Indicator
to GND.
l
As shown in Figures 6-3 and
connect instruments.
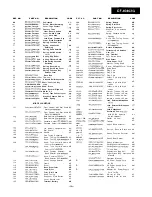
FREQUENCY
D I A L
AD JUST
POINTER
MENT
REMARKS
Adjust for
unmodulated
38
F i g u r e
F M D U M M Y
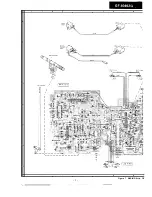
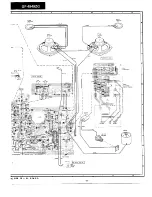
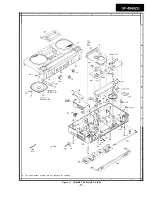
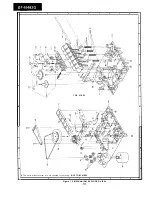
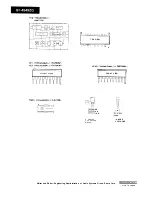
Figure 6-5 ALIGNMENT POINTS
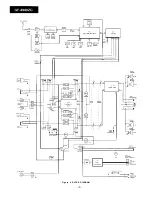
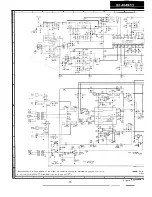
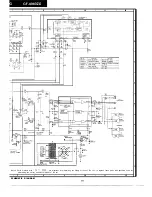
NOTES ON SCHEMATIC DIAGRAM
Voltage readings are measured with Digital
under
no signal condition at tape position.
AM mode
FM mode
2. Unless otherwise specified, all resistance is shown in ohms.
1000 ohms
3, Unless otherwise specified, all capacitance is shown in
microfarads.
Picofarads
(CH), (RH) Temperature compensation
4.
Printed resistor
5. and in Band Selector Switch
at each mode, are
shown in Table 6. And the Terminals except for the mode
in use are connected to the ground.
M O D E P O S I T I O N
na
he
F M
Table 6


