


40
PRINTER FUNCTIONS
ENLARGING/REDUCING THE PRINT IMAGE
(Zoom)
This function is used to enlarge or reduce the image to a selected percentage. This allows you to enlarge a small
image or add margins to the paper by slightly reducing an image.
1
Click the "Paper" tab in the printer
driver setup screen.
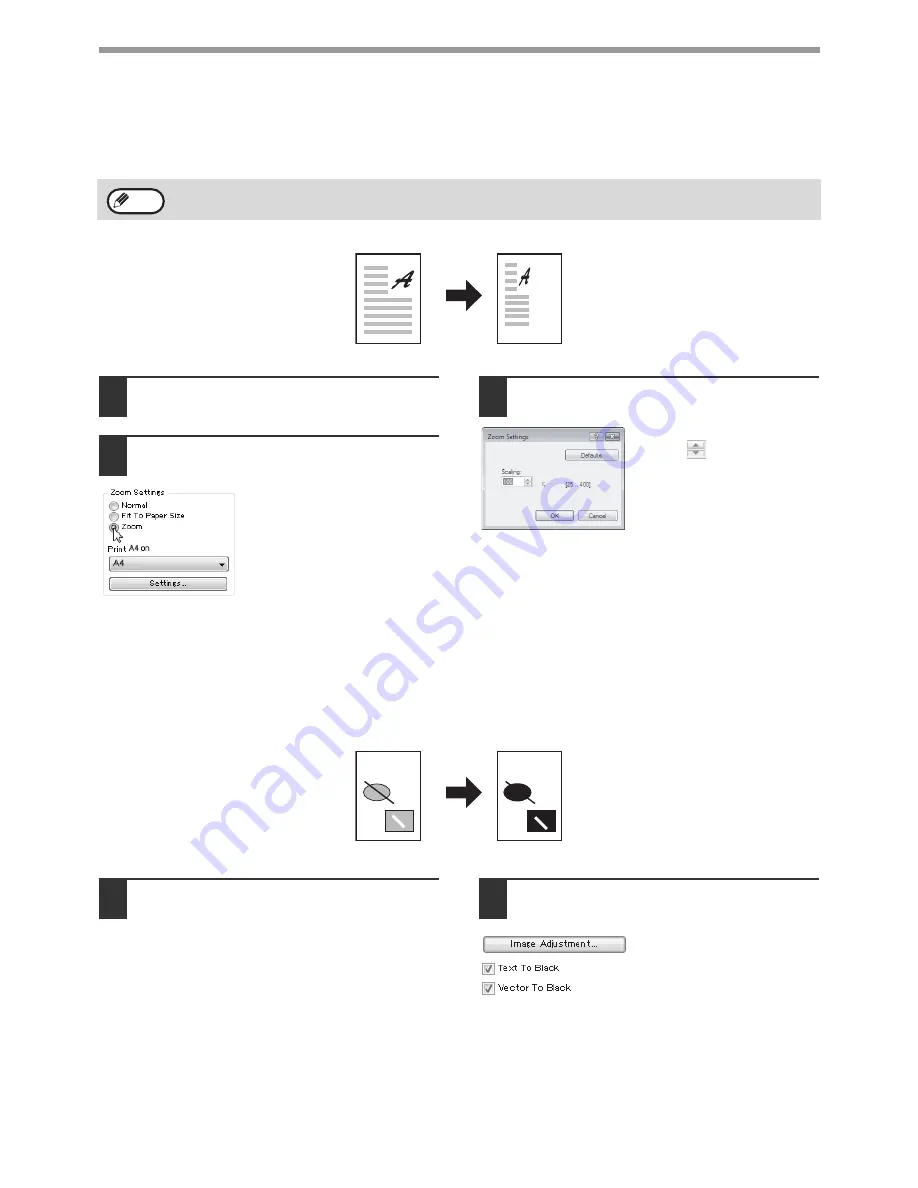
2
Select "Zoom" and click the
"Settings" button.
The actual paper size to be
used for printing can be
selected from the pop-up
menu.
3
Select the zoom ratio.
Directly enter a number or
click the
button to change
the ratio in increments of 1%.
PRINTING FAINT TEXT AND LINES IN BLACK
(Text To Black/Vector To Black)
When printing a colour image, colour text and lines that are faint can be printed in black. (Raster data such as bitmap
images cannot be adjusted.) This allows you to bring out colour text and lines that are faint and difficult to see.
1
Click the "Advanced" tab in the printer
driver setup screen.
2
Check the "Text To Black" box
and/or
the "Vector To Black" box.
• "Text To Black" can be
selected to print all text
other than white text in
black.
• "Vector To Black" can be
selected to print all vector
graphics other than white
lines and areas in black.
The "Zoom" setting is not available when "N-Up Printing" is selected.
Note
ABCD
ABCD