
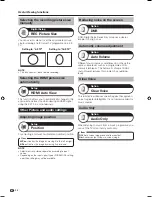


Monochrome
For viewing a video in monochrome.
Range of OPC
The brightness level range of the OPC sensor’s
automatic adjustments can be set according to your
preferences. The adjustment range of the OPC sensor
can be set to a maximum of
k
16 and a minimum of
l
16.
Selectable
items
Description
Max.
l
16 through
k
16
Min.
l
16 through
k
16
NOTE
• This function is available only when the “OPC” setting is set
to “On” or “On: Display”.
• The maximum setting cannot be set to a smaller number
than the minimum setting.
• The minimum setting cannot be set to a bigger number
than the maximum setting.
• The maximum and minimum settings cannot be set to the
same number.
• Depending on the brightness of the surrounding light, the OPC
sensor might not operate if the adjustment range is small.
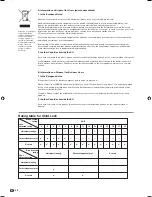
Audio Settings
You can adjust the sound quality to your preference
with the following settings.
Selectable
items
c
button
d
button
Treble
For weaker treble
For stronger treble
Bass
For weaker bass
For stronger bass
Balance
Decrease audio from
the right speaker
Decrease audio from
the left speaker
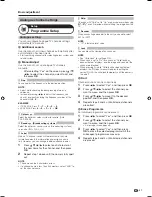
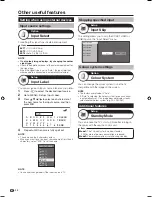
MENU
[Audio]
Audio
Power Control
Balance
Treble
Surround
Reset
[ 0]
[ 0]
–15
L
+15
R
[Off]
Bass
[ 0]
–15
+15
DYNAMIC
This function allows you to enjoy realistic “live” sound.
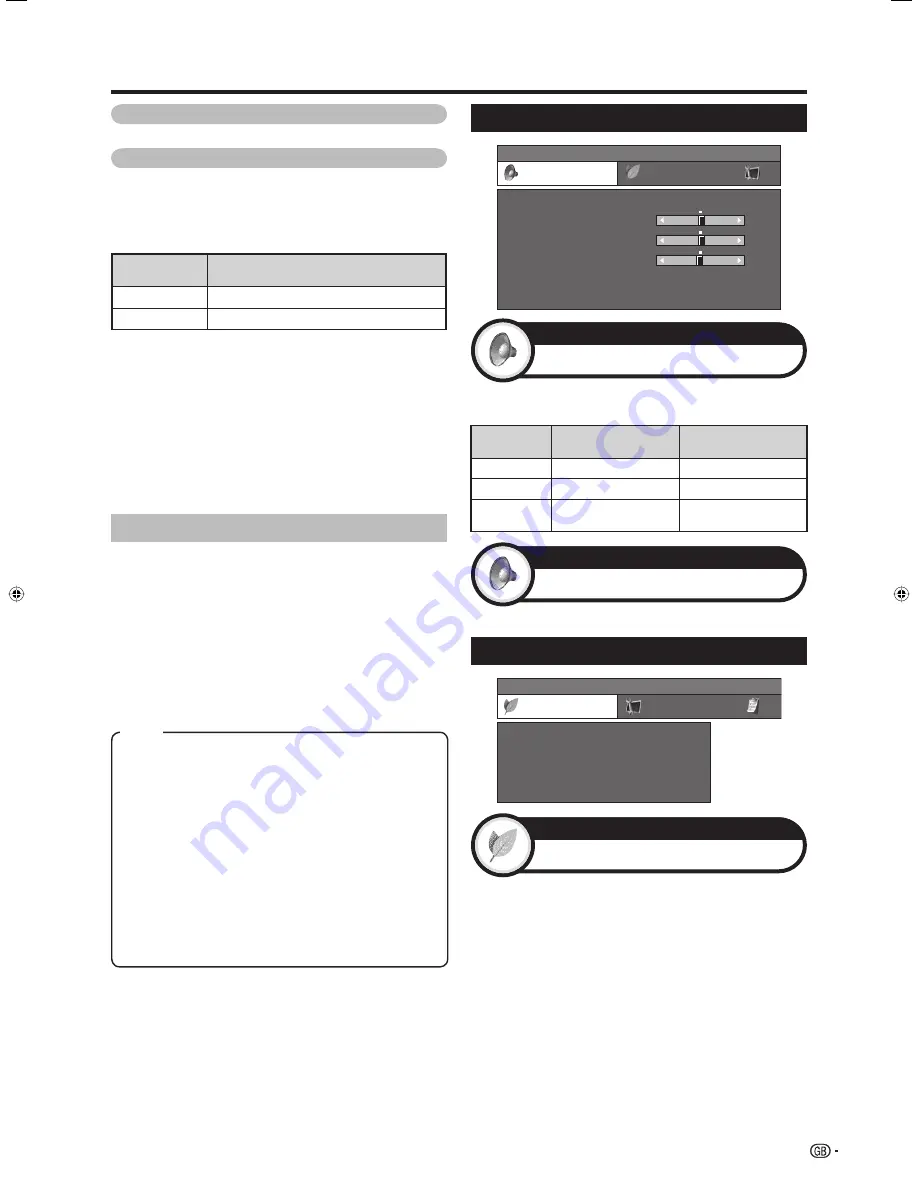
Power Save Settings
MENU
[Power Control]
Power Control
Setup
No Signal Off
No Operation Off
Ecology
Sleep Timer
[Disable]
[Disable]
When set to “Enable” the TV will automatically enter the
standby mode if there is no signal input for 15 minutes.
• Five minutes before the TV enters standby mode, the
remaining time displays every minute.
NOTE
• When a TV programme finishes, this function may not
operate.
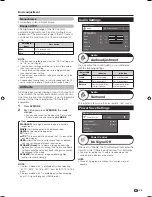
Audio adjustment
Audio
Surround
Audio
No Signal Off
Power Control
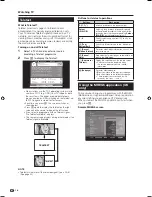
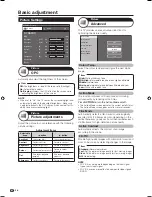
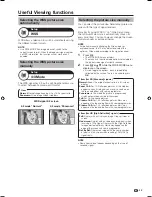
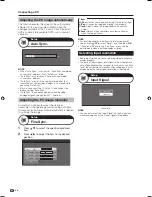
Basic adjustment
AV Mode
AV Mode gives you five viewing options to choose from
to best match the system environment, which can vary
due to factors like room-brightness, type of programme
watched or the type of image input from external
equipment.
Press
AV MODE
.
Each time you press
AV MODE
, the mode
changes.
• You can also switch the mode on the “Picture” and
“Audio” menu screen by pressing
AV MODE
.
1
2
Item
STANDARD:
For a highly defined image in a normally
bright room.
MOVIE:
For viewing a movie in a darkened room.
GAME:
For playing of video games.
PC*:
For PC.
xvYCC**:
Produce realistic colour on the TV screen unlike
any other signal.
USER:
Allows the user to customise settings as desired.
You can set the mode for each input source.
DYNAMIC (Fixed):
For a clear-cut image emphasising
high contrast for sports viewing. (The Picture and Audio
settings cannot be adjusted.) Each setting value cannot
be changed in this mode.
DYNAMIC:
For a clear-cut image emphasising high
contrast for sports viewing.
NOTE
• The item marked with * is available only when selecting
“EXT4”, “EXT5”, “EXT6” or EXT7” from the INPUT SOURCE
menu.
• The item marked with ** is available only when accepting
an xvYCC signal through an HDMI terminal.
25
LC-42X20E-gb.indd 25
LC-42X20E-gb.indd 25
2007/09/04 16:31:24
2007/09/04 16:31:24