


10
Picture menu
TitleB
Menu operations
MENU
[Picture]
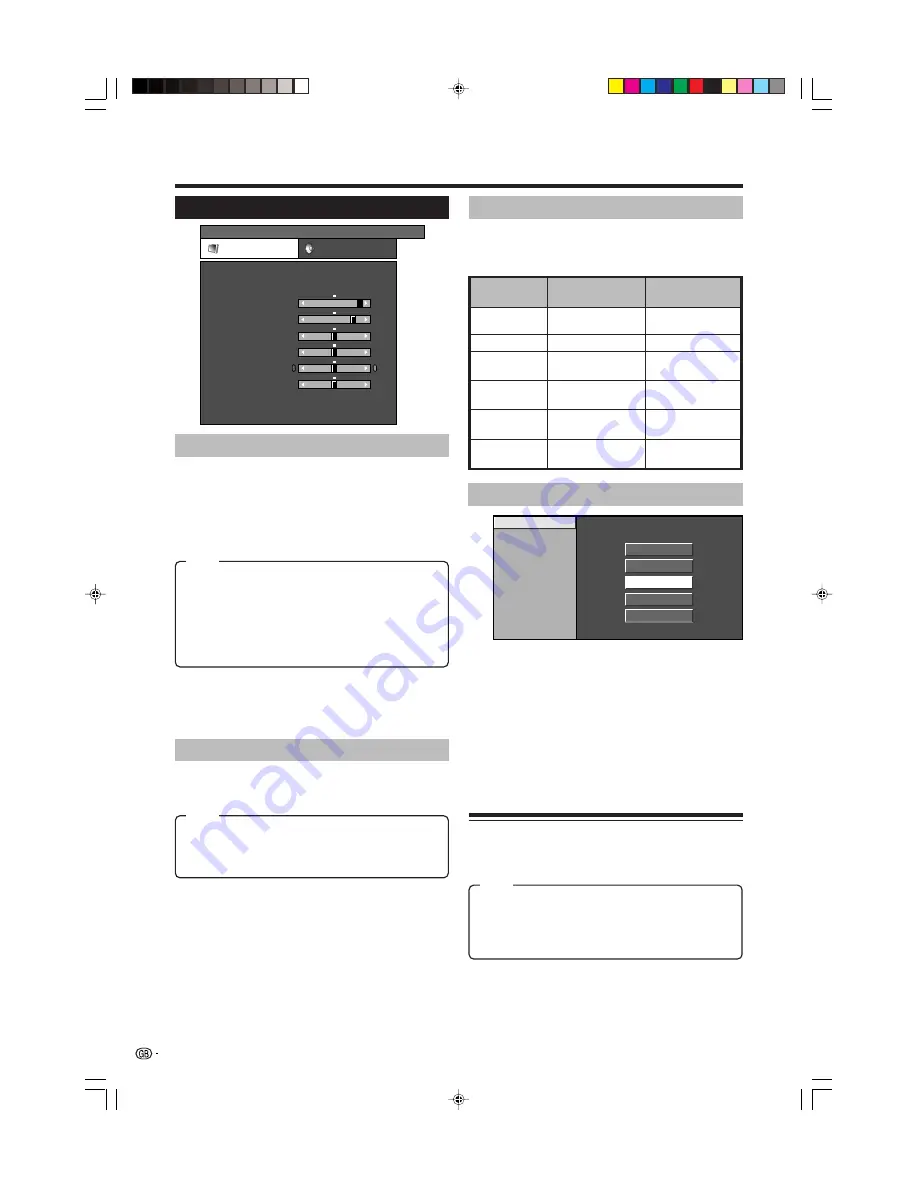
Picture
Audio
Contrast
OPC
AV Mode
[STANDARD]
[Off]
Brightness
Colour
Tint
Sharpness
Advanced
Reset
[+30]
[0]
[0]
[0]
[0]
0
–30
–30
–30
–10
+40
+30
+30
+30
+10
Backlight
[+6]
–8
+8
Off:
The brightness is fixed at the value set in Backlight.
On:
Automatically adjusts
On(Display):
Displays the OPC effect on the screen while
adjusting the brightness of the screen.
OPC
Menu Operation: A (page 9)
Automatically adjust the brightness of the screen.
NOTE
• When set to “On”, the TV senses the surrounding light
and automatically adjusts the backlight brightness. Make
sure no object obstructs the OPC sensor, which could
affect its ability to sense surrounding light.
NOTE
• You can select a different AV Mode item for each input
source. (For example, select “STANDARD” for TV input
and “DYNAMIC” for VIDEO input.)
STANDARD:
For a highly defined image in a normally
bright room
MOVIE:
For a movie
GAME:
Lowers image brightness for easier viewing.
USER:
Allows the user to customise settings as desired.
You can set the mode for each input source.
DYNAMIC:
For a clear-cut image emphasising high
contrast for sports viewing
AV Mode
Menu Operation: A (page 9)
AV Mode gives you five viewing options to choose from
to best match the system environment, which can vary
due to factors like room-brightness, type of programme
watched or the type of image input from external
equipment.
Advanced
Colour Temp.
Adjust the colour temperature to give the best white
image.
High:
White with bluish tone
Mid-High:
Intermediate tone between High and Middle
Middle:
Natural tone
Mid-Low:
Intermediate tone between Middle and Low
Low:
White with reddish tone
Colour Temp.
Black
3D - Y/C
Monochrome
Film Mode
I/P Setting
High
Mid-High
Middle
Mid-Low
Low
1
Press
MENU
and the MENU screen displays.
2
Press
c
/
d
to select “Picture”.
3
Press
a
/
b
to select “Advanced”, and then press
OK
.
4
Press
a
/
b
to select the desired menu item, and
then press
OK
(Example: Colour Temp., Black,
etc).
5
Press
a
/
b
/
c
/
d
to select the desired item, and
then press
OK
.
Item
Item
Picture adjustments
Menu Operation: B (page 9)
Adjust the picture to your preference with the following
picture settings.
c
button
d
button
Backlight
The screen dims
The screen
brightens
Contrast
For less contrast
For more contrast
Brightness
For less brightness
For more
brightness
Colour
For less colour
intensity
For more colour
intensity
Tint
Skin tones
become purplish
Sharpness
For less sharpness
For more
sharpness
Selectable
items
Skin tones
become greenish
Item
LC-26P50E_GB_b
05.6.13, 8:00 AM
10


