


77
Useful adjustment settings
Secret number setting for parental
control (AV input mode only)
Allows you to use a secret number to protect certain
settings from being accidentally changed.
IMPORTANT:
Three conditions must be met to enable V-Chip (see
pages 79 to 83):
1
Secret No. is registered.
2
V-Chip settings have been made.
3
“Status” is set to “On”.
Press
MENU
and MENU screen displays.
1
2
Press
c
/
d
to select “Setup”.
Press
a
/
b
to select “Parental CTRL”, and
then press
ENTER
.
3
Press
a
/
b
to select “Secret No.”, and then
press
ENTER
.
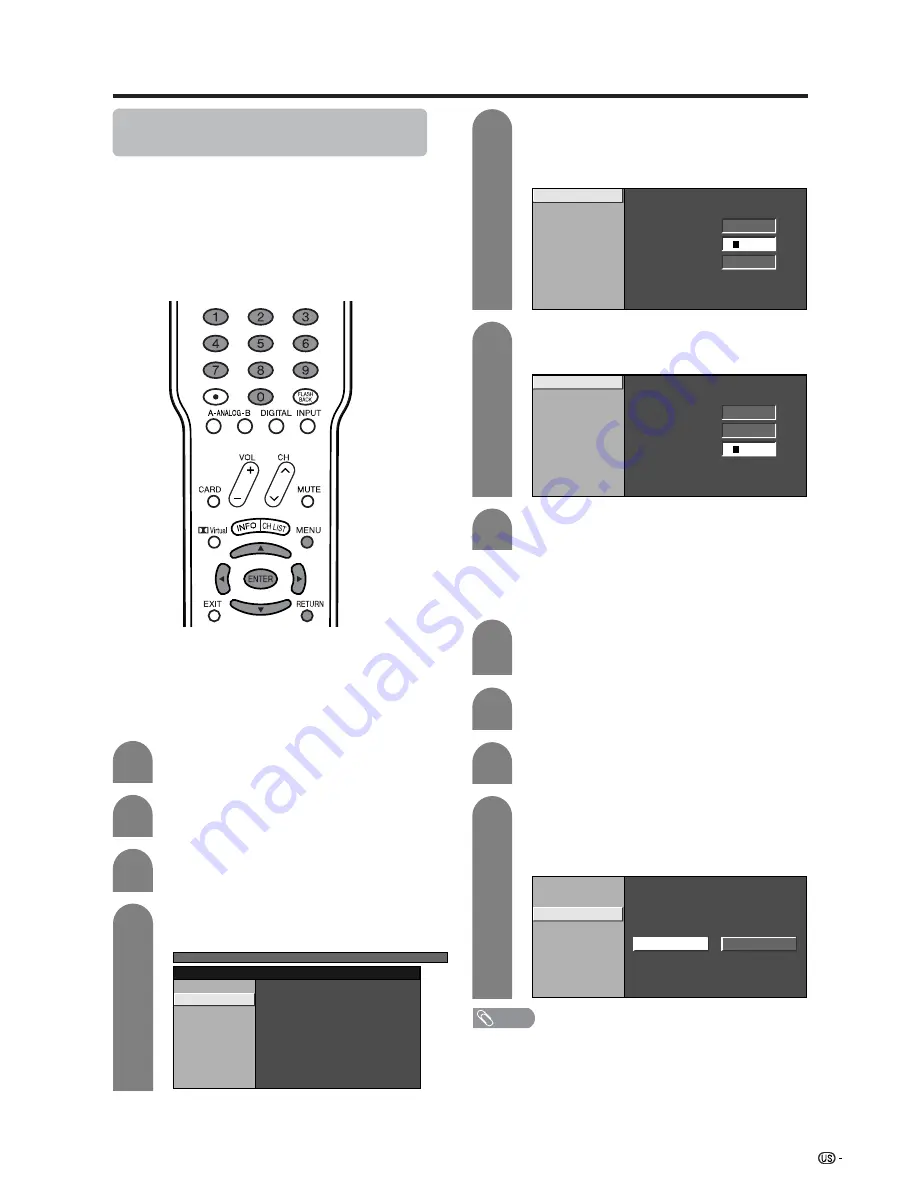
4
V-Chip
Secret No.
Status
TV MENU
[Setup ... Parental CTRL]
Select “New Secret No.”, and then press
ENTER
.
Input the new 4-digit secret number by using
0
–
9
.
5
New Secret No.
Secret No. Clear
New Secret No.
–
–
–
–
Input Secret No.
–
–
–
–
Reconfirm
–
–
–
–
Input the same 4-digit number on the
“Reconfirm” screen as in step 5 to confirm.
6
New Secret No.
Secret No. Clear
New Secret No.
*
*
*
*
Input Secret No.
–
–
–
–
Reconfirm
–
–
–
–
Setting parental control status
Used to enable or disable the parental control function.
Press
a
/
b
to select “Status”, and then press
ENTER
.
Press
c
/
d
to select “On” or “Off”, and then
press
ENTER
.
• Select “On” to enable and “Off” to disable
Parental CTRL.
V-Chip
Secret No.
Status
On
Off
Repeat steps 1 to 3 in
Setting a secret
number
.
• Secret number setting menu displays.
1
2
Input the 4-digit secret number by using
0
–
9
.
3
4
Press
RETURN
to start configuring V-Chip
settings. (See pages 80 and 82 for details.)
7
Setting a secret number
NOTE
• You can skip step 1 and 2 above while in Parental CTRL
screen.


