background image

- 14 -

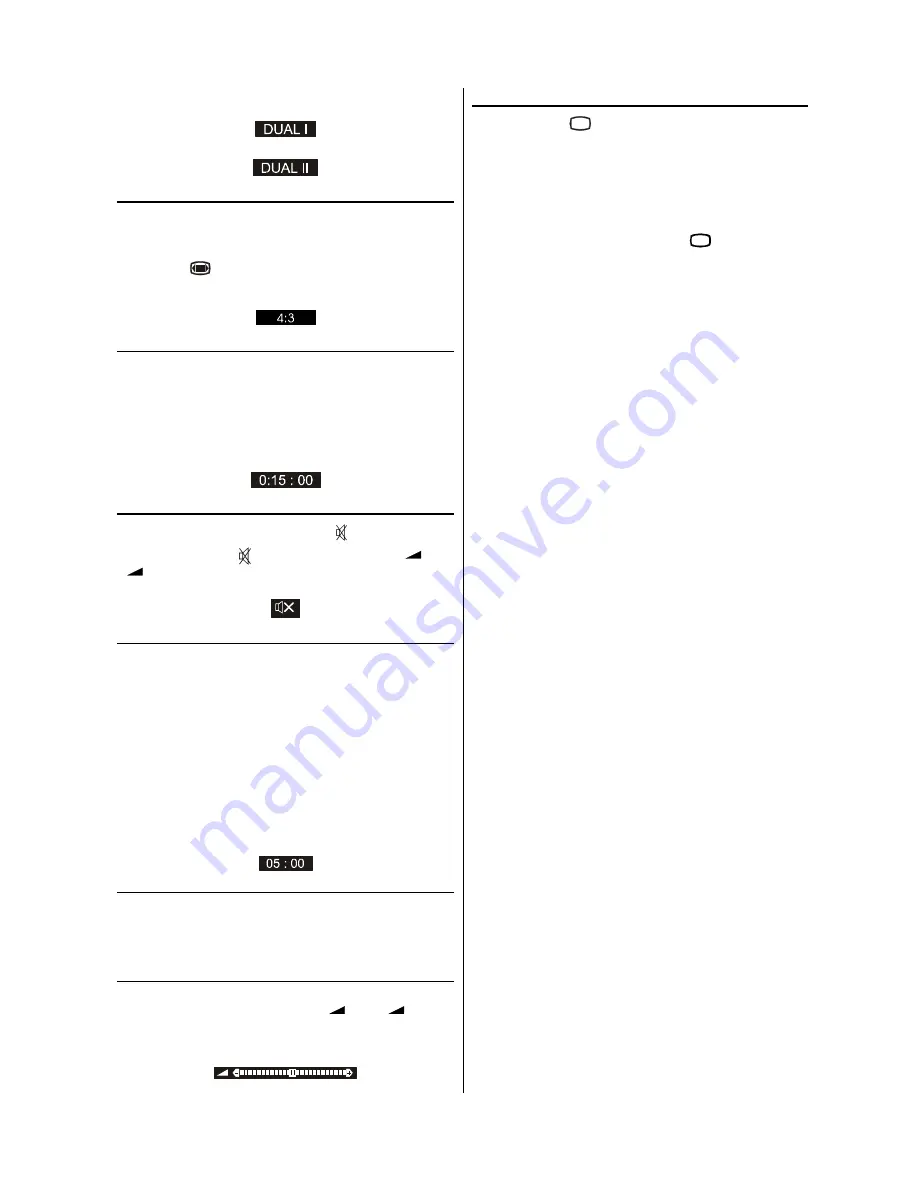
If dual broadcast detected. Dual I is selected in default and

also can be selected after Dual II by Remote Control.

If Dual II selected by Remote Control.

Picture Mode

The picture mode OSD is displayed below the sound indica-

tor, by TV Status OSD’s. According to the WSS data, inside

of the OSD box “4:3” , “16:9” or “Auto” is written.
By pressing “

” wide mode button. (if Teletext is not active)

the  picture  mode  can  be  switched  into  4:3,  16:9  or Auto

Mode.

Sleep Timer Last Minute Indicator

It is displayed on the upper right of the screen. If sleep timer

is activated it is displayed with the TV status and erased with

it after 3 seconds.
If there is left only one minute of the down counting of the

timer,  it  is  displayed  automatically  on  the  upper  left  of  the

screen, and stayed there until finishing. Then TV goes auto-

matically to stand-by.

Sound Mute

To cut off the sound from the TV press “ ” button. To restore
the sound press the “ ” button again or use the “

 +

” or

“

-


” buttons, in this case the volume will start from mini-

mum setting.

No-Signal

No-Signal Timer Indicator

It is displayed in the middle of the screen when no valid sig-

nal detected. It shows the remained time for the switching to

the Stand-By mode (it takes 5 minutes when any signal de-

tected  or  no  any  Remote  Control  command  is  accessed).

The indicator is displayed in 3 seconds when there is no valid

signal.
After an Remote Control command (if No-Signal Timer is ac-

tive) the timer stops and if no signal detected again the timer

is initialized to 5 minutes and starts 3 seconds later again to

count down.
It is not valid in AV mode.

Blue Background During No-Signal

In case, no valid signal is detected (in TV or AV mode) Blue

Background is activated.During search process Blue Back-

ground is not active. But instead of it there is another feature

given; the semi-transparent menu background is made blue.

Volume Bar

It is displayed in the lower middle of the screen. When a vol-

ume command is received (pressing “

 +

” or “

-


” by Re-

mote Control or Front panel) and no menu is active, it stays

on the screen for 3 seconds, after the last volume command

or until another command is received in between.

AV Modes

By pressing the “

(;7

” button you can switch your TV to AV

modes (except being in Teletext). Pressing this button con-

secutively  will  switch  the  TV  in  one  off  the AV  modes:

SCART or RGB.
SCART supports the RGB mode. But if there is some colour

problem in SCART modes, please force the AV mode to RGB

mode.
In order to quit the AV mode press the “

79

” button.

Summary of Contents for 28LS-92EC

Page 1: ......

Page 2: ...ns Continued 20 Typical Connections Continued 21 Typical Connections Continued 22 21 pin Euro connector and 21 pin Audio Video 23 Troubleshooting 24 Specifications 25 Safety Precautions 2 3 Supplied Accessories 4 Remote Control Buttons 5 Control Panel Buttons 6 Antenna Connections 6 Preparation 7 Features 7 Before Switching on your TV 7 Power connection 7 Aerial Connections 7 How to connect extern...

Page 3: ...al shock do not subject the AC power cord to damage by bending or twisting it or by placing heavy items on top of it and do not place the AC power cord under the TV set If the AC power cord becomes damaged unplug it from the wall outlet immediately and call your dealer for service Do not place this television equipment on an unstable cart stand or table The television equipment may fall causing se...

Page 4: ...face of the television screen re move finger prints only with a soft cloth dampened with glass cleaner Do not use any abrasive cleaners Do not use thinner benzene or other strong chemical clean ers Warning Any intervention contrary to regulations in particular any modification of high voltage or a replacement of the pic ture tube may lead to an increased concentration of x rays Any television modi...

Page 5: ...3UHG SR XåLWtP VL SR RUQH SUHþtWDMWH W W R SU t U XþNX RF H 6 2 285 7 9 6 21 23 5 7 21 0 18 QVWUXNFMD REVáXJL WHO HZL RUD NRORURZHJR 6 Ë1 6 7 9Ë Ï e6 h e e6 Ò7087 7Ï 1iYRG N SRXåLWt EDUHYQp WHOHYL H 5 1é 7 9Ë 1 35 Ë0 ý 35 9È 29È 35Ë58ý 3 DUWH WHKQLF SHQWUX WHOHYL RU vQ FXORUL RQ GR V D Q R O Y D V V D H O D D V Qi O D WL WP X W D Wy W P LH O W W K D V Qi OQ i D V t Q H V W H OH Y t L y W 3 UR V L ...

Page 6: ...lateral triangle is intended to alert the user to the presence of important operating and maintenance servicing instructions in the literature accompanying the appliance Stand By Cursor Up Cursor Right OK OK Info Program Menu 0 9 Direct Program Double Digit Wide mode button P CH Program Volume TV Quit Menu 7 EXT button SCART RGB Yellow Feature Menu Blue Installation Menu Hold Update Index Page Rev...

Page 7: ...a Connections 9 8 9 8 Ω Ω 9 8 DQWHQQD 9 DQWHQQD 5RXQG RKP FRD LDO FDEOH 5RXQG RKP FRD LDO FDEOH ODW RKP WZLQ OHDG FDEOH 5HDU RI 79 5HDU RI 79 2XWGRRU QWHQQD RQQHFWLRQV 0 18 Speakers left right Power On Off Volume CH Program MENU Menu ...

Page 8: ...es too Remote Control Battery Installation Before using the TV set for the first time install the supplied dry batteries in the remote control 1 With your thumb nail pull up the slit as indicated by the arrow to remove the battery cover 2 Insert two batteries 1 5 V R03 AAA size Be sure to match the battery terminals with the marks inside the compartment 9 5 3 Replace the battery cover Notes Remove...

Page 9: ...mbers and names assigned to the programmes 8726725 16 57 7 1 0 If you do not accept the locations and or the programme names of programmes you can change them in PRO GRAM Programming menu on page 12 Operating with the onset buttons Volume setting and programme selection can be made using the buttons on the front panel Volume Setting Press button to decrease volume or button to increase volume so a...

Page 10: ...me Press button to decrease volume Or you can directly change the volume settings using to increase or to decrease button 92 80 1 7 6725 02 9 48 5 0212 21 2 Setting Balance It allows adjusting the distribution between the left and right speakers Using or button select Balance Press button to change balance rightward Press button to change balance leftward When balance control is in mid position th...

Page 11: ...tore Sound menu settings 92 80 1 9 7 6725 02 48 5 0212 21 2 Picture Menu To enter the Picture menu directly press the GREEN but ton or Press M button now you are in Main menu In the Main menu select PICTURE using or button then en ter the Picture menu pressing or button 6281 3 785 785 167 352 5 0 Setting Brightness As you enter the picture menu Brightness will be the first selected option Press bu...

Page 12: ...e Feature menu directly press the YELLOW button or Press M button now you are in Main menu In the Main menu select FEATURE using or button Then en ter the Feature menu pressing or button 6281 3 785 785 167 352 5 0 Sleep Timer As you enter the Feature menu SLEEP TIMER will be the first selected option Use or button to change the Sleep Timer values between OFF 0 15 00 0 30 00 0 45 00 1 00 00 1 15 00...

Page 13: ...or button 6281 3 785 785 167 352 5 0 Moving cursor to four direction you can reach 30 programmes in the same page By scrolling the pages up or down by pressing the navigation buttons you can select all the pro grammes in TV mode except the AV mode In menus and buttons are working like Direction Up and Direction Down By cursor action programme selection is done automatical ly Selected programme is ...

Page 14: ...n one Standard option It depends to your country you may change it by using or button to BG DK or L L on STANDARD item To cancel APS before starting press 79 or M button First of all choose the COUNTRY and the STANDARD This will effect the sort process in APS To select START use or button and press or button To can cel APS during running press or button After APS is finalized a programme list will...

Page 15: ...emained time for the switching to the Stand By mode it takes 5 minutes when any signal de tected or no any Remote Control command is accessed The indicator is displayed in 3 seconds when there is no valid signal After an Remote Control command if No Signal Timer is ac tive the timer stops and if no signal detected again the timer is initialized to 5 minutes and starts 3 seconds later again to coun...

Page 16: ...will ap pear on the screen Press the button to view the full page To Select Double Height Text Press button for the top half of the information page to be displayed in double height text Press button again for the bottom half of the informa tion page to be displayed in double height text Press button once more for the full page of normal height text To Reveal concealed Information Pressing button ...

Page 17: ... with an aerial socket to the TV Connect the aerial cable Connect a decoder without an aerial socket to the TV Connect the decoder to your TV with a eurocable RCA Jack Cable to SCART socket When your decoder has a Euro connector RCA Jack you can obtain better picture quality if you connect a eurocable RCA Jack Cable to SCART socket TV and Video Recoder VCR Connect the aerial cables Better picture ...

Page 18: ... button on the remote control selects one of AV modes SCART RGB To return to the TV mode repeatedly press 7 button SCART terminal 21 pin Euro connector Video input Audio L R inputs and RGB inputs are available TV broadcast outputs Video and Audio L R are available 6 57 21 REAR PANEL 17 11 6FDUW 17 1 0 25 5 IN OUT IN OUT DECODER FOR SATELLITE RECEIVER VIDEO AUDIO ...

Page 19: ... your VCR HULDO RQQHFWLRQV 79 DQG 9 5 HULDO 1RW VXSSOLHG HULDO HDG 1RW VXSSOLHG 17 6 57 HULDO HDG 1RW VXSSOLHG 6FDUW HDG 1RW VXSSOLHG 2 79 HULDO 1 2 9 5 XGLR 9LGHR 5 287 9 7 50 1 HULDO 1 HULDO FRQQHFWLRQ 79 VHW RQO HULDO 1 2 79 HULDO 1RW VXSSOLHG HULDO HDG 1RW VXSSOLHG 17 6 57 6 5 7 17 ...

Page 20: ...ls of your DVD Player DECODER and VCR RQQHFWLRQV 79 9 3OD HU 2 5 DQG 9 5 9LGHRUHFRUGHU 9 7 50 1 9 3 5 2 5 6FDUW HDG 1RW VXSSOLHG 6FDUW HDG 1RW VXSSOLHG HULDO 1 6FDUW HDG 1RW VXSSOLHG HULDO HDG 1RW VXSSOLHG HULDO 1RW VXSSOLHG HULDO HDG 1RW VXSSOLHG HULDO 1 XGLR 9LGHR 2 9 5 5 287 2 79 6 57 17 ...

Page 21: ...yer and Digital Set Top Box RQQHFWLRQV 79 9 3OD HU DQG LJLWDO 6HW 7RS R 2 79 17 6 57 9 3 5 6FDUW HDG 1RW VXSSOLHG HULDO 1 HULDO 1RW VXSSOLHG 6DWHOOLWH GLVK 1RW VXSSOLHG LVK HDG 1RW VXSSOLHG HULDO HDG 1RW VXSSOLHG 6FDUW HDG 1RW VXSSOLHG HULDO HDG 1RW VXSSOLHG 7 6 7 723 2 5 287 5 1 79 6 57 6 1 6 57 17 9 7 50 1 ...

Page 22: ...79 9 3OD HU 9 5 DQG LJLWDO 6HW 7RS R 2 79 17 6 57 9 3 5 6FDUW HDG 1RW VXSSOLHG HULDO 1 HULDO 1RW VXSSOLHG 6DWHOOLWH GLVK 1RW VXSSOLHG LVK HDG 1RW VXSSOLHG HULDO HDG 1RW VXSSOLHG 6FDUW HDG 1RW VXSSOLHG 7 6 7 723 2 2 9 5 HULDO HDG 1RW VXSSOLHG 6FDUW HDG 1RW VXSSOLHG 5 287 HULDO 1 XGLR 9LGHR HULDO HDG 1RW VXSSOLHG 5 287 5 1 79 6 57 6 1 6 57 1 7 9 7 50 1 ...

Page 23: ...e For further details please refer to operation manual of your Video Camera RQQHFWLRQ 79 SRZHU FDEOH WR D a 9 V VWHP 0DLQV 6RFNHW 2XWOHW a 9 2 79 6 57 17 2 79 0 25 5 IN OUT IN OUT XGLR 9LGHR OHDG 1RW VXSSOLHG RQQHFWLRQV 79 DQG 9LGHR FDPHUD ...

Page 24: ...o right output 8 Audio video control 15 Red input 2 Audio right input 9 Earth for green 16 Red Green Blue control 3 Audio left output 10 Not used 17 Earth for video 4 Common earth for audio 11 Green input 18 Earth for Red Green Blue control 5 Earth for blue 12 Not used 19 Video output 6 Audio left input 13 Earth for red 20 Video input PAL SECAM NTSC 7 Blue input 14 Not used 21 Plug shield 6 57 ...

Page 25: ...HQ ZLUHV KHFN IRU ORFDO LQWHUIHUHQFH 3RRU UHFHSWLRQ RQ VRPH FKDQQHOV 7U D QHZ FKDQQHO WR FKHFN IRU SRVVLEOH VWDWLRQ WURXEOH HULDO QRW FRQQHFWHG WR WHUPLQDO DW WKH EDFN RI WKH 79 VHW I RXWVLGH DHULDO LV XVHG FKHFN IRU EURNHQ ZLUHV KHFN IRU ORFDO LQWHUIHUHQFH GMXVW 2 285 FRQWURO 7U ILQH WXQLQJ WR FRUUHFW 6RXQG 2 SRRU SLFWXUH KHFN LI WKH ULJKWQHVV RU RQWUDVW VHWWLQJ LQ WKH SLFWXUH VHWWLQJ PRGH PLJKW ...

Page 26: ... NUMBER OF PRESET CHANNELS 100 CHANNEL INDICATOR On Screen Display RF AERIAL INPUT 75 Ohm unbalanced Power Consumption at Stand by 3 Watts OPERATING VOLTAGE 220 240V AC 50 Hz AUDIO OUTPUT Stereo AUDIO OUTPUT POWER WRMS 1 THD 2 x 4 POWER CONSUMPTION W 68 PICTURE TUBE 21 55 cm Safety CE MARK EMC CE MARK DIMENSIONS mm HLJKW NJ 0 16 216 PP ...

Page 27: ...R SHARP CORPORATION 50044946 02 04 50044946 ...

Reviews: