12-1
12-2
21YF30
12
No. Adjustment point
Adjustment procedure/conditions
Waveform and others
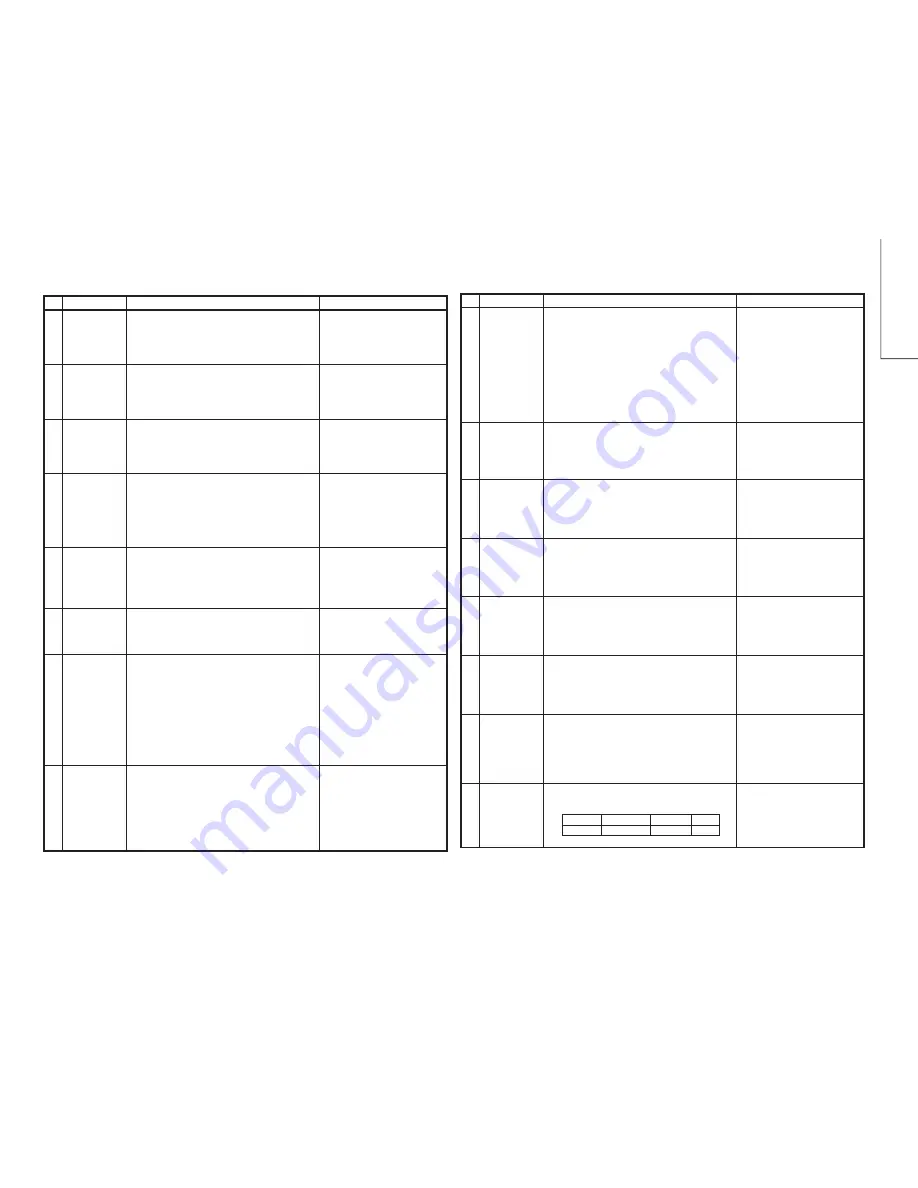
CONTRAST
key
1) Receive "Monoscope Pattern" signal.
2) Set MENU, then go into PICTURE mode to se-
lect CONTRAST.
3) Press Volume Up/Down key to check whether the
CONTRAST effect is OK or not.
1
1) Receive "Color Bar" signal.
2) Set MENU, then go into PICTURE mode to se-
lect COLOUR.
3) Press Volume Up/Down key to check whether
the COLOUR effect is OK or not.
2
COLOUR key
BRIGHTNESS
key
1) Receive "Monoscope Pattern" signal.
2) Set MENU, then go into PICTURE mode to se-
lect BRIGHTNESS.
3) Press Volume Up/Down key to check whether
the BRIGHTNESS effect is OK or not.
3
TINT key
1) Receive the "NTSC Colour Bar" signal thru AV in.
2) Set MENU, then go into PICTURE mode to se-
lect TINT.
3) Press Volume Up/Down key to check TINT, UP
for GREEN direction and DOWN for PURPLE di-
rection whether is OK or not.
4
SHARPNESS
Key
1) Receive "Monoscope Pattern" signal.
2) Set MENU, then go into PICTURE mode to se-
lect SHARPNESS.
3) Press Volume Up/Down key to check whether
the SHARPNESS effect is OK or not.
5
WHITE TEMP
1) Receive "Monoscope Pattern" signal.
2) Set MENU, then go into PICTURE mode to se-
lect WHITE TEMP.
3) Press Volume Up/Down key to check WHITE
TEMP function. The back ground will change to
(shift right) bluish and (shift left) reddish.
8
NORMAL Key
7
1) Once in PICTURE Mode, and the NORMAL key
is pressed, all the settings will be present to nor-
mal setting.
(Normal setting value for every mode).
»
CONTRAST
: MAX
»
COLOUR
: CENTER
»
BRIGHTNESS
: CENTER
»
TINT
: CENTER
»
SHARPNESS
: CENTER
Notes:If nothing is displayed
m e a n s c o n t r a s t , c o l o u r,
brightness, tint, sharpness are
all in normal setting.
CH DISPLAY
COLOUR
1) All Ch (1~99) will have an OSD display of the
channel number in green colour under AFT ON
condition.
6
FUNCTION OPERATION CHECKING (VIDEO AND AUDIO)
FUNCTION OPERATION CHECKING (VIDEO AND AUDIO) CONTINUED
No. Adjustment point
Adjustment procedure/conditions
Waveform and others
COLOUR
SYSTEM
1) Receive the “PAL COLOUR BAR” signal, press
MENU, choose CH-SETTING to select COLOUR
modes except PAL, check the colour is not work-
ing. Then, select the “PAL” mode. Check again
its colour so that it is working properly.
2) Receive “NTSC 3.58 COLOUR BAR” signal thru
AV, press MENU, choose CH-SETTING to select
COLOR modes except N358, check the COLOUR
is not working properly. Then, select the N358
mode. Check again its colour so that it is working
properly.
1) Receive “music” sound signal.
2) Set MENU, then go into SOUND MENU to select
SURROUND.
3)Press VOLUME UP/DOWN key to check
SURROUND 1, 2 and OFF effect.
1) Receive “music” sound signal.
2) Set MENU, then go into SOUND MENU to select
TREBLE.
3) Press VOLUME UP/DOWN key to check whether
the TREBLE effect is OK or not.
1) Receive “music” sound signal.
2) Set MENU, then go into SOUND MENU to select
BASS.
3) Press VOLUME UP/DOWN key to check whether
the BASS effect is OK or not.
1) Receive mono-tone signal.
2) Set MENU, then go into SOUND MENU to select
BALANCE.
3) Press VOLUME UP/DOWN key to check whether
the left to right BALANCE effect is OK or not.
1) Receive “PAL-B/G” signal, press MENU, choose
CH-SETTING to make sure there is NO sound
system selection and check the sound output is
working properly.
1) Receive “PAL COLOUR BAR” signal.
2) Turn up the volume control to maximum, make
sure the sound is heard from the speakers. Then
put the unit in no signal state.
3) Check the sound mute is effective.
4) Finally turn sound level of CTV to minimum.
Check OSD LANGUAGE quantity and type for
respect mode.(THAI)
MODEL
QUANTITY ENGLISH THAI
ALL
2
O
O
9
14
SOUND
SYSTEM
13
BALANCE
12
BASS
11
TREBLE
10
SURROUND
15
NOISE MUTE
CHECKING
16
OSD
LANGUAGE
QUANTITY
CHECK
Summary of Contents for 21YF30
Page 32: ...21YF30 32 SOLID STATE DEVICE BASE DIAGRAM TOP VIEW SIDE VIEW ...
Page 33: ...33 21YF30 M E M O ...
Page 34: ...34 21YF30 WAVEFORMS ...
Page 35: ...35 21YF30 CHASSIS LAYOUT ...
Page 36: ...36 21YF30 1 2 3 4 5 6 7 8 9 10 A B C D E F G H I J BLOCK DIAGRAM PWB A MAIN BLOCK ...
Page 37: ...37 21YF30 10 11 12 13 14 15 16 17 18 19 ...
Page 39: ...39 21YF30 1 2 3 4 5 6 7 8 9 10 A B C D E F G H I J PWB E S CONTROL BLOCK ...
Page 42: ...42 21YF30 1 2 3 4 5 6 7 8 9 10 A B C D E F G H I J SCHEMATIC DIAGRAM MAIN Unit ...
Page 43: ...43 21YF30 10 11 12 13 14 15 16 17 18 19 ...
Page 44: ...44 21YF30 1 2 3 4 5 6 7 8 9 10 A B C D E F G H I J SCHEMATIC DIAGRAM S CONTROL Unit ...
Page 46: ...46 21YF30 1 2 3 4 5 6 7 8 9 10 A B C D E F G H I J PWB A MAIN Unit Component Side ...
Page 47: ...47 21YF30 10 11 12 13 14 15 16 17 18 19 ...
Page 58: ...Ref No Part No Description Code Ref No Part No Description Code 58 21YF30 PACKING OF THE SET ...
Page 59: ...Ref No Part No Description Code Ref No Part No Description Code 59 21YF30 ...


