


SerVision
Embedded Video Gateway System Guide
Configuring System Settings
87
Figure 91: Speaker volume settings
5. Click
Update Now
. The volume settings are updated on the Video Gateway immediately
Figure 92: Update Now button
Note:
All of the settings on the page are saved when you click
Update Now
. The volume settings are
implemented immediately, and the changes to the other settings are implemented after the unit is restarted (see
, page 156). If you modify the volume settings and click the
Update
button in
the lower-right corner of the screen, the volume settings are not implemented until the unit is restarted.
6. Repeat steps 3–5 as necessary until the optimal volume setting is selected.
7. Click
Update
, and then save the settings.
Configuring Microphone Volume
You can optimize the microphone volume settings for a particular client by testing the microphone settings as you
configure them.
To configure the volume of a microphone:
1. Open the client application for which you want to optimize the settings (e.g., SVMultiClient), connect to a live
video stream that is linked to the microphone, and listen to the sound. If the volume needs adjustment, adjust it
as explained in the following steps.
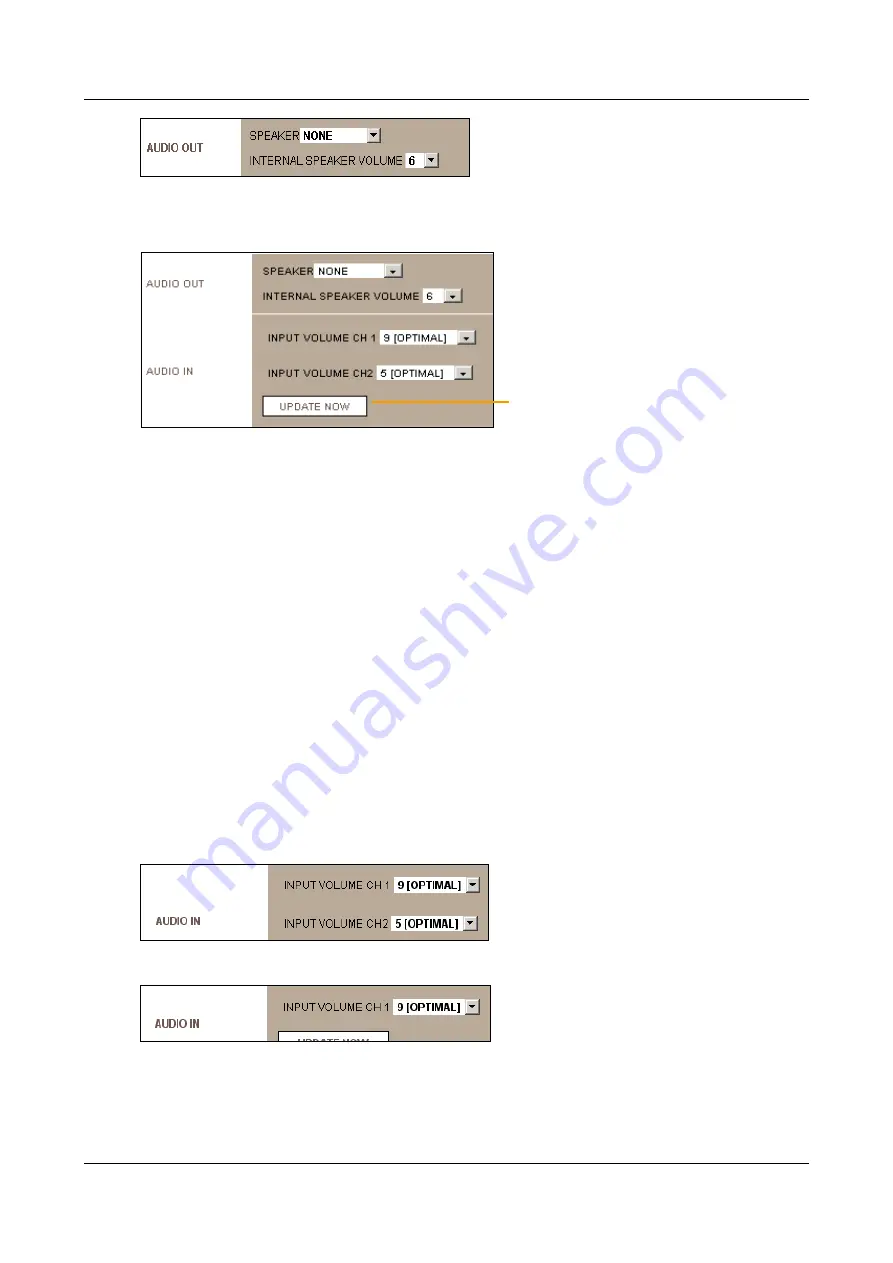
2. In the
Audio Settings
screen, under
Audio In
, select a volume setting for the microphone. (For HVG400,
MVG400, and UVG400 models, which have two microphone connectors, “CH1” sets the volume of the
microphone connected to
Ain1
, and “CH2” sets the volume for
Ain2
).
Figure 93: Microphone volume settings (HVG400, MVG400, UVG)
Figure 94: Microphone volume settings (MVG200, CVG, CVG-M)
3. Click
Update Now
(see figure 92 above). The volume settings are updated on the Video Gateway
immediately.
Update Now