WiSnap User Manual 4.41 05282015-ML
Page 46
In this example, we will connect to the web server at www.rovingnetworks.com/mike.php?ID and send data “ID=1234” every
60 seconds. We will also append the sensor data to the “ID=1234”.
Set the network connections as described above. The other parameters that we need to set are described below:
1)
set dns name www.rovingnetworks.com -
set up the URL of the server
2)
set ip host 0 -
instructs RN-370 to use DNS address of host server
3)
set ip remote 80 -
standard web server port
4)
set ip proto 18 -
enable HTTP and TCP protocols
5)
set com remote GET$/mike.php?ID=1234 -
set up the string
6)
set sys auto 10 -
auto connect every 10 seconds
7)
set option format 7 -
send header and sampled binary data converted to ASCII
8)
set option sensor 0xFF -
sets sensor mask to sample all channels
9)
save -
save the configurations in config file
10)
reboot -
reboot so that the settings take effect
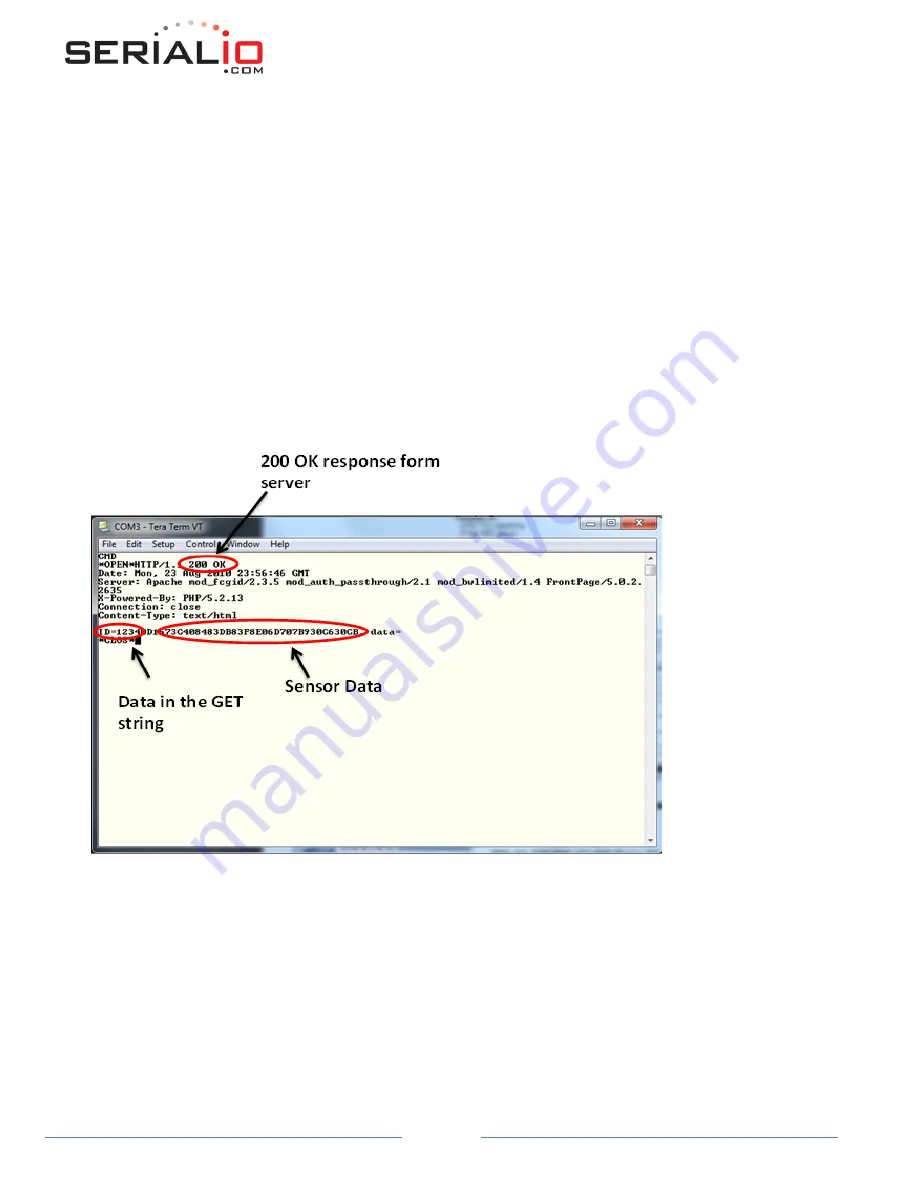
Result:
You will receive a 200 OK returned from the web server as seen in the screenshot below:
Example #2: Posting UART data to web server
The WiSnap module is capable of auto posting serial UART data in ASCII or Binary format. In this example we will configure the
WiSnap module such that when the serial UART data comes in, the WiSnap will connect and automatically send data to the
web server in the following format:
GET /mike.php?ID=<user serial data> \n\n
The other parameters that need to be set are described below:
1)
set dns name www.rovingnetworks.com -
set up the URL of the server
2)
set ip host 0 -
instructs WiSnap to use DNS address of host server
3)
set ip remote 80 -
standard web server port
4)
set ip proto 18 -
enable HTTP mode = 0x10 and TCP = 0x20
5)
set com remote GET$/mike.php?ID= -
set up the string


